

In this article, we will show you how to install the Shopware Community Edition (CE) on CentOS 7 server.
![]() Shopware is an e-commerce platform written in PHP and is used for running online businesses and selling products and services online. This application is very easy to install and set up and does not require any sort of coding knowledge. Shopware CE is free and open-source, and has a user-friendly interface that allows for the use of drag and drop throughout the eCommerce platform. Let’s begin with the install process.
Shopware is an e-commerce platform written in PHP and is used for running online businesses and selling products and services online. This application is very easy to install and set up and does not require any sort of coding knowledge. Shopware CE is free and open-source, and has a user-friendly interface that allows for the use of drag and drop throughout the eCommerce platform. Let’s begin with the install process.
Prerequisites:
We will be using a managed CentOS 7 VPS for this tutorial. Please make sure that you have met the following prerequisites:
- A publicly-accessible VPS with CentOS 7 installed.
- A domain or subdomain name pointing to your server public IP address.
- Access to the root user or user with sudo privileges.
Step 1: Connect to Your Server
Log in to your public server via SSH using the following commands on your preferred terminal:
ssh [username]@[server_ip_address] -p [port_number]
If you want to check the version of CentOS installed on your machine, you can run the following command:
cat /etc/redhat-release
The output should look like this:
CentOS Linux release 7.5.1804 (Core)
By running the command below, you can update your server:
yum update -y
Step 2: Install PHP v7.2
This application needs a version that’s higher than PHP 5.6.4 in order to work. However, the YUM repository contains PHP 5.4, which does not meet the requirements of this application. That’s why in this step, we will install PHP version 7.2. Run this command to add the REMI repository to your system:
yum install http://rpms.remirepo.net/enterprise/remi-release-7.rpm
Now enable the REMI repo with the command:
yum-config-manager --enable remi-php72
yum update -y
Run the following command to install PHP and all required PHP extensions:
yum install -y php72 php72-cli php72-fpm php72-common php72-mysql php72-curl php72-json php72-zip php72-gd php72-xml php72-mbstring php72-opcache php72-php-mysqlnd php-pecl-zip unzip zip php72-php-fpm php72-php-gd php72-php-mbstring php72-php-opcache php72-php-xml php72-php-xmlrpc
To verify your installed PHP version you can type the following:
php -v
You should see the following output:
PHP 7.2.18 (cli) (built: Apr 30 2019 15:26:52) ( NTS )
Copyright (c) 1997-2018 The PHP Group
Zend Engine v3.2.0, Copyright (c) 1998-2018 Zend Technologies
We also need to make several changes to the PHP configuration file required by the Shopware application. Open the php.ini configuration file with your preferred text editor (in our example we will use nano).
nano /etc/php.ini
Find the following lines in the configuration file and change the value from 128MB to 256MB.
; Maximum amount of memory a script may consume (128MB)
; http://php.net/memory-limit
memory_limit = 128M
Find the following lines in the configuration file and change the value from 2MB to 6MB.
; Maximum allowed size for uploaded files.
; http://php.net/upload-max-filesize
upload_max_filesize = 2M
Save and Exit from the editor. In order for our changes to take effect, we will restart the Apache web server using this command:
systemctl restart httpd
Step 3: Install MariaDB and Set Up a Database
To install MariaDB 10.1 on the server, we need to add the MariaDB YUM repository file, MariaDB.repo. Create the MariaDB.repo file with the command:
nano /etc/yum.repos.d/MariaDB.repo
Add the following lines of code:
[mariadb]
name = MariaDB
baseurl = http://yum.mariadb.org/10.1/centos7-amd64
gpgkey=https://yum.mariadb.org/RPM-GPG-KEY-MariaDB
gpgcheck=1
Save and Exit.
Use the following commands to update your system and install MariaDB.
yum update -y
yum install MariaDB-server MariaDB-client -y
Upon the installation, you can start and enable the MariaDB service with this command:
systemctl start mariadb
systemctl enable mariadb
To verify that the MariaDB service is running, we will run the command:
systemctl status mariadb
The next command is optional. You can run the command if you want to secure the MariaDB server by disallowing remote root access, removing the test database, and creating a root password.
mysql_secure_installation
It will first ask to replace the root password. It will then ask some questions – you can answer the prompts with “Y” for YES. We recommend answering with Yes to all of these, as they all will help improve the security of your database server:
Enter current password for root (enter for none): Just press the [Enter] key, as no password is set by default
Set root password? [Y/n]: Y
New password: Enter your password
Re-enter new password: Repeat your password
Remove anonymous users? [Y/n]: Y
Disallow root login remotely? [Y/n]: Y
Remove test database and access to it? [Y/n]: Y
Reload privilege tables now? [Y/n]: Y
Restart the MariaDB server, so the changes will take effect.
systemctl restart mariadb
You can verify the MariaDB version by typing the command:
mysql --version
You should get an output similar to:
mysql Ver 15.1 Distrib 10.1.38-MariaDB, for Linux (x86_64) using readline 5.1
Now you should be able to log in to the MySQL shell with the command:
mysql -u root -p
Then type the password you created above to sign in. Once you are in the MySQL shell, you can use the following command and create a database called ‘shopware’ for the Shopware application.
CREATE DATABASE shopware;
To grant the user ‘shopware’ with full access to the ‘shopware’ database, run the next command:
GRANT ALL PRIVILEGES ON shopware.* TO 'shopware'@'localhost' IDENTIFIED BY '$tr0ng_pa55worD';
Please do not forget to change the $tr0ng_pa55worDwith your strong password.
Now you can use the flush privileges operation to reload the grant tables. After this, exit from the MySQL shell.
FLUSH PRIVILEGES;
\q
Step 4: Install Shopware
In this step, we will download the latest version of Shopware (that is 5.5.8 at the time of writing – you can always visit their website and check for a new or specific version you need). To download Shopware, run the following command:
cd /var/www/ && wget https://releases.shopware.com/install_5.5.8_d5bf50630eeaacc6679683e0ab0dcba89498be6d.zip?_ga=2.267606606.1339280706.1556195384-1042632852.1556195384 -O shopware.zip
Use the unzip command to unpack the application:
unzip shopware.zip -d shopware/
as well as change the ownership of the application:
chown -R apache:apache shopware/
Step 5: Configure Apache
To configure Apache, we will begin by checking whether Apache is running on our server.
systemctl status httpd
Now that you know that Apache2 is running on your server, you can continue with creating a virtual host for your domain.
nano /etc/httpd/conf.d/domain_name.conf
add the following content to the file:
<VirtualHost *:80>
    ServerAdmin webmaster@yourdomain.com
    DocumentRoot /var/www/shopware
    ServerName yourdomain.com ServerAlias www.yourdomain.com ErrorLog "/var/log/httpd/yourdomain.com-error_log" CustomLog "/var/log/httpd/yourdomain.com-access_log" combined <Directory "/var/www/shopware/"> DirectoryIndex index.html index.php Options FollowSymLinks AllowOverride All Require all granted </Directory> </VirtualHost>
Please do not forget to change yourdomain.comwith your actual registered domain name. Once you have finished with editing, you can save and close the configuration file.
Make a quick syntax error check with the following command:
httpd -t
Restart the Apache2 server, so the changes will take effect.
systemctl restart httpd
Step 6: Log in to Shopware
Since the installation is completed, you should be able to access the Shopware CE on your web browser. Open your favorite browser and type your domain. http://yourdomain.com is the domain that we used.
You should be able to see the Shopware installer page:
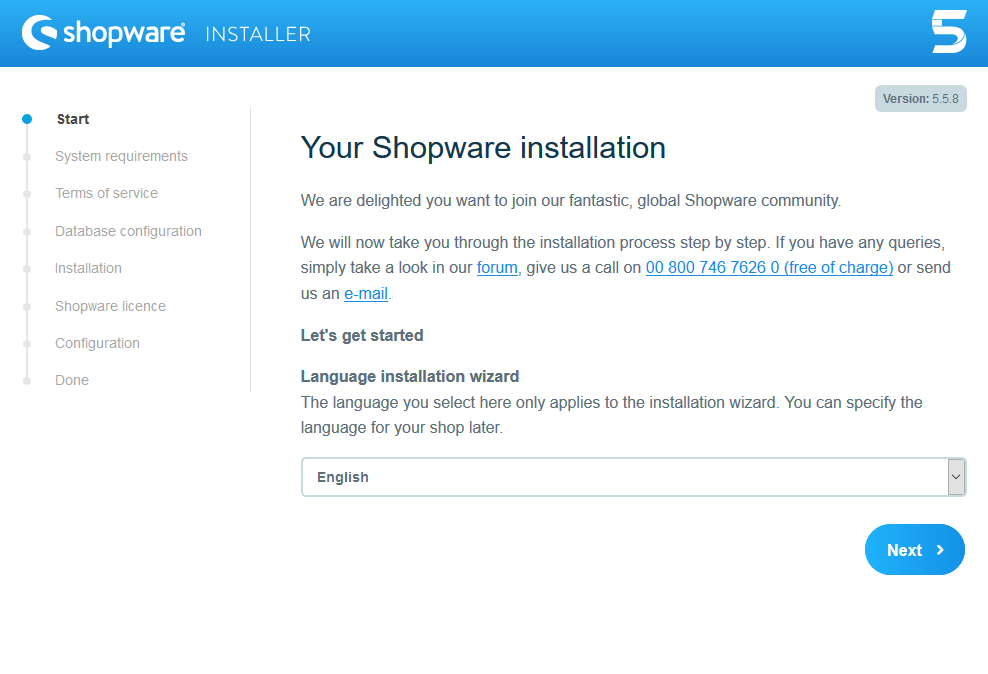
Now you can choose your language and finish the web installation by following the installation wizard.
Congratulations! If you carefully followed our instructions in this tutorial, then you will have successfully installed Shopware CE on your CentOS 7 VPS. Now you can start to explore this amazing application and build your online shop.
You can also check our tutorial on how to install Shopware CE on Ubuntu 18.04, and how to install Shopware CE on Debian 9.
![]() Of course, you don’t have to install Shopware CE on your CentOS 7 VPS if you use one of our Managed Linux Support Services, in which case you can simply ask our team of expert Linux admins to install and configure Shopware CE on your server for you. They are available 24/7 and will take care of your request immediately.
Of course, you don’t have to install Shopware CE on your CentOS 7 VPS if you use one of our Managed Linux Support Services, in which case you can simply ask our team of expert Linux admins to install and configure Shopware CE on your server for you. They are available 24/7 and will take care of your request immediately.
PS. If you liked this post on how to install Shopware CE, please share it with your friends on the social networks using the share shortcuts, or simply leave a comment in the comments section. Thank you.
