
In this article, we will show you how to install Cockpit CMS on a CentOS 7 VPS and help install Apache & PHP on it as well.
 Cockpit is a free, open source and self-hosted content management system (CMS) application written in PHP. It is a simple content platform used by web developers to create and manage any structured content. Cockpit stores the data in an SQLite database, so you don’t need to install or configure a database server such as MySQL / MariaDB. All of this combined makes for a pleasant CMS experience that allows you to share your ideas and content with the world without needing almost any technical knowledge whatsoever.
Let’s get started with the installation.
Prerequisites
- A CentOS 7 VPS with root access enabled (or access to a user account with sudo privileges).
- Apache web server 2.0 or higher compiled with the
mod_rewriteApache module. Alternatively, we can use Nginx as a web server with PHP support. - PHP 7.1 or higher (PHP 7.2 is preferred) with the following PHP extensions enabled: PDO, GD graphics library, Zip and mbstring.
Step 1: Connect via SSH and Update the OS Packages
Log in to the server using SSH as root user (or a user with sudo privileges). You can do that by entering this command:
ssh root@IP_Address -p Port_Number
Remember to replace ‘root’ with your username if you are not using the root user. Also, replace IP_ADDRESS and PORT_NUMBER with your server’s respective IP address and SSH port number (the default is 22).
Once you are logged in, you should update all of your OS packages to their latest available versions.
yum clean all
yum update
Step 2: Install Apache and PHP 7.2
Apache is available within CentOS’s default software repositories, so simply run the following command to install Apache web server:
yum install httpd -y
After installing Apache, start the Apache server and enable it to start at boot time:
systemctl start httpd
systemctl enable httpd
CentOS 7 comes with PHP version 5.4. This is a problem because Cockpit CMS requires PHP version 7.1 or higher. For the purposes of this tutorial, we will install PHP version 7.2 using the Webtatic repository. To enable the Webtatic repository, run the following command:
rpm -Uvh https://mirror.webtatic.com/yum/el7/webtatic-release.rpm
Then, run the following command to install PHP 7.2 and all necessary PHP extensions:
yum install php72w php72w-cli php72w-mbstring php72w-pdo php72w-sqlite php72w-gd php72w-zip
After installing PHP 7.2, you can check the PHP version installed on the server with the following command:
php -v
The output should be similar to the one below:
PHP 7.2.19 (cli) (built: Jun 2 2019 09:49:05) ( NTS )

Copyright (c) 1997-2018 The PHP Group

Zend Engine v3.2.0, Copyright (c) 1998-2018 Zend Technologies
Now we can download and install Cockpit.
Step 3: Download Cockpit CMS
Download and extract the latest version of Cockpit in the default web server document root directory (/var/www/html):
cd /var/www/html
wget https://github.com/agentejo/cockpit/archive/master.zip
unzip master.zip
mv cockpit-master cockpit
Then, run the following commands to set the correct permissions for Cockpit CMS (Apache needs to have ownership of the files in order for it to use them correctly):
chown -R apache:apache /var/www/html/cockpit/
Step 4: Configure the Apache Web Server
In this part of the tutorial, we will show you how to configure Apache to serve your Cockpit CMS web pages.
Create a new Apache configuration file named cockpit.conf in the /etc/httpd/conf.d/ directory on your server:
nano /etc/httpd/conf.d/cockpit.conf
(We’re using ‘nano’ to edit our text, however you can use your preferred text editor instead).
Add the following lines:
<VirtualHost *:80>
    ServerAdmin admin@your_domain.com
    DocumentRoot /var/www/html/cockpit
    ServerName your_domain.com
    ServerAlias www.your_domain.com
    <Directory /var/www/html/cockpit>
        Options FollowSymLinks
        AllowOverride All
        Order allow,deny
        allow from all
    </Directory>
    ErrorLog /var/log/httpd/your_domain.com-error_log
    CustomLog /var/log/httpd/your_domain.com-access_log common
</VirtualHost>
Of course, don’t forget to replace your_domain.com with your actual domain name.
Save and close the file, then restart the Apache service for the changes to take effect:
systemctl restart httpd
Step 5: Install Cockpit CMS
Now, you can open your preferred web browser and access http://your_domain.com/install . You should see the Cockpit CMS setup page. Simply follow the onscreen instructions and complete the Cockpit CMS installation.
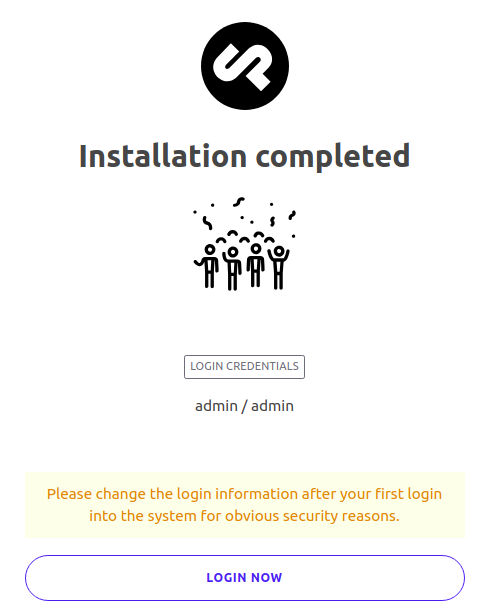
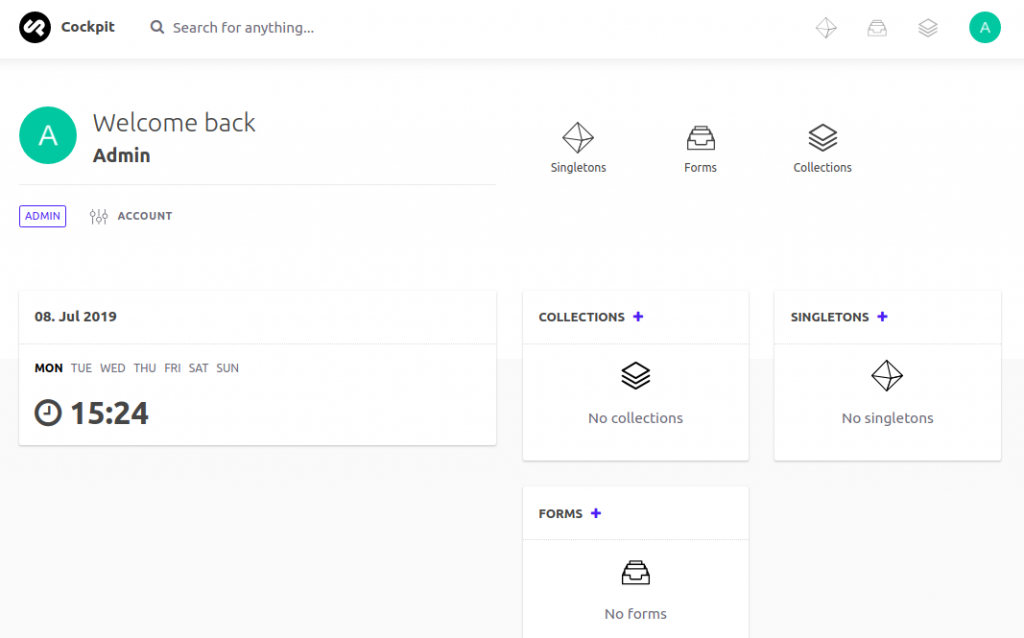
After that, click on the LOGIN NOW button and provide the default administrator username and password: admin / admin. Once logged in, you should change the default administrator user account password immediately.
That’s it. You have successfully installed Cockpit CMS on your CentOS 7 VPS. For more information about how to manage your Cockpit installation, please refer to the official Cockpit documentation.
 Of course, you don’t have to Install Cockpit on CentOS 7, if you use one of our Managed VPS Support services, in which case you can simply ask our expert Linux admins to Install Cockpit on CentOS 7 for you. They are available 24×7 and will take care of your request immediately.
PS. If you liked this post on how to Install Cockpit on CentOS 7, please share it with your friends on the social networks using the share buttons, or simply leave a reply below. Thanks.
