

Bagisto is an open-source eCommerce platform built using Laravel framework and VueJS. The framework is very flexible and easy to use, even for non-tech users. Bagisto offers Multi-Warehouse Inventory; almost everything you need when building an eCommerce website is available in Bagisto. In this tutorial, we will show you how to install Bagisto Ecommerce on Almalinux.
Prerequisites
- A server with AlmaLinux as the operating system
- Root access or regular access with sudo privileges
Step 1. Log in to your server via SSH
First, you will need to log in to your AlmaLinux VPS via SSH as the root user:
ssh root@IP_Address -p Port_number
You will need to replace ‘IP_Address’ and ‘Port_number’ with your server’s respective IP address and SSH port number. Additionally, replace ‘root’ with the username of the system user with sudo privileges.
You can check whether you have the proper AlmaLinux version installed on your server with the following command:
# cat /etc/almalinux-release
You will see an output similar to this:
[root@almalinux9 ~]# cat /etc/almalinux-release
AlmaLinux release 9.1 (Lime Lynx)
The shell commands in this article are executed using ‘root’ account. If you want to use your regular user with sudo privileges to run the commands, make sure to append ‘sudo’ in front of the commands.
Step 2. Update the system
Before starting, you have to make sure that all AlmaLinux OS packages installed on the server are up to date. You can do this by running the following commands:
# dnf update
# dnf upgrade
Step 3. Install and Configure the Web Server
In this tutorial, we are going to use Nginx as the web server. Run this command to install it.
# dnf install nginx -y
Start nginx and enable it on boot.
# systemctl enable --now nginx
Now, let’s create an nginx server block or virtual host.
# nano /etc/nginx/conf/bagisto.conf
Paste the following and make sure you replace bagisto.yourdomain.com with your actual domain or subdomain name:
server {
   listen 80;
   server_name bagisto.yourdomain.com;
   root /opt/bagisto/public;

   add_header X-Frame-Options "SAMEORIGIN";
   add_header X-Content-Type-Options "nosniff";

   index index.php;

   charset utf-8;

   location / {
      try_files $uri $uri/ /index.php?$query_string;
   }

   location = /favicon.ico { access_log off; log_not_found off; }
   location = /robots.txt { access_log off; log_not_found off; }

   error_page 404 /index.php;

   location ~ \.php$ {
      fastcgi_pass unix:/run/php-fpm/www.sock;
      fastcgi_param SCRIPT_FILENAME $realpath_root$fastcgi_script_name;
      include fastcgi_params;
   }

   location ~ /\.(?!well-known).* {
      deny all;
   }
}
Save the file, then exit and restart nginx.
# systemctl restart nginx
Step 4. Install MariaDB and Create a Database
In this step, we are going to install the MariaDB server from the default repository. To install the MariaDB server, execute this command:
# dnf install mariadb-server
Let’s run the MariaDB service and enable it on boot.
# systemctl enable --now mariadb
MariaDB has been successfully installed, and it is running; now we can proceed with creating a new database and a user for our Bagisto website.
# mysql
There is no password for root at the moment, so that you can log in to MySQL/MariaDB shell without one.
mysql> CREATE DATABASE bagisto;
mysql> GRANT ALL on bagisto.* to bagisto@localhost identified by 'm0d1fyth15';
mysql> FLUSH PRIVILEGES;
mysql> \q
Make sure to create a stronger database password, and replace m0d1fyth15 in the command above with a stronger password.
Step 5. Install PHP
The default version of PHP available in AlmaLinux 9 is version 8. We can use this PHP version to proceed with Bagisto installation.
Run this command to install PHP and the required extensions
# dnf install php-{bcmath,common,curl,fpm,gd,intl,mbstring,mysqlnd,soap,xml,xsl,zip,cli,devel,pear} libsodium-devel
We would also need to install Sodium, and this can be installed using PECL
# pecl install libsodium
To enable Sodium extension, we can add enable it by adding extension=sodium.so in php.ini file, run this command:
# echo "extension=sodium.so" >> /etc/php.ini
You can check and verify the installed PHP version with this command.
# php -v
It will return an output like this:
[root@almalinux9 ~]# php -v
PHP 8.0.20 (cli) (built: Jun 8 2022 00:33:06) ( NTS gcc x86_64 )
Copyright (c) The PHP Group
Zend Engine v4.0.20, Copyright (c) Zend Technologies
with Zend OPcache v8.0.20, Copyright (c), by Zend Technologies
Step 6. Install Composer
Composer is a package manager for the PHP programming language that can be used for managing dependencies of PHP software and required libraries.
The installation of Composer is fairly easy and straightforward. Simply download and install Composer with these commands:
# curl -sS https://getcomposer.org/installer -o composer-setup.php
# php composer-setup.php --install-dir=/usr/local/bin --filename=composer
That’s it. You have successfully installed Composer on your AlmaLinux server. To check the Composer version, you can run the following command:
# composer -V
Or
# composer --version
Step 7. Install NodeJS
For this tutorial purpose, we are going to install the latest LTS version of NodeJS. Invoke these commands to add the NodeJS repository, then install it.
# curl -sL https://rpm.nodesource.com/setup_lts.x | bash -
# dnf install nodejs -y
NodeJS has been installed, and we can verify the installation by checking the node and vpm versions.
# node -v; npm -v
You should see this output:
[root@almalinux9 ~]# node -v; npm -v
v18.12.1
8.19.2
Step 8. Install Bagisto using Composer
When running composer using the root account, we would receive a warning message. Since we are using the ‘root’ user in this tutorial to install Bagisto, we need to run this command to allow the root to run composer.
# export COMPOSER_ALLOW_SUPERUSER=1
We should be able to run the composer executable without warning. Next, go to /opt; we will install Bagisto in /opt/bagisto
# cd /opt
Execute the command below to start downloading Bagisto.
# composer create-project bagisto/bagisto
Now, we need to modify the .env file to proceed with the installation.
# nano /opt/bagisto/.env
Make sure to edit the followings:
APP_URL=http://localhost
DB_DATABASE=
DB_USERNAME=
DB_PASSWORD=
DB_PREFIX=
You need to use the MySQL database credentials we created earlier. It should look like this:
APP_URL=http://bagisto.yourdomain.com
DB_DATABASE=bagisto
DB_USERNAME=bagisto
DB_PASSWORD=m0d1fyth15
DB_PREFIX=bgs_
Save the changes, then exit from the editor. Now, we can start the installation.
# cd bagisto
# php artisan bagisto:install
The command above will install Bagisto, and you will see an output similar to this:
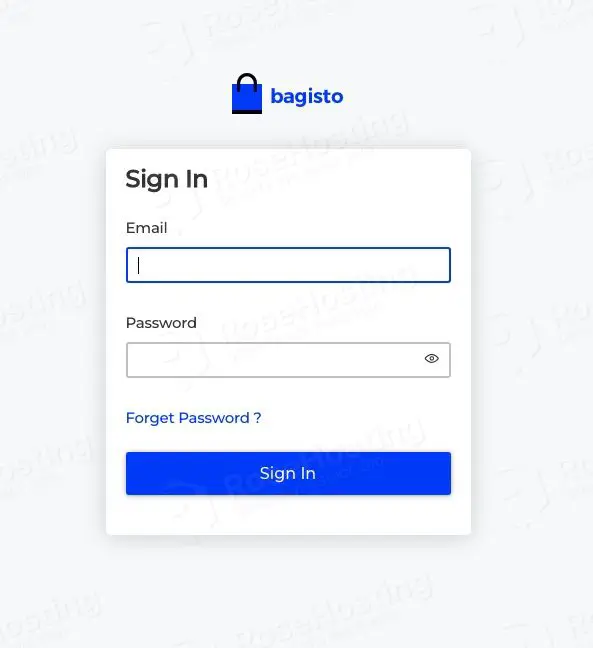
Congratulations!
The installation has been finished and you can now use Bagisto.
Go to http://bagisto.yourdomain.com/admin and authenticate with:
Email: [email protected]
Password: admin123
You can use a web browser and navigate to http://bagisto.yourdomain.com/admin now.
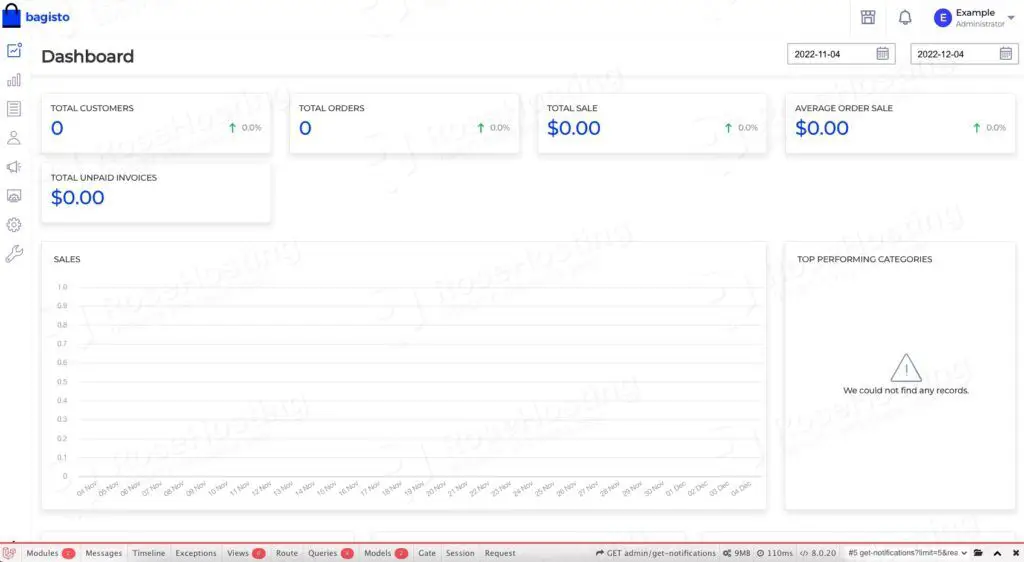
Once logged in, you will be brought to the dashboard.
Step 9. Install SSL/TLS Certificate
This step is optional but highly recommended to complete. This step will walk you through SSL installation from Let’s Encrypt using certbot.
# dnf install certbot python3-certbot-nginx
Prior to generating a new SSL certificate for your bagisto.yourdomain.com, make sure that the domain/subdomain DNS A record is already pointing to your server IP address. If there is an issue when generating a free SSL certificate, most likely, the DNS update is not fully propagated.
# certbot
You will get an output like this; you need to answer the prompts.
[root@almalinux9 bagisto]# certbot

Saving debug log to /var/log/letsencrypt/letsencrypt.log
Enter email address (used for urgent renewal and security notices)
(Enter 'c' to cancel): [email protected]

- - - - - - - - - - - - - - - - - - - - - - - - - - - - - - - - - - - - - - - -
Please read the Terms of Service at
https://letsencrypt.org/documents/LE-SA-v1.3-September-21-2022.pdf. You must
agree in order to register with the ACME server. Do you agree?
- - - - - - - - - - - - - - - - - - - - - - - - - - - - - - - - - - - - - - - -
(Y)es/(N)o: y

- - - - - - - - - - - - - - - - - - - - - - - - - - - - - - - - - - - - - - - -
Would you be willing, once your first certificate is successfully issued, to
share your email address with the Electronic Frontier Foundation, a founding
partner of the Let's Encrypt project and the non-profit organization that
develops Certbot? We'd like to send you email about our work encrypting the web,
EFF news, campaigns, and ways to support digital freedom.
- - - - - - - - - - - - - - - - - - - - - - - - - - - - - - - - - - - - - - - -
(Y)es/(N)o: n
Account registered.

Which names would you like to activate HTTPS for?
We recommend selecting either all domains, or all domains in a VirtualHost/server block.
- - - - - - - - - - - - - - - - - - - - - - - - - - - - - - - - - - - - - - - -
1: bagisto.yourdomain.com
- - - - - - - - - - - - - - - - - - - - - - - - - - - - - - - - - - - - - - - -
Select the appropriate numbers separated by commas and/or spaces, or leave input
blank to select all options shown (Enter 'c' to cancel): 1
Requesting a certificate for bagisto.yourdomain.com

Successfully received certificate.
Certificate is saved at: /etc/letsencrypt/live/bagisto.yourdomain.com/fullchain.pem
Key is saved at: /etc/letsencrypt/live/bagisto.yourdomain.com/privkey.pem
This certificate expires on 2023-03-04.
These files will be updated when the certificate renews.
Certbot has set up a scheduled task to automatically renew this certificate in the background.

Deploying certificate
Successfully deployed certificate for bagisto.yourdomain.com to /etc/nginx/conf.d/bagisto.yourdomain.com.conf
Congratulations! You have successfully enabled HTTPS on https://bagisto.yourdomain.com

- - - - - - - - - - - - - - - - - - - - - - - - - - - - - - - - - - - - - - - -
If you like Certbot, please consider supporting our work by:
* Donating to ISRG / Let's Encrypt: https://letsencrypt.org/donate
* Donating to EFF: https://eff.org/donate-le
- - - - - - - - - - - - - - - - - - - - - - - - - - - - - - - - - - - - - - - -
That’s it! You have learned how to install Bagisto Ecommerce on Almalinux. Your bagisto website should be accessible at https://bagisto.yourdomain.com.
Of course, you don’t have to install Bagisto Ecommerce on Almalinux if you use one of our Django VPS Hosting services. You can simply ask our expert Linux admins to install Bagisto Ecommerce on Almalinux VPS for you. They are available 24/7 and will take care of your request immediately.
PS. If you liked this post on how to install Bagisto Ecommerce on Almalinux, please share it with your friends on the social networks using the buttons below or simply leave a reply in the comments sections. Thanks.
