

We’ll show you how to install Observium on a Debian 9 server. Observium is a network monitoring software written in PHP. It is a cross-platform application and supports all popular operating systems, but this tutorial was written for Debian 9 OS. At the time of writing this tutorial, the latest stable version of Observium is 17.9, and it requires:
- PHP 5.6 or higher (preferably PHP 7.0), with mbstring, pear, mcrypt, JSON, mysqli and GD PHP extensions enabled. PHP 7.1 is not supported on the current community edition release.
- MySQL 5, MariaDB 5 or later
- Apache web server 2.2 or higher compiled with mod_rewrite module and AllowOverride set to ‘All’ (please note, the default setting for AllowOverride in Apache 2.3.9 and higher is ‘None’).
This install guide assumes that Apache and MySQL/MariaDB are already installed and configured on your virtual server.
Let’s start with the installation procedure.
1. Update the System Packages
Make sure your server Debian 9 OS packages are fully up-to-date:
apt-get update
apt-get upgrade
2. Install the Required Packages
Install the required packages for Observium:
apt-get install php7.0-cli php7.0-mysql php7.0-mysqli php7.0-gd php7.0-mcrypt php7.0-json php-pear imagemagick snmp fping python-mysqldb subversion whois mtr-tiny ipmitool graphviz rrdtool
3. Enable Apache Rewrite Module
Enable Apache rewrite module if it is not already done so:
a2enmod rewrite
4. Restart Apache
Restart the Apache service for the changes to take effect:
service apache2 restart
5. Install Observium on Debian 9
Download the latest community version of Observium available at http://www.observium.org in the /opt/ directory on the server:
cd /opt/
wget http://www.observium.org/observium-community-latest.tar.gz
tar zxvf observium-community-latest.tar.gz
mv observium /var/www/html/observium
mkdir -p /var/www/html/observium/rrd
6. Set Proper Ownership of Observium Files
All files have to be readable by the web server, so set a proper ownership:
chown www-data:www-data -R /var/www/html/observium
7. Create Database and User
Create a new MySQL database and user:
mysql -u root -p
mysql> SET GLOBAL sql_mode='';
mysql> CREATE DATABASE observiumdb;
mysql> CREATE USER 'observiumuser'@'localhost' IDENTIFIED BY 'y0uR-pa5sW0rd';
mysql> GRANT ALL PRIVILEGES ON observiumdb.* TO 'observiumuser'@'localhost';
mysql> FLUSH PRIVILEGES;
mysql> quit
Do not forget to replace ‘y0uR-pa5sW0rd’ with a strong password.
8. Create a New Virtual Host
Create a new virtual host directive in Apache. For example, create a new Apache configuration file named ‘observium.conf’ on your virtual server:
touch /etc/apache2/sites-available/observium.conf
ln -s /etc/apache2/sites-available/observium.conf /etc/apache2/sites-enabled/observium.conf
vi /etc/apache2/sites-available/observium.conf
Then, add the following lines:
<VirtualHost *:80>
ServerAdmin [email protected]
DocumentRoot /var/www/html/observium/html
ServerName your-domain.com
ServerAlias www.your-domain.com
 <FilesMatch \.php$>
 SetHandler application/x-httpd-php
 </FilesMatch>
 <Directory />
 Options FollowSymLinks
 AllowOverride None
 </Directory>
<Directory /var/www/html/observium/html>
DirectoryIndex index.php
Options Indexes FollowSymLinks MultiViews
AllowOverride All
Require all granted
</Directory>
ErrorLog /var/log/apache2/your-domain.com-error_log
CustomLog /var/log/apache2/your-domain.com-access_log common
</VirtualHost>
Remove the 000-default.conf file:
rm /etc/apache2/sites-enabled/000-default.conf
9. Restart Apache Web Server
Restart the Apache web server for the changes to take effect:
service apache2 restart
10. Create a config.php File
vi /var/www/html/observium/config.php
Add the following lines:
<?php
$config[‘db_extension’] = ‘mysqli’;
$config[‘db_host’] = ‘localhost’;
$config[‘db_user’] = ‘observiumuser’;
$config[‘db_pass’] = ‘y0uR-pa5sW0rd’;
$config[‘db_name’] = ‘observiumdb’;
$config[‘snmp’][‘community’] = array(“public”);
$config[‘auth_mechanism’] = “mysql”;
Then, run the following commands to insert the default schema:
cd /var/www/html/observium/
php ./discovery.php -u
11. Create a user account
Create a user account, use level of 10 for admin .e.g.:
./adduser.php admin <password> 10
12. Continue Observium Installation in a Web Browser
Open http://your-domain.com in your favorite web browser and log in using the newly created admin account:
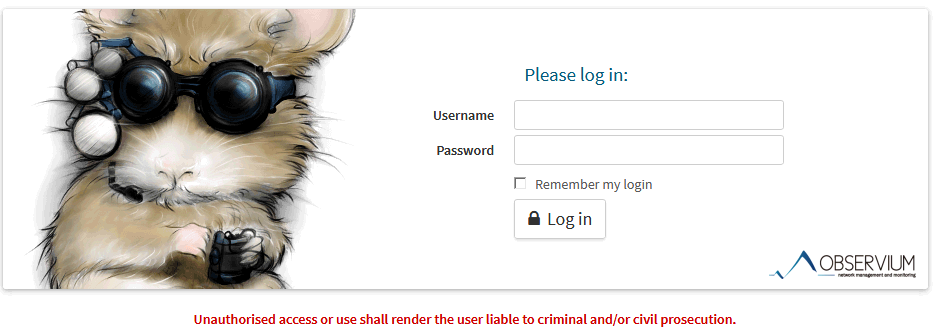
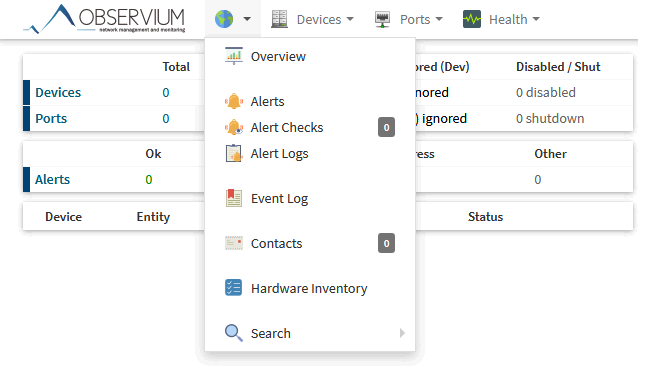
That is it. Observium has been installed on your server.
Of course you don’t have to install Observium on Debian, if you use one of our Outsourced Hosting Support services, in which case you can simply ask our expert Linux admins to install Observium on a Debian 9 server, for you. They are available 24×7 and will take care of your request immediately.
PS. If you enjoy reading this post on how to Install Observium on a Debian 9 server , feel free to share it on social networks using the shortcuts below, or simply leave a comment.

i am getting this error when i try to run this command
php ./discovery.php -u
DB Error 1045: Access denied for user ”@’localhost’ (using password: NO)
Make sure that your configuration file in step 10 is updated with the correct database information you used from the step 7.
I also got this error…
DB Error 1045: Access denied for user ”@’localhost’ (using password: NO)
However I managed to get it working by copying the default file
cp config.php.default config.php
and then editing in the auth details to match.
So I’m guessing the cut and paste from the browser might of got some extra stuff.