
XWiki is a free and open-source platform written in Java used for storing structured data and running the server-side code that creates the wiki interface. In this tutorial, we are going to explain how to install XWiki on AlmaLinux 9.
XWiki offers a variety of features such as structured content, PDF export, Version control, plugins, API programming, and many more. XWiki stores the data into the MySQL database server, and alongside Tomcat we will install the MariaDB database server.
Installing XWiki with all of its requirements will take up to 20 minutes. Let’s get started!
Prerequisites
- A server running AlmaLinux 9
- User privileges: root or non-root user with sudo privileges
Step 1. Update the System
Before we start with the installation of XWiki, we need to update the system packages to their latest versions available:
sudo dnf update -y && sudo dnf upgrade -y
Step 2. Install Java
To install Java, execute the following command:
dnf install java
Once Java is installed, you can check the version with the command below:
java --version
You should get the following output:
[root@host ~]# java --version
openjdk 11.0.21 2023-10-17 LTS
OpenJDK Runtime Environment (Red_Hat-11.0.21.0.9-1) (build 11.0.21+9-LTS)
OpenJDK 64-Bit Server VM (Red_Hat-11.0.21.0.9-1) (build 11.0.21+9-LTS, mixed mode, sharing)
Step 3. Install Tomcat
To install Tomcat, execute the following commands one by one:
groupadd tomcat

useradd -g tomcat -d /opt/tomcat tomcat

su - tomcat

wget https://dlcdn.apache.org/tomcat/tomcat-8/v8.5.96/bin/apache-tomcat-8.5.96.tar.gz -O tomcat8.tar.gz

tar -xzvf tomcat8.tar.gz --strip-components=1

exit
Next, we need to create a service file for Tomcat:
touch /etc/systemd/system/tomcat8.service
Once the file is created, open it with your preferred text editor and paste the following lines of code:
[Unit]
Description=Tomcat 8
After=syslog.target network.target

[Service]
Type=forking

User=tomcat
Group=tomcat

Environment=JAVA_HOME=/usr/lib/jvm/jre
Environment=CATALINA_PID=/opt/tomcat/temp/tomcat.pid
Environment=CATALINA_HOME=/opt/tomcat
Environment=CATALINA_BASE=/opt/tomcat
Environment='CATALINA_OPTS=-Xms512M -Xmx1024M -XX:MaxPermSize=192m -server -XX:+UseParallelGC'
Environment='JAVA_OPTS=-Djava.awt.headless=true -Djava.security.egd=file:/dev/./urandom'

ExecStart=/opt/tomcat/bin/startup.sh
ExecStop=/bin/kill -15 $MAINPID

[Install]
WantedBy=multi-user.target
Save the file and close it. Once done, reload the SystemD daemon. start the service, and configure it to start on boot:
systemctl daemon-reload

systemctl start tomcat8

systemctl enable tomcat8
To check the status of the Tomcat service, execute the following command:
systemctl status tomcat8
You should get the following output:
[root@host ~]# systemctl status tomcat8
● tomcat8.service
     Loaded: loaded (/etc/systemd/system/tomcat8.service; disabled; preset: disabled)
     Active: active (running) since Sun 2023-11-19 14:25:10 CST; 2min 21s ago
    Process: 7503 ExecStart=/opt/tomcat/bin/startup.sh (code=exited, status=0/SUCCESS)
   Main PID: 7510 (java)
      Tasks: 28 (limit: 23116)
     Memory: 155.7M
        CPU: 8.996s
     CGroup: /system.slice/tomcat8.service
             └─7510 /usr/lib/jvm/jre/bin/java -Djava.util.logging.config.file=/opt/tomcat/conf/logging.properties -Djava.util.logging.manager>

Nov 19 14:25:10 host.test.vps systemd[1]: Starting tomcat8.service...
Nov 19 14:25:10 host.test.vps startup.sh[7503]: Tomcat started.
Nov 19 14:25:10 host.test.vps systemd[1]: Started tomcat8.service.
Step 4. Install MariaDB database server
To install the MariaDB database server, execute the following command:
dnf install mariadb-server -y
After installation, start and enable the service:
sudo systemctl start mariadb && sudo systemctl enable mariadb
To check the status of the service execute the following command:
sudo systemctl status mariadb
You should get the following output:
[root@host ~]# sudo systemctl status mariadb
● mariadb.service - MariaDB 10.5 database server
     Loaded: loaded (/usr/lib/systemd/system/mariadb.service; enabled; preset: disabled)
     Active: active (running) since Sun 2023-11-19 14:33:59 CST; 49s ago
       Docs: man:mariadbd(8)
             https://mariadb.com/kb/en/library/systemd/
   Main PID: 8446 (mariadbd)
     Status: "Taking your SQL requests now..."
      Tasks: 16 (limit: 23116)
     Memory: 75.5M
        CPU: 670ms
     CGroup: /system.slice/mariadb.service
             └─8446 /usr/libexec/mariadbd --basedir=/usr
Step 5. Create a MariaDB database and User
Now, we need to create a database and user for our XWiki installation. To do that, login to the MariaDB console with the mysql command and execute the following queries:
MariaDB [(none)]> CREATE DATABASE xwiki default character set utf8mb4 collate utf8mb4_bin;
MariaDB [(none)]> CREATE USER 'xwiki'@'localhost' IDENTIFIED BY 'YourStrongPasswordHere';
MariaDB [(none)]> GRANT all privileges on *.* to xwiki@localhost;
MariaDB [(none)]> EXIT;
Make sure to replace YourStrongPasswordHere with a unique, strong password. Remember it, because we’ll need it later.
Step 6. Download XWiki
Finally, we are at the most important step of the installation. We need to download the XWiki installation, place it into the Tomcat webapps folder, and configure the MariaDB database Java connector.
cd /opt/tomcat/webapps

wget https://nexus.xwiki.org/nexus/content/groups/public/org/xwiki/platform/xwiki-platform-distribution-war/15.8/xwiki-platform-distribution-war-15.8.war -O xwiki.war
Next we need to download the MariaDB Java connector and move it into the lib folder of our XWiki application:
wget https://dlm.mariadb.com/3478935/Connectors/java/connector-java-3.3.0/mariadb-java-client-3.3.0.jar

mv mariadb-java-client-3.3.0.jar /opt/tomcat/webapps/xwiki/WEB-INF/lib/
To configure MariaDB, to be the main database server for XWiki, open the following file:
nano /opt/tomcat/webapps/xwiki/WEB-INF/hibernate.cfg.xml
Comment the HSQLDB configuration and uncomment the section for MariaDB configuration:

Save the file and close it.
Now, you can access your XWiki installation at http://YourServerIPAddress:8080/xwiki
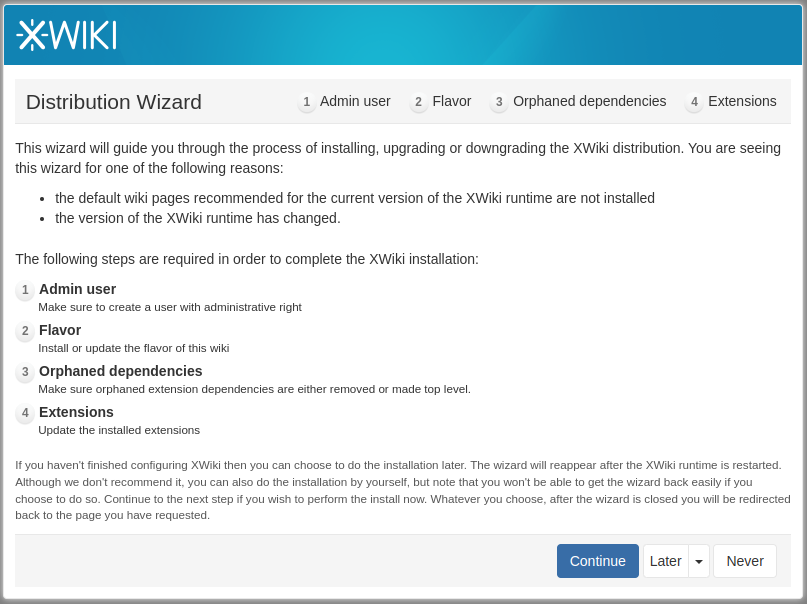
Step 7. Finish XWiki Installation
On the first screen, click on the Continue button
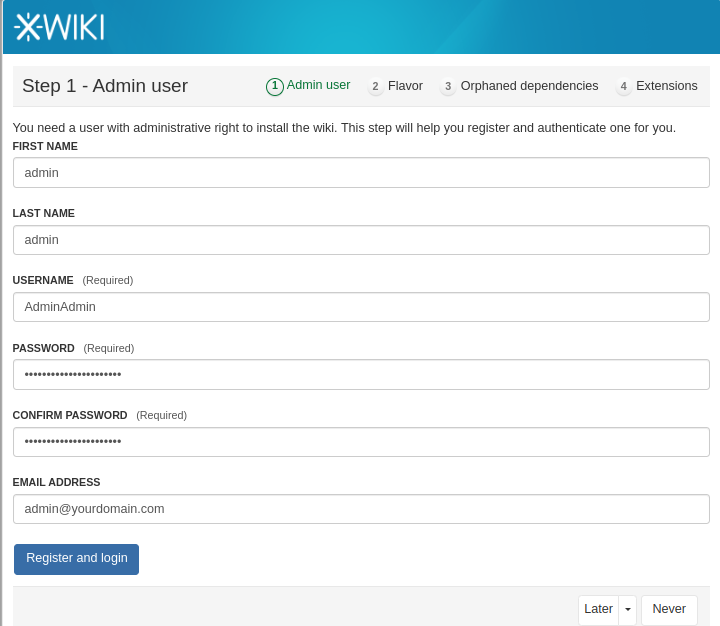
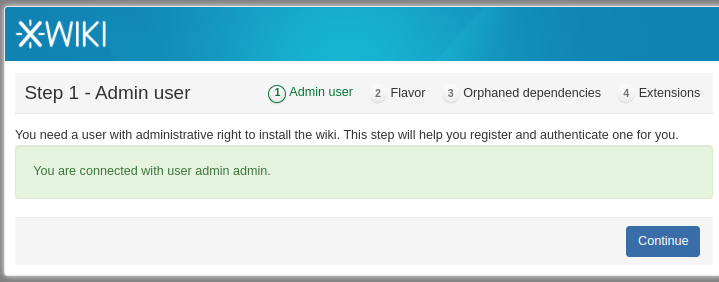
In this step, set the administrator username, a strong password and email.
On the third screen, click on the Continue button:
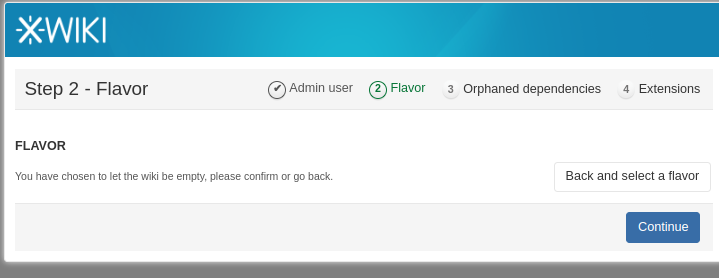
Next choose the wiki to be empty and hit on the Continue button:
On the last window click on the Continue button as well:
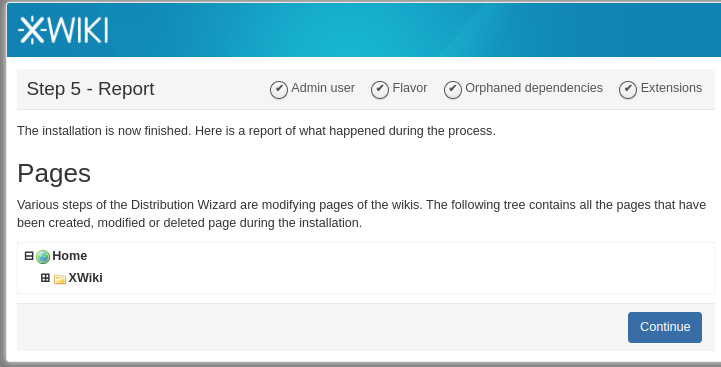
Congratulations! You successfully installed XWiki on AlmaLinux 9 with the MariaDB java connector:

Of course, you don’t have to spend your time installing XWiki on AlmaLinux 9 if you have a managed Linux server support plan with us. If you do, you can simply ask our support team to install XWiki on AlmaLinux 9 for you. They are available 24/7 and will be able to help you with the installation of XWiki as well as any additional requirements that you may have.
PS. If you liked this post, please share it with your friends on social networks, or simply leave a reply below if this guide worked for you. Thanks.
