

Kuma is an open source monitoring tool like “Uptime Robot” written in Nodejs. In this article, we’ll learn how to install it on Ubuntu 20.04 so we can self-host our Uptime Bot. We’ll also set up a reverse proxy on Apache with a Let’s Encrypt SSL to secure our website.
Kuma is easy to use and upgrade, and is powerful for traffic control, observability, service discovery, etc.
Prerequisites
- An Ubuntu server 20.04
- Root access on your server to install and deploy the services.
Adding user to the system
For security reasons, you should deploy the application using a non-root user on your system. To add the user, you can just use this command:
useradd -m -s /bin/bash kumaAfter your user is created, you need to set a password using this command:
passwd kumaNow we’ll let our user have root privileges with the following command:
usermod -aG sudo kumaInstalling NVM (Node Version Manager)
This tool that we’ll install now, will let us specific our nodejs versions for our applications to make our development and deployments environments more flexible.
First of all, we need to switch from the root user to our Kuma.
su - kumaNow you can just install the NVM with the following command:
curl -o- https://raw.githubusercontent.com/nvm-sh/nvm/v0.38.0/install.sh | bashYou need to reload your bashrc file to load the nvm commands:
source ~/.bashrcWe can check now if the NVM is running with this command:
nvm --versionInstall NodeJS LTS Version
To install and deploy your uptime Kuma bot, you need to install nodejs >= 14, git, and pm2. In this section, you’ll learn how to install NodeJS.
With the NVM command properly working, you can simply run:
nvm install --ltsAnd the latest version will be installed on your server. You can check once it finished with the following command:
kuma@server:~$ node --version
v14.18.1
Downloading and installing Uptime-Kuma
To download the uptime Kuma, you need to install git on your server. You can simply run:
sudo apt-get install gitNow just run the following to download the uptime-kuma:
git clone https://github.com/louislam/uptime-kuma.gitYou’ll be able now to access your downloaded content and setup the Kuma with the following command:
cd uptime-kuma/
npm run setup
And you’re done, the uptime-kuma setup runs without errors and we can go to setup pm2.
Setting up Uptime-Kuma with pm2
pm2 is a nodejs process manager that will help you manage and keep your nodejs application alive forever. pm2 has some built-in features that make the nodejs application deployment easy, it allows you to monitor your application status, logs, and even set up the service file for your application.
- Install pm2 with npm:
npm install pm2 --global2. Once the installation is completed, you can run this to start Kuma command:
pm2 start npm --name uptime-kuma -- run start-server -- --port=3001 --hostname=127.0.0.1You should see a screen like the below once you run the command above:

Now, we’ll create a system file for the service, first you need to run the below command to get the following result:
pm2 startupYou should receive an output like this one:
sudo env PATH=$PATH:/home/kuma/.nvm/versions/node/v14.18.1/bin /home/kuma/.nvm/versions/node/v14.18.1/lib/node_modules/pm2/bin/pm2 startup systemd -u kuma --hp /home/kumaJust copy the result and paste it on your terminal, so you’ll have an output like this:
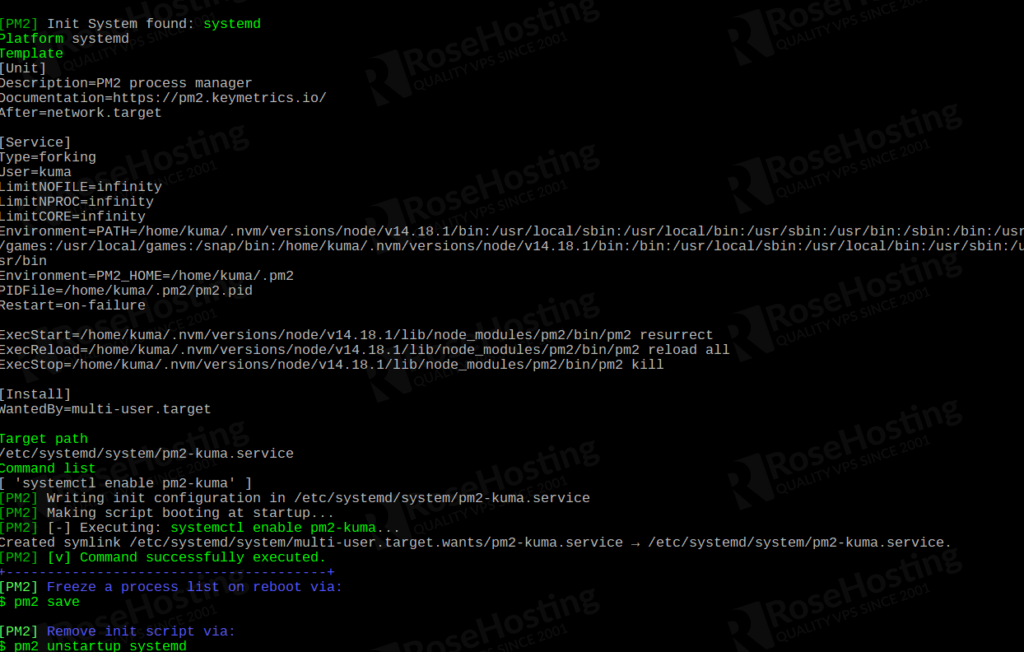
We need to save the current ongoing process:
pm2 saveSettuping a reverse proxy on kuma service
First of all, we need to install the apache on our server:
sudo apt install apache2Once the installation is done, you need to enable the proxy modules:
sudo a2enmod ssl proxy proxy_ajp proxy_wstunnel proxy_http rewrite deflate headers proxy_balancer proxy_connect proxy_htmlWe need to create the virtualhost for our subdomain or domain with the following content:
<VirtualHost *:80>
  ServerName EXAMPLE.COM
  ProxyPass / http://localhost:3001/
  RewriteEngine on
  RewriteCond %{HTTP:Upgrade} websocket [NC]
  RewriteCond %{HTTP:Connection} upgrade [NC]
  RewriteRule ^/?(.*) "ws://localhost:3001/$1" [P,L]
</VirtualHost>
(Be sure to change from example.com to your actual domain)
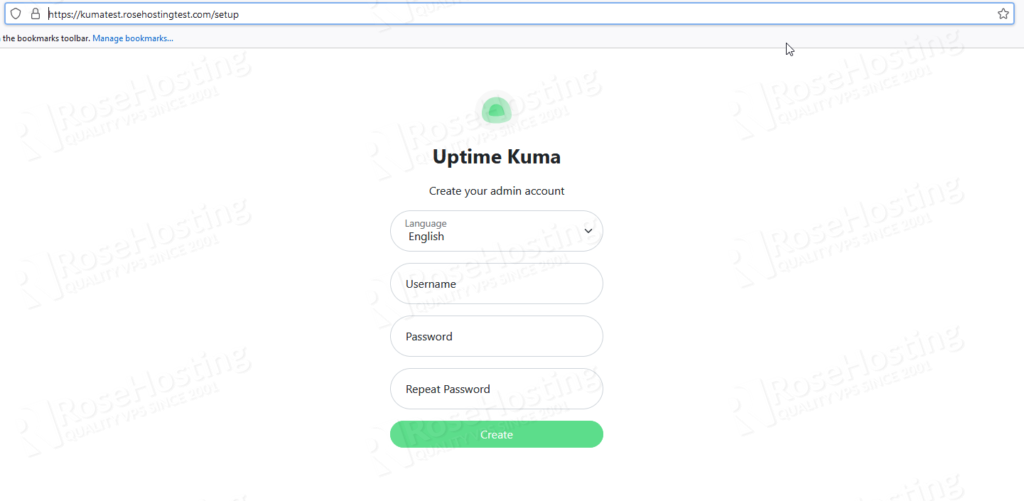
You can now access your domain and you should see the Kuma website
Setting up Let’s Encrypt on our domain
First of all, to secure our domains with Let’s Encrypt, we need to install the certbot. The service responsible for the verification of our domain:
sudo apt install python3-certbot-apacheTo generate a certificate on your domain, you need to run the following command:
sudo certbot --apache example.com(Be sure to change from example.com to your actual domain)
And you just need to follow the instructions on your terminal.
So, we are done. You can now proceed with your uptime kuma setup and finish it. Everything should be working fine with HTTPS.
Of course, you don’t have to install Uptime Kuma on Ubuntu 20.04, if you use one of our managed VPS hosting services, in which case you can simply ask our expert Linux admins to set up this for you. They are available 24/7 and will take care of your request immediately.
