

In this tutorial, we are going to explain in step-by-step detail how to install Icinga 2 on Ubuntu 22.04
Icinga is a free and open-source monitoring tool used for sending alerts when failures occur on the servers. Icinga is written in C++ and PHP and stores the information in the MySQL database. It offers many features, such as modern user interface database connectors for MySQL, PostgreSQL, Oracle, REST API, etc. In this blog post, we will install Icinga 2 with the LAMP stack.
Installing Icinga 2 with LAMP stack is a process that may take up to 30 minutes. Let’s get started!
Prerequisites
- A server with Ubuntu 22.04 as OS
- User privileges: root or non-root user with sudo privileges
Step 1. Update the System
Before we start to install the software, we need to update the system packages to the latest versions available.
sudo apt-get update -y && sudo apt-get upgrade -y
Step 2. Install LAMP stack
First of the LAMP stack is the Apache Web server. To install it execute the following command:
sudo apt install apache2 -y
Once installed, start and enable the service.
sudo systemctl enable apache2 && sudo systemctl start apache2
Check if the service is up and running:
sudo systemctl status apache2
You should receive the following output:
root@host:~# sudo systemctl status apache2
● apache2.service - The Apache HTTP Server
     Loaded: loaded (/lib/systemd/system/apache2.service; enabled; vendor preset: enabled)
     Active: active (running) since Sat 2023-04-22 18:00:43 CDT; 17min ago
       Docs: https://httpd.apache.org/docs/2.4/
   Main PID: 792 (apache2)
      Tasks: 7 (limit: 4571)
     Memory: 22.5M
        CPU: 246ms
     CGroup: /system.slice/apache2.service
Next is PHP, along with its extensions. To install the PHP8.1 along with extensions, execute the following command:
sudo apt-get install php8.1 php8.1-cli php8.1-common php8.1-imap php8.1-redis php8.1-snmp php8.1-xml php8.1-zip php8.1-mbstring php8.1-curl libapache2-mod-php
The last of the LAMP stack is the MariaDB database server. To install it execute the command below.
sudo apt install mariadb-server -y
Start and enable the mariadb.service with the following commands:
sudo systemctl start mariadb && sudo systemctl enable mariadb
Check the status of the mariadb.service
sudo systemctl status mariadb
You should receive the following output:
root@host:~# sudo systemctl status mariadb
● mariadb.service - MariaDB 10.6.12 database server
     Loaded: loaded (/lib/systemd/system/mariadb.service; enabled; vendor preset: enabled)
     Active: active (running) since Sat 2023-04-22 18:19:53 CDT; 9s ago
       Docs: man:mariadbd(8)
             https://mariadb.com/kb/en/library/systemd/
   Main PID: 5829 (mariadbd)
     Status: "Taking your SQL requests now..."
      Tasks: 16 (limit: 4571)
     Memory: 61.4M
        CPU: 514ms
     CGroup: /system.slice/mariadb.service
             └─5829 /usr/sbin/mariadbd
Step 3. Install Icinga 2
First, we will add the GPG key, and will create a repository:
wget -O - https://packages.icinga.com/icinga.key | gpg --dearmor -o /usr/share/keyrings/icinga-archive-keyring.gpg

. /etc/os-release; if [ ! -z ${UBUNTU_CODENAME+x} ]; then DIST="${UBUNTU_CODENAME}"; else DIST="$(lsb_release -c| awk '{print $2}')"; fi; \
 echo "deb [signed-by=/usr/share/keyrings/icinga-archive-keyring.gpg] https://packages.icinga.com/ubuntu icinga-${DIST} main" > \
 /etc/apt/sources.list.d/${DIST}-icinga.list
 echo "deb-src [signed-by=/usr/share/keyrings/icinga-archive-keyring.gpg] https://packages.icinga.com/ubuntu icinga-${DIST} main" >> \
 /etc/apt/sources.list.d/${DIST}-icinga.list
Update the system and install Icinga2
sudo apt update -y

sudo apt install icinga2 -y
After installation, start and enable the icinga2 service.
sudo systemctl start icinga2 && sudo systemctl enable icinga2
Check the status of Icinga 2:
sudo systemctl status icinga2
You should get the following output:
root@host:~# sudo systemctl status icinga2
● icinga2.service - Icinga host/service/network monitoring system
     Loaded: loaded (/lib/systemd/system/icinga2.service; enabled; vendor preset: enabled)
    Drop-In: /etc/systemd/system/icinga2.service.d
             └─limits.conf
     Active: active (running) since Sat 2023-04-22 19:06:11 CDT; 4min 35s ago
   Main PID: 11632 (icinga2)
     Status: "Startup finished."
      Tasks: 16
     Memory: 14.3M
        CPU: 435ms
     CGroup: /system.slice/icinga2.service
Step 4. Install the Icinga2 IDO Module
To install the Icinga2 IDO module, execute the following command:
sudo apt install icinga2-ido-mysql -y
While installing, choose Yes on both windows. It is about Icinga2 using MySQL.
After this, we need to create an icinga2-ido-mysql database with the following commands:
CREATE DATABASE icinga_ido_db;
GRANT ALL ON icinga_ido_db.* TO 'icinga_ido_db'@'localhost' IDENTIFIED BY 'YourStrongPasswordHere';
FLUSH PRIVILEGES;
EXIT;
Once the database is created, import the Icinga2 IDO schema with the following command:
sudo mysql -u root -p icinga_ido_db < /usr/share/icinga2-ido-mysql/schema/mysql.sql
Once the schema is imported, the next is to enable the Icinga2 IDO module:
nano /etc/icinga2/features-available/ido-mysql.conf
Paste the following lines of code:
/**
 * The db_ido_mysql library implements IDO functionality
 * for MySQL.
 */

library "db_ido_mysql"

object IdoMysqlConnection "ido-mysql" {
  user = "icinga_ido_db",
  password = "YourStrongPasswordHere",
  host = "localhost",
  database = "icinga_ido_db"
}
Save the file, close it and enable the Icinga2-ido-mysql with the following command:
sudo icinga2 feature enable ido-mysql
After this restart the Icinga2 service:
systemctl restart icinga2
Step 5. Install and Setup IcingaWeb2
To install Icinga Web execute the following commands:
sudo apt install icingaweb2 icingacli -y
Next is to create a second database for the Icinga web:
CREATE DATABASE icingaweb2;
GRANT ALL ON icingaweb2.* TO 'icingaweb2'@'localhost' IDENTIFIED BY 'YourStrongPasswordHere';
FLUSH PRIVILEGES;
EXIT;
Next, we need to create an Icinga token:
root@host:~# sudo icingacli setup token create
The newly generated setup token is: dd3a1a8b218be0db
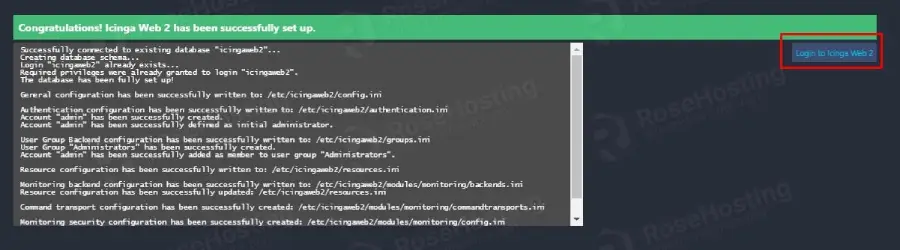
That was all with installing Icinga via the command line. The last step is about finishing the Icinga installation.
Step 6. Finish Icinga Installation
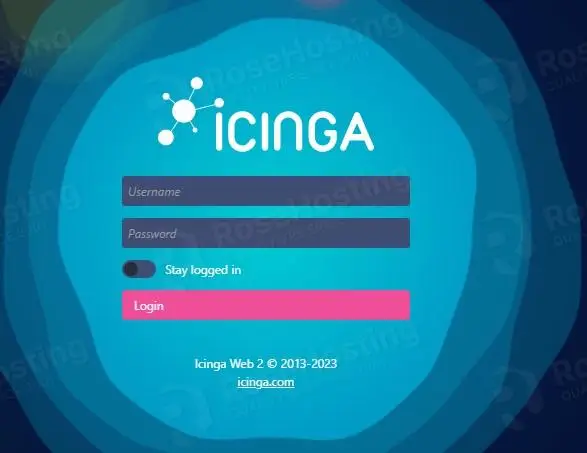
To finish the Icinga installation, you need to access it at http://YourServerIPaddress/icingaweb2/setup.
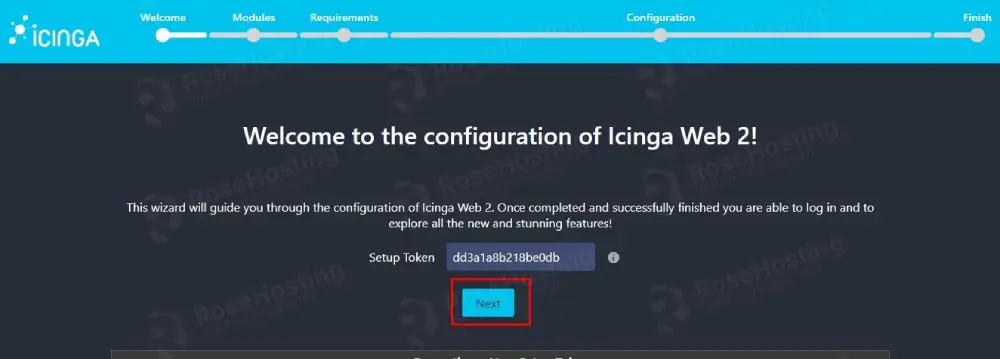
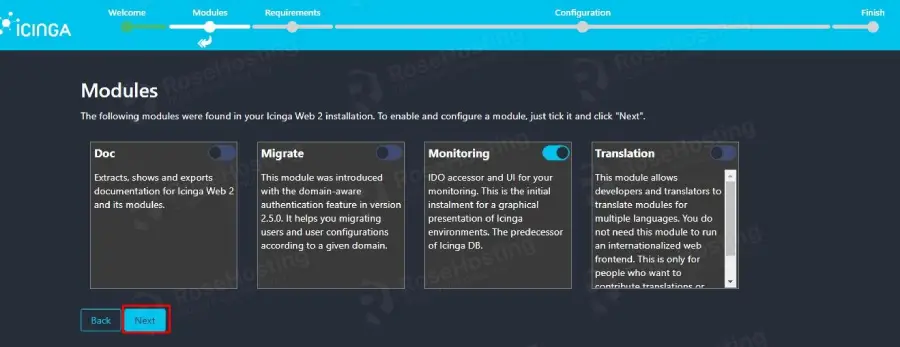
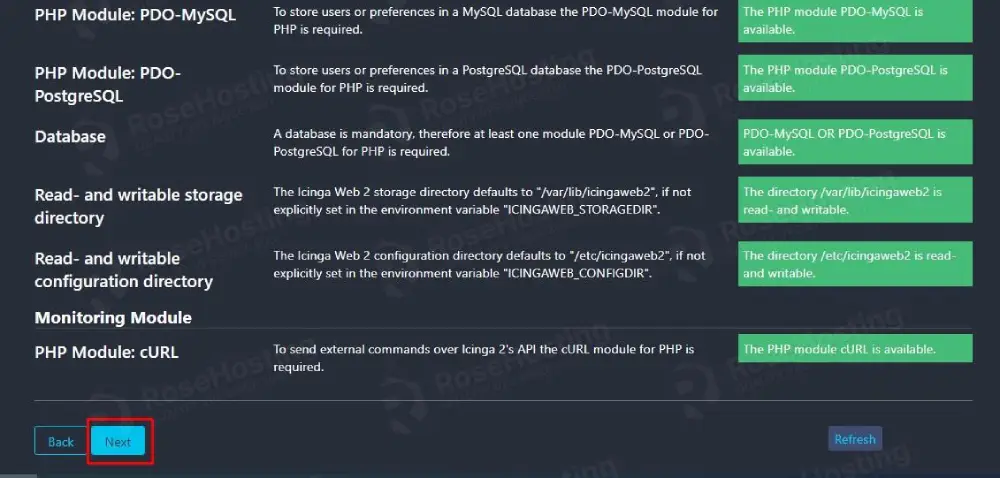
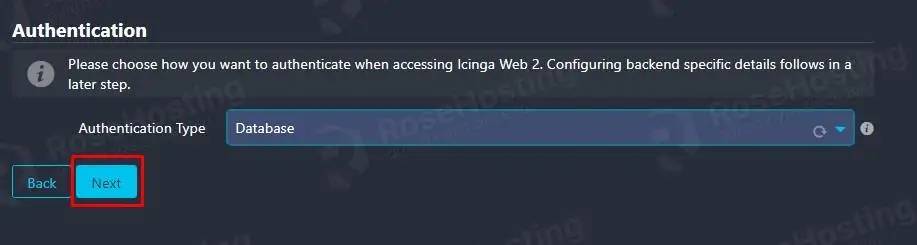
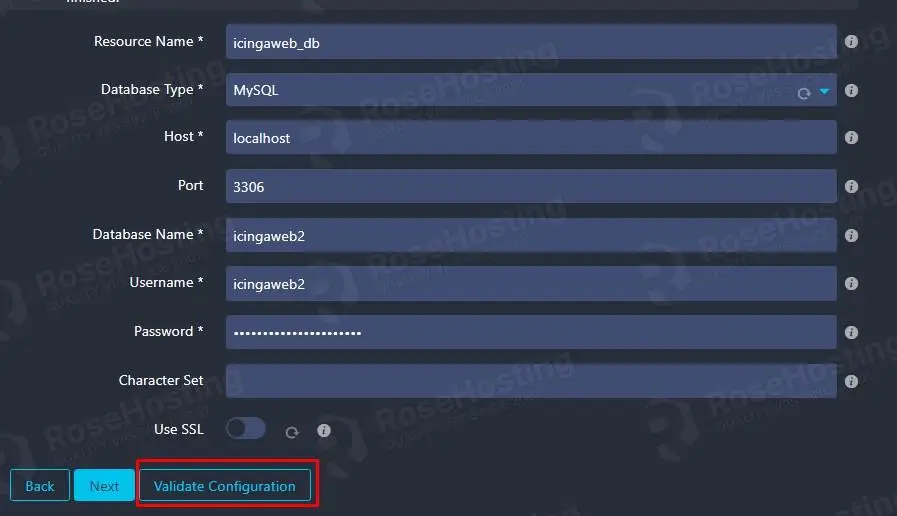
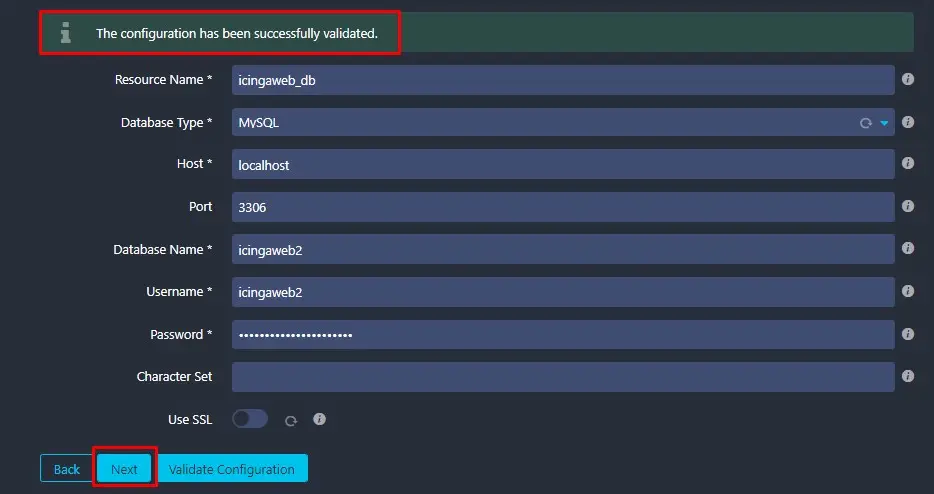
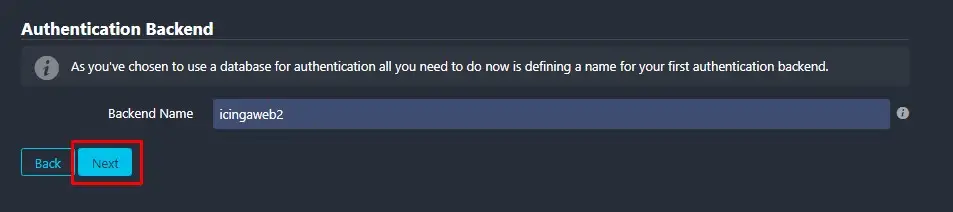
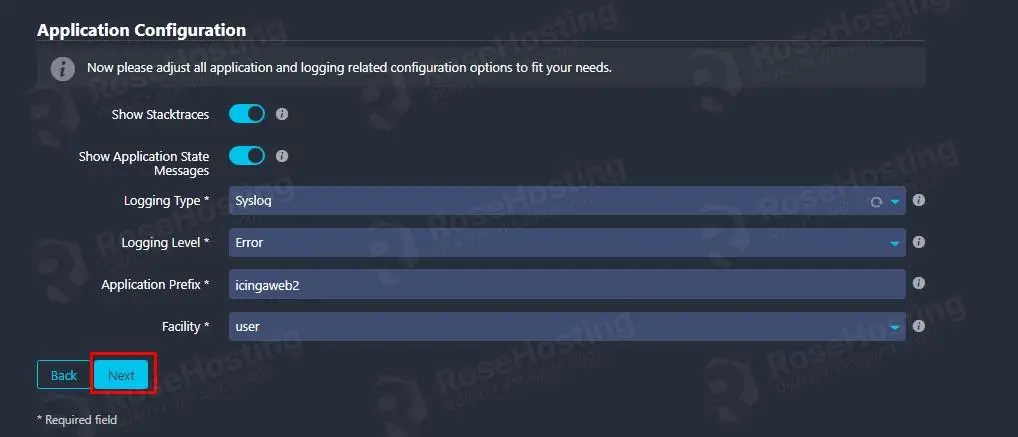
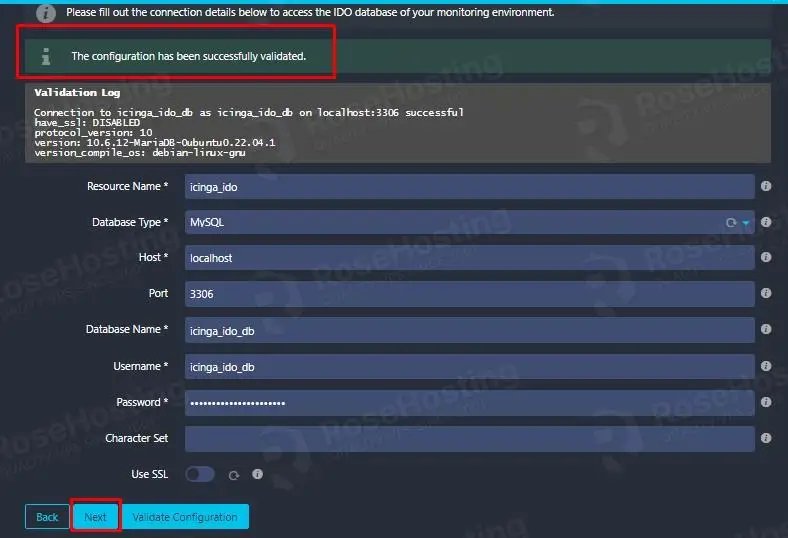
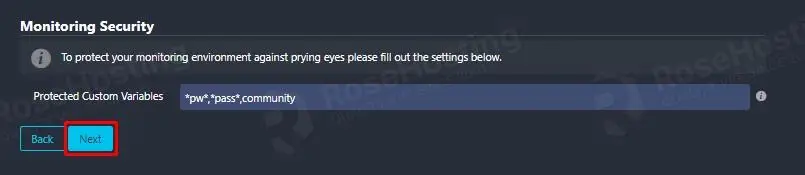
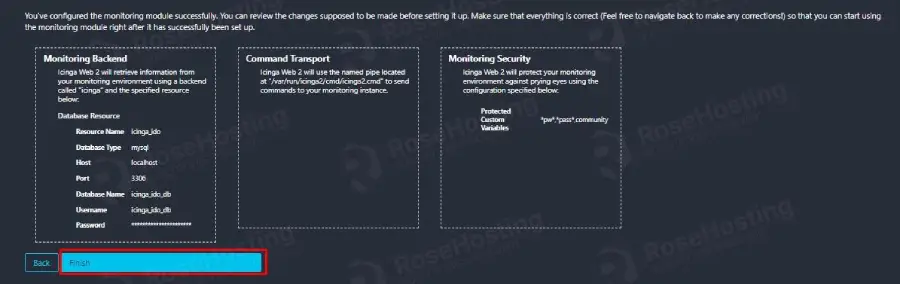
Enter the token, and follow the pictures if you want to finish the installation:
Set Administrative user and password:

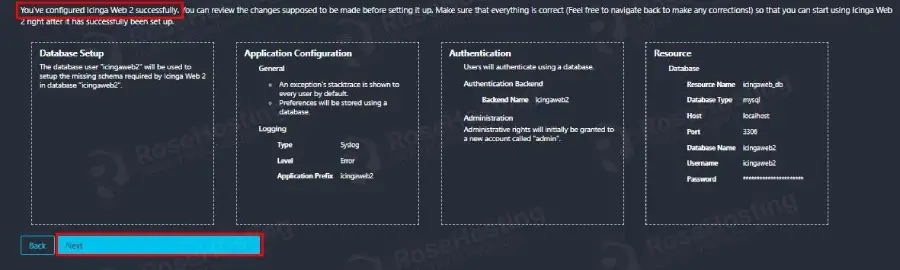

The last is to set up Icinga2 IDO credentials you set before in Step 4.

Congratulations! You successfully installed and configured Icinga2 on Ubuntu 22.04. If you find any difficulties with installing Icinga 2, you can always contact our technical support. All you have to do is to sign up for one of our NVMe VPS plans and submit a support ticket. We are available 24/7.
If you liked this post about installing Icinga2 on Ubuntu 22.04, please share it with your friends on social networks or simply leave a reply below.

Worked a treat!
Thanks for this but there is a hidden typo in Step3: icinga-archive-keyring.gpgt should be icinga-archive-keyring.gpg
Thanks for letting us know about that, this has been fixed.