

In this tutorial we are going to show you in step-by-step detail how to install Gitlab on AlmaLinux 9 OS.
GitLab is open-source software written in Ruby, Go and JavaScript operated by GitLab Inc. GitLab offers a wide range of features such as CI/CD (Continous Integration, Continous Delivery) which makes the work of developers and administrators straightforward and simple.
Installing GitLab on AlmaLinux 9 is a straightforward process that may take up to 10 minutes. Let’s get started!
Prerequisites
- A VPS with at least 4GB of RAM (Our NVMe 4 VPS plan)
- Fresh install of AlmaLinux 9 as OS
- Valid domain pointed to the servers IP address
- User privileges: root or non-root user with sudo privileges
Step 1. Update the System
Update the system packages to their latest version available before installing anything on a fresh server.
sudo dnf update -y && sudo dnf upgrade -y
Step 2. Install GitLab Dependencies
To install GitLab required package dependencies execute the following command:
sudo dnf install curl python3-policycoreutils git policycoreutils libxcrypt-compat gnupg2 git-core zlib zlib-devel gcc-c++ patch readline readline-devel libffi-devel openssl-devel make bzip2 autoconf automake libtool bison curl tar sqlite-devel ruby ruby-devel -y
Step 3. Add GitLab Repository
First we will add the GitLab repo since it is not added by default in the AlmaLinux 9. Open the file /etc/yum.repos.d/gitlab_gitlab-ce.repo with your favorite editor and paste the following lines of code:
[gitlab_gitlab-ce]
name=gitlab_gitlab-ce
baseurl=https://packages.gitlab.com/gitlab/gitlab-ce/el/8/$basearch
repo_gpgcheck=1
gpgcheck=1
enabled=1
gpgkey=https://packages.gitlab.com/gitlab/gitlab-ce/gpgkey
       https://packages.gitlab.com/gitlab/gitlab-ce/gpgkey/gitlab-gitlab-ce-3D645A26AB9FBD22.pub.gpg
sslverify=1
sslcacert=/etc/pki/tls/certs/ca-bundle.crt
metadata_expire=300
[gitlab_gitlab-ce-source]
name=gitlab_gitlab-ce-source baseurl=https://packages.gitlab.com/gitlab/gitlab-ce/el/8/SRPMS repo_gpgcheck=1 gpgcheck=1 enabled=1 gpgkey=https://packages.gitlab.com/gitlab/gitlab-ce/gpgkey https://packages.gitlab.com/gitlab/gitlab-ce/gpgkey/gitlab-gitlab-ce-3D645A26AB9FBD22.pub.gpg sslverify=1 sslcacert=/etc/pki/tls/certs/ca-bundle.crt metadata_expire=300
Save the file, close it and update the system
sudo dnf update -y
Step 4. Install GitLab
Now, when the repo is added we can install GitLab with the following command:
sudo dnf install gitlab-ce -y
After successfull installation start the GitLab service:
sudo gitlab-ctl start
You should receive the following output:
[root@host]# sudo gitlab-ctl stop
ok: down: alertmanager: 0s, normally up, want up
ok: down: gitaly: 0s, normally up
ok: down: gitlab-exporter: 0s, normally up
ok: down: gitlab-kas: 0s, normally up
ok: down: gitlab-workhorse: 0s, normally up
ok: down: logrotate: 1s, normally up
ok: down: nginx: 0s, normally up
ok: down: node-exporter: 1s, normally up
ok: down: postgres-exporter: 0s, normally up
ok: down: postgresql: 0s, normally up
ok: down: prometheus: 1s, normally up
ok: down: puma: 0s, normally up
ok: down: redis: 1s, normally up
ok: down: redis-exporter: 0s, normally up
ok: down: sidekiq: 0s, normally up
[root@host gems]# sudo gitlab-ctl start
ok: run: alertmanager: (pid 53445) 0s
ok: run: gitaly: (pid 53452) 0s
ok: run: gitlab-exporter: (pid 53469) 1s
ok: run: gitlab-kas: (pid 53473) 0s
ok: run: gitlab-workhorse: (pid 53490) 1s
ok: run: logrotate: (pid 53499) 0s
ok: run: nginx: (pid 53512) 0s
ok: run: node-exporter: (pid 53514) 1s
ok: run: postgres-exporter: (pid 53520) 0s
ok: run: postgresql: (pid 53534) 1s
ok: run: prometheus: (pid 53543) 0s
ok: run: puma: (pid 53559) 1s
ok: run: redis: (pid 53567) 0s
ok: run: redis-exporter: (pid 53573) 0s
ok: run: sidekiq: (pid 53587) 1s
To check the status of GitLab service execute the following command:
sudo gitlab-ctl status
You should receive the following output:
[root@host]# sudo gitlab-ctl status
down: alertmanager: 1s, normally up, want up; run: log: (pid 14903) 3685s
run: gitaly: (pid 53452) 33s; run: log: (pid 14315) 3889s
run: gitlab-exporter: (pid 53469) 33s; run: log: (pid 14808) 3703s
run: gitlab-kas: (pid 53473) 32s; run: log: (pid 14582) 3864s
run: gitlab-workhorse: (pid 53490) 32s; run: log: (pid 14731) 3724s
run: logrotate: (pid 53499) 31s; run: log: (pid 14247) 3905s
run: nginx: (pid 53893) 1s; run: log: (pid 14743) 3718s
run: node-exporter: (pid 53514) 31s; run: log: (pid 14785) 3710s
run: postgres-exporter: (pid 53520) 30s; run: log: (pid 14956) 3680s
run: postgresql: (pid 53534) 30s; run: log: (pid 14457) 3873s
run: prometheus: (pid 53543) 29s; run: log: (pid 14865) 3692s
run: puma: (pid 53559) 29s; run: log: (pid 14666) 3736s
run: redis: (pid 53567) 28s; run: log: (pid 14283) 3896s
run: redis-exporter: (pid 53573) 28s; run: log: (pid 14838) 3697s
run: sidekiq: (pid 53587) 28s; run: log: (pid 14683) 3732s
To check the GitLab ports execute the following command:
netstat -tunlp | grep gitlab
You should receive the following output:
[root@host]# netstat -tunlp | grep gitlab
tcp6       0      0 ::1:8153                :::*                    LISTEN      53473/gitlab-kas
tcp6       0      0 ::1:8155                :::*                    LISTEN      53473/gitlab-kas
tcp6       0      0 ::1:8154                :::*                    LISTEN      53473/gitlab-kas
tcp6       0      0 ::1:8151                :::*                    LISTEN      53473/gitlab-kas
tcp6       0      0 ::1:8150                :::*                    LISTEN      53473/gitlab-kas
tcp6       0      0 ::1:9229                :::*                    LISTEN      53490/gitlab-workho
Step 5. Access GitLab with Domain
To access the GitLab in the browser via domain name, you need to configure it in the following file: /etc/gitlab/gitlab.rb.
Open it with your favore browser and edit the following lines by entering your domain name and setting your strong root password:
external_url 'http://YourDomainHere'

gitlab_rails['initial_root_password'] = 'YourStrongPasswordHere'
Save the file, close it and execute the following command:
gitlab-ctl reconfigure
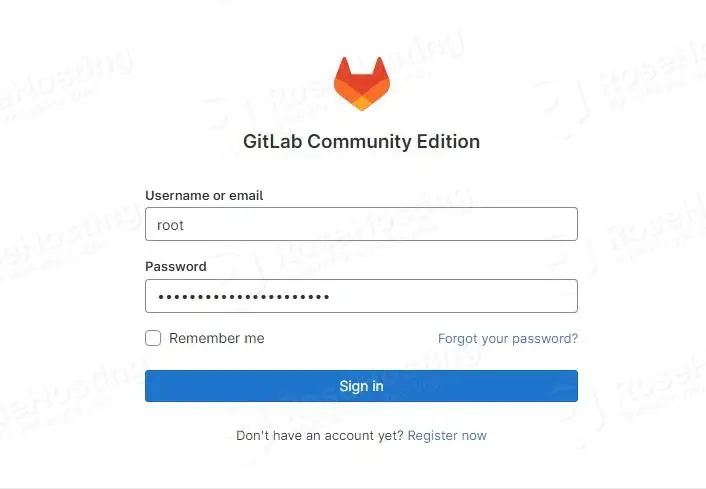
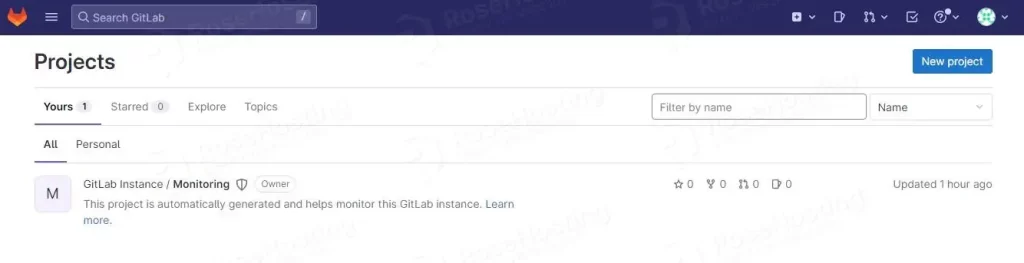
After reconfiguring the application you can access GitLab at http://YourDomain using the root as username and your strong password you set above.
Congratulations! You successfully installed and configured GitLab on AlmaLinux 9 OS. If you have any difficulties completing this setup, feel free to contact our technical support and they will help you in no time. We are available 24/7. All you need to do is to sign up for one of our NVMe VPS plans and submit a support ticket.
If you liked this post on how to install GitLab on AlmaLinux 9, please share it with your friends on the social networks or simply leave a reply below. Thanks.
