

In this article, we will show you how to install GCC on an Ubuntu 18.04 server.
 If we use the apt command to install GCC from a repository, we will have the default GCC version (GCC 7.4). However, if you want the latest version of GCC, you will need to install it from source. Version 8 of GCChas complete C++11, C++14 support, partial C++17 support, and experimental C++2a support. With GCC 8, C11 and C++14 support are enabled by default, and there is no need to add -std=c11 or -std=c++14. Let’s get started.
Step 1. Update the Server
Like always, we need to make sure that we have an up-to-date system. This ensures compatibility between packages:
sudo apt update && sudo apt upgrade
Step 2. Install GCC
Method 1: Install GCC from Source
Before we start with the installation, it is highly recommended to start a screen session. This will ensure that all actions that we perform will persist on the server even if our connection times out.
Run the following command:
screen -U -S gcc
Now, we will install the default GCC toolchain with this command:
sudo apt install build-essential
Next, from the official documentation for GCC 8 at https://gcc.gnu.org/mirrors.html we will download the prerequisites and the source code.
cd ~
wget https://ftpmirror.gnu.org/gcc/gcc-8.2.0/gcc-8.2.0.tar.gz
tar xf gcc-8.2.0.tar.gz
cd gcc-8.2.0
contrib/download_prerequisites
In this step, we will configure the construction parameters. The best way to keep the system clean is to use /usr/local/gcc-8.2 for the installation directory and add the suffix -8.2 to the GCC compilers. We do not want to mess the system’s default GCC because other packages may depend on the default version. Of course, if you’re installing a version newer than 8.2, you can rename the folders to the correct version number.
cd ~
mkdir build && cd build
../gcc-8.2.0/configure -v --build=x86_64-linux-gnu --host=x86_64-linux-gnu --target=x86_64-linux-gnu --prefix=/usr/local/gcc-8.2 --enable-checking=release --enable-languages=c,c++,fortran --disable-multilib --program-suffix=-8.2
Again, rename the version number if necessary. The above command runs a script that prepares the program to compile the source code specifically for your server.
We are ready to build GCC. At this point, it is very important to know that the build may take a long time. To speed up the process we can use as twice the number of our computer cores. In our example, we will use 8 parallel jobs to build GCC:
make -j 8
Build phase depends on the speed of your server. This may take from a few minutes to a few hours to complete the build, depending on your server’s hardware capabilities.
Once the build is finished, we can continue to actually installing GCC with the following command:
sudo make install
With adding the following lines at the end of the .bashrc file, we will permanently add the compilers to the system’s path.
nano /root/.bashrc
Add this to the end of that file:
export export PATH=/usr/local/gcc-8.2/bin:$PATH
export LD_LIBRARY_PATH=/usr/local/gcc-8.2/lib64:$LD_LIBRARY_PATH
With this command, we will reload .bashrc without restarting the machine:
. .bashrc
Method 2: Install GCC from Repository
As we mentioned at the beginning of this tutorial, we can easily install GCC compiler on Ubuntu 18.04 by typing the following command:
sudo apt install gcc gcc-8 g++-8
However, there is another way to install GCC through the build-essential package. This package will also install additional libraries as well as g++ compiler.
sudo apt install build-essential
Step 3. Verify GCC Installation
We can check if GCC is properly installed with the command below:
sudo whereis gcc make
Output:
gcc: /usr/bin/gcc /usr/lib/gcc /usr/share/man/man1/gcc.1.gz
make: /usr/bin/make /usr/share/man/man1/make.1.gz /usr/share/man/man1/make.1posix.gz
Alternatively, we can run
sudo gcc-8 --version
Output:
gcc-8 (Ubuntu 8.2.0-1ubuntu2~18.04) 8.2.0
Copyright (C) 2018 Free Software Foundation, Inc.
This is free software; see the source for copying conditions. There is NO
warranty; not even for MERCHANTABILITY or FITNESS FOR A PARTICULAR PURPOSE.
To get the version of make, you can use these commands:
make -v
or
make --version
and we will have an output similar to this:
GNU Make 4.1
Built for x86_64-pc-linux-gnu
Copyright (C) 1988-2014 Free Software Foundation, Inc.
License GPLv3+: GNU GPL version 3 or later <http://gnu.org/licenses/gpl.html>
This is free software: you are free to change and redistribute it.
There is NO WARRANTY, to the extent permitted by law.
Step 4. Installation of dev Man Pages
If we want to install the dev man pages just we need to execute the command:
sudo apt-get install manpages-dev man-db manpages-posix-dev
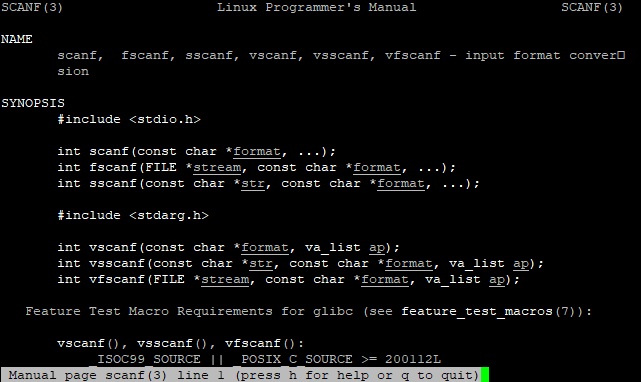
If we want to view the library cells, we can run:
man 3 scanf
Output:
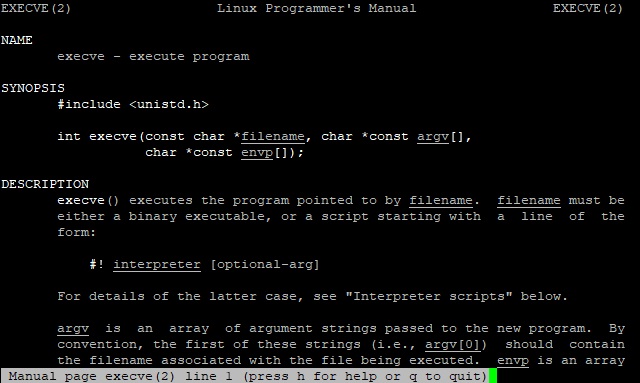
man 2 execve
Output:
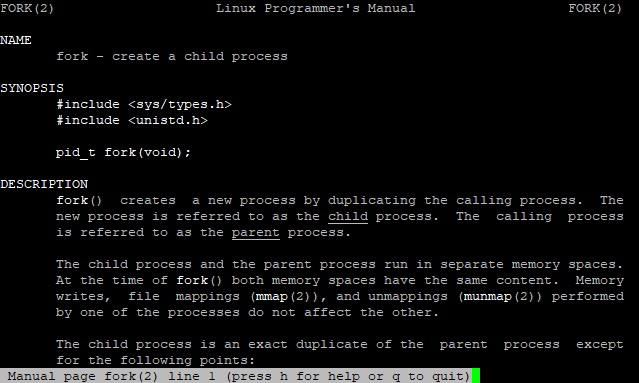
man 2 fork
Output:
After we finished and confirmed that we have installed the compilers and all the main components, it’s time to test the GNU GCC compiler.
Step 5. Test GCC compilers
In order to test our compilers, we will run a few very simple C++ programs.
Open your favorite editor (in our example we are using nano as editor)
nano hello_world.cpp
and enter the code inside.
// Simple C++ "Hello World" program

// Header file for input output functions
#include

using namespace std;

// main function -
// where the execution of program begins

int main()
{
// prints hello world
cout<<"Hello World ! \n";

return 0;
}
After we save our project, we can compile it with the following command:
g++ hello_world.cpp -o hello
When the compiling process is done, there should be a file called hello in the current directory. We can check this if we list the files and directories with this command:
ls -lah
Now we can test our project with:
./hello
By executing the hello command we will receive the following output:
Hello world !
In the following example, we can test the generalized lambda capture, also known as init capture that was introduced in the C++ 14 standard.
nano test.cpp
// C++14 standard could use "auto" for the type of a parameter
#include

int main() {
std::cout << [](auto a, auto b) { return a + b; } (4, 3) << std::endl;
std::cout << [](auto a, auto b) { return a + b; } (4.23, 6.25) << std::endl;
return 0;
}
Paste the code inside the test.cpp and save it. Now we can compile our code with the command:
g++-8 -Wall -pedantic test.cpp -o test
When the compiling process is complete, we can execute:
./test
And we will receive the following output:
7
10.48
And that’s it. In this article we managed to install the GCC compiler from source and repository, we also verified the installation of GCC. We installed the dev man pages, and at the end, we tested the GCC compilers with two very simple examples.
 Of course, you don’t have to install GCC on Ubuntu 18.04 if you use one of our Managed VPS Support services, in which case you can simply ask our expert Linux admins to install GCC on your Ubuntu 18.04 server for you. They are available 24×7 and will take care of your request immediately.
PS. If you liked this post on how to install GCC on Ubuntu 18.04, or if you found it helpful, please share it with your friends on the social networks using the share shortcuts, or simply leave a reply below. Thanks.

Hey man, I just wanted to thank you. I’m new to Linux and finding out that I needed GCC 9.3 in order to run VMware was putting me off. Your guide is straightforward and comprehensive. ^_^