

Apache CouchDB is a free yet reliable non-relational or NoSQL database engine. It is written in Erlang language and natively supports data in JSON format. The data can be accessed and queried via the HTTP protocol, making it easier and more scalable than traditional SQL relational databases like MySQL. CouchDB also offers replication capability and provides high availability access. This tutorial will show you how to install CouchDB on AlmaLinux.
Prerequisites
- An AlmaLinux VPS
- SSH access with root privileges
Step 1: Log in to your server via SSH
First, you will need to log in to your AlmaLinux VPS via SSH as the root user:
ssh root@IP_Address -p Port_number
You will need to replace ‘IP_Address’ and ‘Port_number’ with your server’s respective IP address and SSH port number. Additionally, replace ‘root’ with the username of the system user with sudo privileges.
You can check whether you have the proper AlmaLinux version installed on your server with the following command:
# cat /etc/redhat-release
You will get an output similar to this:
AlmaLinux release 8.7 (Stone Smilodon)
We use ‘root’ in this article when running the shell commands. If you want to use your regular user with sudo privileges to run the commands, make sure to append ‘sudo’ in front of the commands.
Step 2: Update the System
Before starting, you have to make sure that all AlmaLinux OS packages installed on the server are up to date. You can do this by running the following commands:
# dnf update
Step 3. Install CouchDB
In this step, we will install CouchDB from its default repository. First, we need to install yum-utils package on our AlmaLinux:
# dnf install -y yum-utils
Now you can download and enable the CouchDB repository on your server with the following command:
# yum-config-manager --add-repo https://couchdb.apache.org/repo/couchdb.repo
Then, let’s update our local package index again with this command:
# dnf update
You will be prompted to add the GPG key, and you need to press Y to continue.
Next, use the command below to install CouchDB:
# dnf install -y couchdb
That’s it all, and Apache CouchDB has been successfully installed on your server.
Step 4. Configure CouchDB
In this step, we will configure CouchDB to run on all available IP addresses instead of the default 127.0.0.1 and give a password.
Let’s open the configuration file in /opt/couchdb/etc/local.ini
# nano /opt/couchdb/etc/local.ini
Find the [chttpd] section the uncomment the port and bind address. In the default configuration file, CouchDB is set to listen on 127.0.0.1. You can change it to 0.0.0.0, which means it listens on all interfaces. We can also change it to our specific IP address. So, let’s edit these lines:
[chttpd]
#port = 5984
#bind_address = 127.0.0.1
to
[chttpd]
port = 5984
bind_address = 0.0.0.0
Still, in the same file, scroll down and find the [admins] section. In this section, we can modify our CouchDB user and password.
Change these lines
[admins]
;admin = mysecretpassword
to
[admins]
admin = m0d1fyth15
Save the changes and exit from the file editor. Please make a note about your password because once the CouchDB service is running, the password you specified in the configuration file will be hashed.
Next, we can start and enable it to run upon reboot on your AlmaLinux 8 with the following command:
# systemctl enable couchdb
# systemctl start couchdb
CouchDB is now up and running. We can verify this by checking its status.
# systemctl status couchdb
The command above will give you an output like this:
● couchdb.service - Apache CouchDB
Loaded: loaded (/usr/lib/systemd/system/couchdb.service; enabled; vendor preset: disabled)
Active: active (running) since Tue 2022-11-15 20:22:16 CST; 19min ago
Main PID: 6493 (beam.smp)
Tasks: 37 (limit: 11384)
Memory: 47.0M
CGroup: /system.slice/couchdb.service
├─6493 /opt/couchdb/bin/../erts-11.2.2.13/bin/beam.smp -K true -A 16 -Bd -- -root /opt/couchdb/bin/.. -progname couchdb -- -home /opt/couchdb -- -boot /opt/couchdb/bin/../re>
├─6505 /opt/couchdb/bin/../erts-11.2.2.13/bin/epmd -daemon
└─6524 erl_child_setup 65536

Nov 15 20:22:16 almalinux.rosehosting.com systemd[1]: Started Apache CouchDB.
Step 5. Access CouchDB
CouchDB is now running, and we can start working on it. We can use CLI (Command Line Interface) to manage our CouchDB databases, or we can also use the GUI. You can navigate to http://YOUR_IP_ADDRESS/_utils/ and then log in using the username and password you specified earlier in the previous step if you prefer to use its GUI.
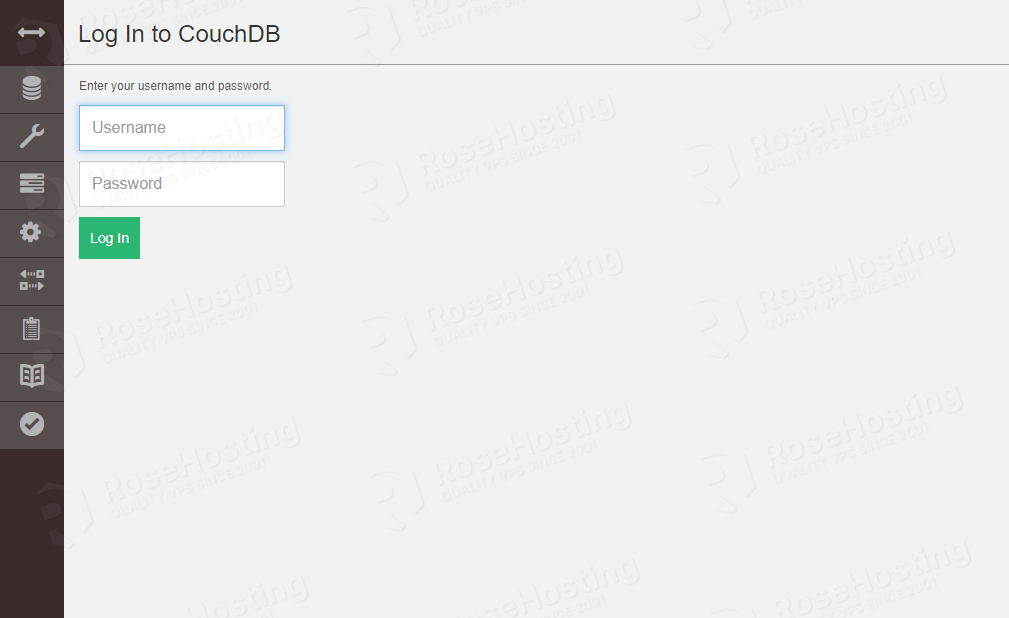
Enter the username and password. Then you will be brought to the CouchDB dashboard.

You will see no databases in the dashboard because we have not created one. You can now start working and using CouchDB, like creating a database, creating a cluster, or even database replication.
That’s it! You have successfully installed CouchDB on AlmaLinux
If you are one of our web hosting customers and use our managed Linux Hosting, you don’t have to follow this tutorial and install CouchDB on AlmaLinux yourself; our Linux admins will set up and configure a CouchDB VPS for you. They are available 24×7 and will take care of your request immediately, and all you need to do is to submit a ticket.
PS. If you liked this post, please share it with your friends on social networks or simply leave a reply below. Thanks.
