

We will show you how to install Thelia 2 on Ubuntu 18.04 using Apache web-server and a MySQL database. Thelia is an open-source tool for creating e-business websites and managing online content. It is written in PHP and it is published under a free license. Developed in accordance to web development standards and based on Symfony 2, Thelia meets the following objectives: performance and scalability. It is fairly easy to install Thelia 2 on an Ubuntu 18.04 VPS. The installation process should take about 10 minutes if you follow the very easy steps described below.
Requirements
At the time of writing this tutorial, the latest stable version of Thelia is 2.3.4 and it requires:
- PHP 5.5 or greater (preferably PHP 7.1), with openssl, GD, DOM, cURL, calendar, PDO_MySQL, and intl PHP extensions enabled. The memory_limit value set in PHP should be at least 128 megabytes, preferably 256 megabytes. Safe_mode should be disabled, and the date.timezone value in PHP should be set, so it can be used by all date/time functions in Thelia;
- MySQL 5.6 or greater, or MariaDB installed on the Ubuntu server;
- Apache web server 2.0 or higher compiled with mod_rewrite module. Alternatively, we can use Nginx as a web server.
Log in to the server update your server OS Packages
Log in to your Ubuntu 18.04 VPS with SSH as the root user:
ssh root@IP_Address -p Port_number
Before we can start with the Thelia installation, we have to make sure that all Ubuntu OS packages installed on the server are up to date. We can do this by running the following commands:
sudo apt-get update
sudo apt-get upgrade
Install Apache web server
Check whether Apache is already installed and running on your server:
ps aux | grep apache2
We can also check if there are Apache2 packages installed on the server:
dpkg -l | grep apache2
If Apache is already installed on the server, we can skip the Apache installation steps and proceed with PHP installation.
If Apache is not installed, we can install it using:
apt-get install apache2
Once installed, start the Apache server and enable it to start on server boot:
systemctl start apache2
systemctl enable apache2
Install the required PHP extensions
The default PHP version available from the official Ubuntu 18.04 repository is PHP 7.2. Remove PHP 7.2 and install PHP 7.1 and all the required PHP extensions:
sudo apt-get remove php7.2*
sudo add-apt-repository ppa:ondrej/php
sudo apt-get update
sudo apt-get install php7.1 php7.1-common php7.1-curl php7.1-gd php7.1-curl php7.1-dom php7.1-mysql php7.1-intl
sudo a2dismod php7.2
sudo a2enmod php7.1
Configure PHP
Locate the PHP configuration file:
php -c /etc/php/7.1/apache2/ -i |grep "Loaded Configuration File"
The output should be something like this:
Loaded Configuration File => /etc/php/7.1/apache2/php.ini
Edit the php.ini configuration file:
vi /etc/php/7.1/apache2/php.ini
Add/modify the following options:
memory_limit = 256M
file_uploads = On
allow_url_fopen = On
allow_url_include = Off
post_max_size 32M
upload_max_filesize = 8M
max_execution_time = 300
default_charset = "UTF-8"
date.timezone = "America/Chicago"
Enable Apache Rewrite Module
Enable Apache rewrite module if it is not already done so:
a2enmod rewrite
Restart the Apache service for the changes to take effect:
systemctl restart apache2
Install MariaDB
We will use MariaDB as a database engine. We can install MariaDB server from the Ubuntu base repository using the following commands:
sudo apt-get install mariadb-server-10.1 mariadb-server-core-10.1
Install Thelia
Download and extract the latest version of Thelia in the document root directory of your website ( e.g /var/www/html/your-domain.com).
cd /opt/
wget https://thelia.net/download/thelia.zip
unzip thelia.zip
mkdir -p /var/www/html/your-domain.com
mv /opt/thelia_*/* /var/www/html/your-domain.com/
chown -R www-data:www-data /var/www/html/your-domain.com
rm thelia.zip
Create a Database for Thelia
Create a MySQL database for the Thelia website:
mysql -u root -p
MariaDB [(none)]> CREATE DATABASE thelia;
MariaDB [(none)]> GRANT ALL PRIVILEGES ON thelia.* TO 'thelia'@'localhost' IDENTIFIED BY 'Str0ngPa55w0rd';
MariaDB [(none)]> FLUSH PRIVILEGES;
MariaDB [(none)]> exit;
Don’t forget to replace ‘Str0ngPa55w0rd’ with an actual strong password.
Create a Virtual Host in Apache
Create a virtual host in Apache for your domain:
vi /etc/apache2/sites-available/your-domain.com.conf
And add the following content to the file:
<VirtualHost *:80> ServerAdmin [email protected] ServerNameyour-domain.comServerAliaswww.your-domain.comDocumentRoot /var/www/html/your-domain.com <Directory /var/www/html/your-domain.com> Options Indexes FollowSymLinks AllowOverride All Require all granted </Directory> ErrorLog ${APACHE_LOG_DIR}/your-domain.com_error.log CustomLog ${APACHE_LOG_DIR}/your-domain.com_access.log combined </VirtualHost>
Replace ‘your-domain.com’ with your actual domain.
To enable the virtual host we have just created, run the following command:
a2ensite your-domain.com.conf
Then, disable the default Apache configuration:
a2dissite 000-default.conf
Restart Apache service for the changes to take effect:
systemctl restart apache2
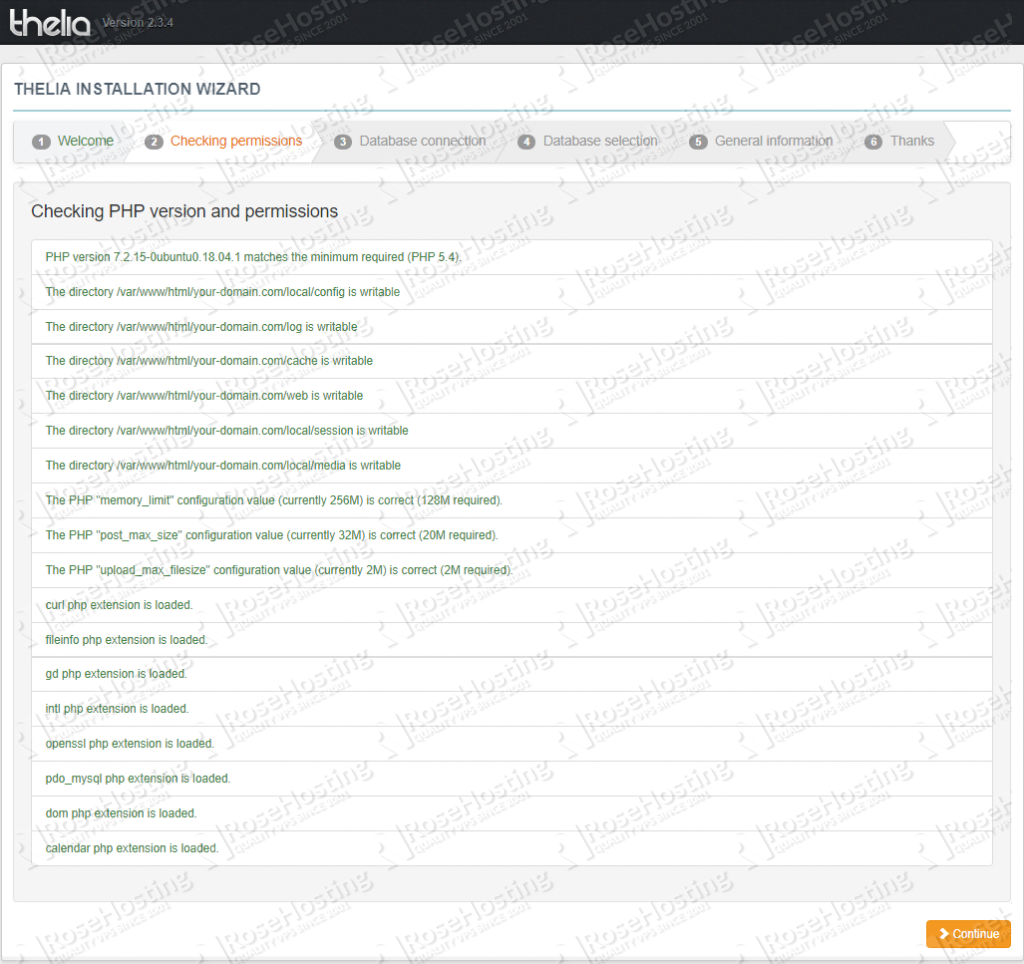
Open http://your-domain.com in a web browser and follow the on-screen instructions: Select the language you want to use, check the PHP version, required PHP extensions and file permissions, and if everything is OK, click on the ‘Continue’ button.
On the next page, enter the database settings:
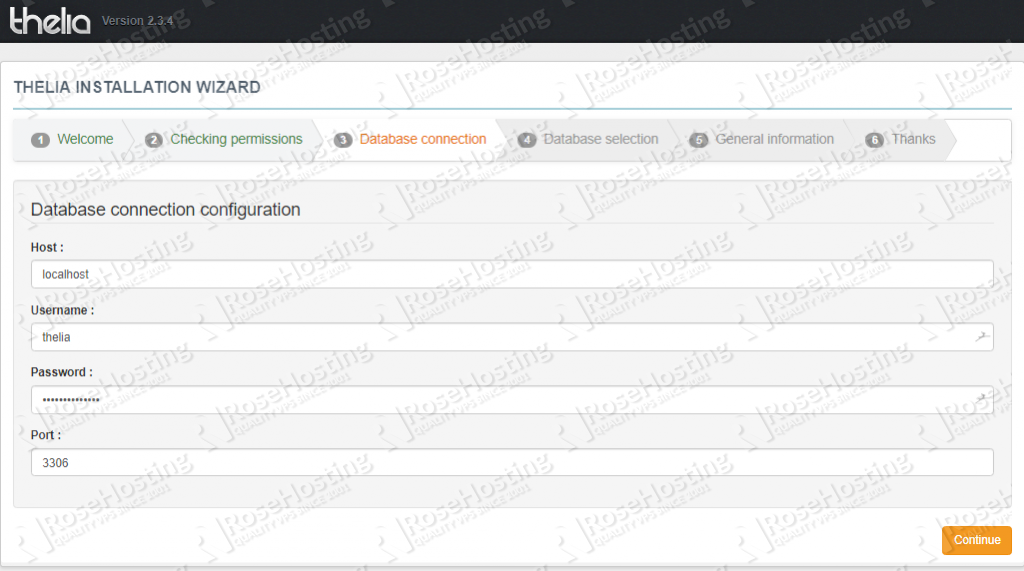
Click ‘Continue’ and choose ‘thelia’ as database. On the next page, create a new admin account.
Don’t forget to delete the web/install directory:
rm -rf /var/www/html/your-domain.com/web/install/
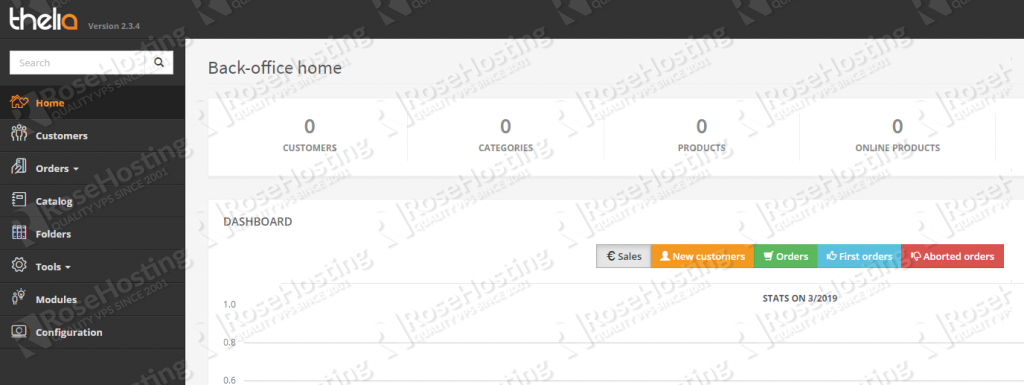
That’s it. If you followed all of the instructions properly you can now access the Thelia back-office at http://your-domain.com/web/admin/login
Of course, you don’t have to install Thelia on Ubuntu 18.04, if you use one of our Server Support Services solutions, in which case you can simply ask our expert Linux admins to set up Thelia on Ubuntu 18.04 for you. They are available 24×7 and will take care of your request immediately.
PS. If you liked this post on how to install Thelia on an Ubuntu 18.04 VPS, please share it with your friends on the social networks using the buttons on the left or simply leave a reply below. Thanks.
