

In this tutorial, we will show you how to install Sentora on a Debian 8 VPS.
Sentora is a web-based hosting control panel which is very easy to install and use.
Let’s start with the installation.
Make sure your server Ubuntu OS packages are fully up-to-date:
apt-get update
apt-get upgrade
Install the required packages:
sudo apt-get install ca-certificates wget nano dbconfig-common sqlite3 postfix dovecot-imapd dovecot-lmtpd dovecot-pop3d dovecot-sqlite
Download the latest version of Sentora installation script and run it:
bash <(curl -L -Ss https://raw.githubusercontent.com/sentora/sentora-installers/master/sentora_install.sh)
- Select the geographic area in which you live so that time zone rules can be set correctly and click ‘Ok’.
- Select the city or region corresponding to your time zone.
- Enter the sub-domain you want to access Sentora panel: (for example: sentora.yourdomain.com)
- Enter (or confirm) the public IP for this server.
- All is ok. Do you want to install Sentora now (y/n)? y
Wait a few minutes for the installation to complete.
########################################################
Congratulations Sentora has now been installed on your
server. Please review the log file left in /root/ for
any errors encountered during installation.

Login to Sentora at http://sentora.yourdomain.com
Sentora Username  : zadmin
Sentora Password  : eXBisXF546rVJg

MySQL Root Password      : YC2bTRFU6otwKf
MySQL Postfix Password   : SYY4psDHHpNuYm
MySQL ProFTPd Password   : xjfxmOBfaIEq0H
MySQL Roundcube Password : lNoV7zFw0mjiA6
(theses passwords are saved in /root/passwords.txt)
########################################################
Restart your server now to complete the install (y/n)? n
Install the postfix-mysql package using the following command:
apt-get install postfix-mysql
Also, set the postfix daemon directory using:
postconf -e "daemon_directory=/usr/lib/postfix"
Restart the server:
shutdown -r now
That is it. The Sentora installation is now complete.
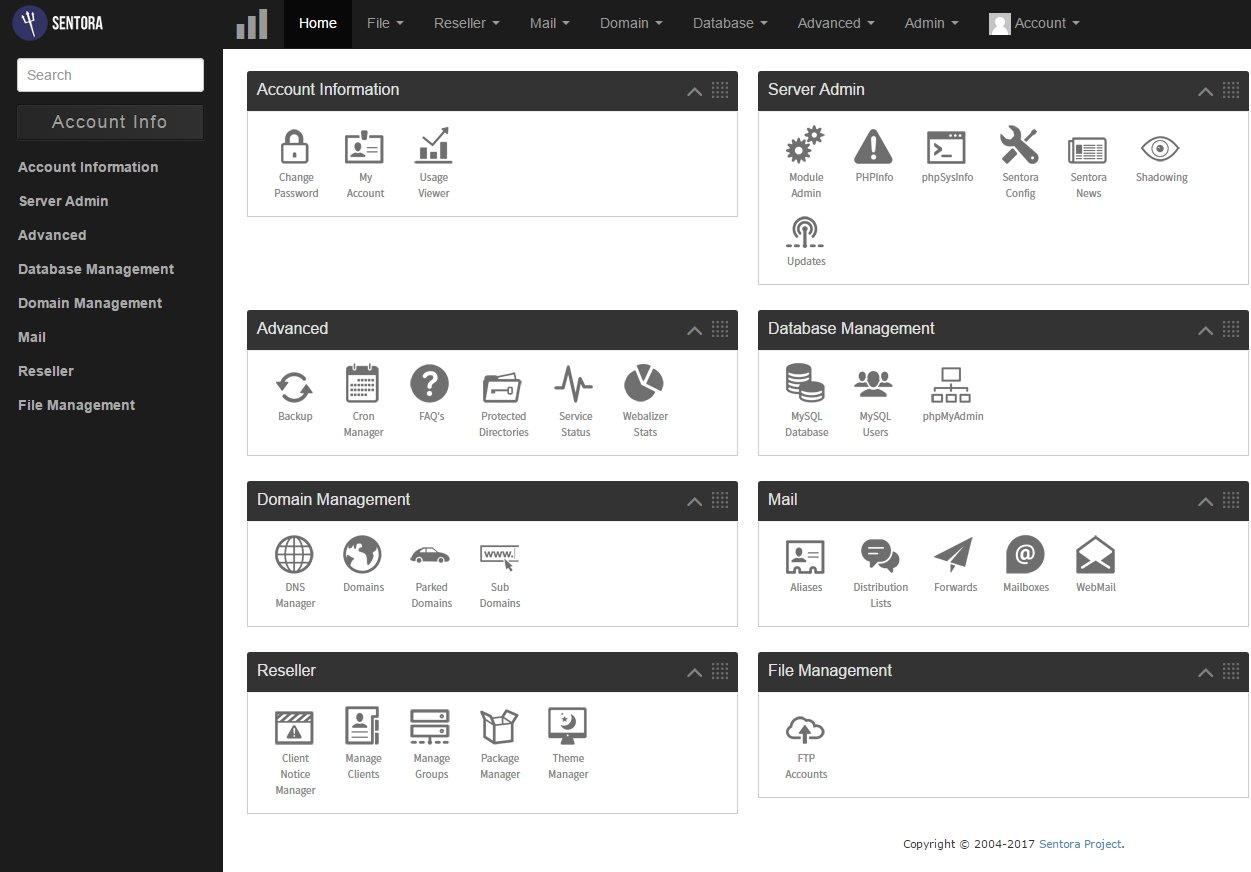
Log in to Sentora control panel at http://sentora.yourdomain.com and start using it.
Listed below are some basic usage scenarios:
- Start BIND
To start BIND (named service), go to Admin >> Module Admin >> DNS Config >> Services >> Start Service >> click ‘GO’.
- Add a new domain:
Go to Domain >> Create a new domain >> enter your domain name
Home directory: Create a new home directory and click ‘Create’.
- Add a new email account:
Go to Mail >> Mailboxes >> Create a new mailbox >> Email Address >> enter your email address and password and click ‘Create’.
If you receive an error message like this one:
The selected domain was not valid
Edit the /etc/sentora/panel/modules/mailboxes/code/controller.ext.php file and change:
if(!self::IsValidDomain($domain))
to:
if(self::IsValidDomain($domain))
- Configure the FTP module:
Go to Admin >> Module Admin >> FTP config >> Configure your FTP Settings
FTP Config File: /etc/proftpd/proftpd.conf
Click ‘Save Changes’.
- Create a new FTP account with full access to yourdomain.com directory.
Go to File >> FTP Accounts >> Current FTP accounts >> enter username and password
Access type >> Full access
Home directory >> Use Domain directory /yourdomain.com
Click ‘Create’.
- Create a new MySQL database
Go to Database >> MySQL database >> Create a new MySQL database , enter your new database name and click ‘Create’.
Of course, you don’t have to do any of this if you use one of our Software Installation Services, in which case you can simply ask our expert Linux admins to install Sentora for you. They are available 24×7 and will take care of your request immediately.
PS. If you liked this post, please share it with your friends on the social networks using the buttons on the left or simply leave a reply below. Thanks.
