Seafile is an open source cloud storage system that allows users to easily store and synchronize files between multiple devices using the Seafile client. Using Seafile you can also create groups with file syncing, wikis, and start discussions with your team to enable easy collaboration. In this tutorial, we will guide you through the process of installing Seafile Server on a CentOS 7 VPS and all necessary dependencies.
Seafile offers a number of useful features. Some of them are listed above:
– Cross-Platform File Syncing
– Mobile File Access: iOS and Android apps
– Seafile Drive client
– File Versioning and Snapshot
– Easy File Sharing and Permission Control
– File locking support
– Online editing
– Backup and Data Recovery
and many more…
Prerequisites
– CentOS 7 VPS with full root access
– Python 2.7 with python-setuptools, python-imaging, python-ldap, python-mysqldb, python-urllib3, python-memcache and python-requests
– MySQL/MariaDB database server
Login and update the server
Login to your CentOS 7 VPS via SSH as user root
ssh root@IP_Address -p Port_number
and update all installed packages
yum -y update
Install MariaDB
Some of the Seafile components such as the ccnet server, seafile server and seahub require their own databases. So we will have to install a database server on our VPS. We will install the MariaDB server by executing the following command
yum install mariadb mariadb-server
Once MariaDB is installed, start the database server and enable it to automatically start upon server restart
systemctl start mariadb
systemctl enable mariadb
and execute the ‘mysql_secure_installation’ post-installation script to set a root password for the MySQL root user and additionally strengthen the security of the database server. You can can answer the questions as the following:
Set root password? [Y/n] Y
Remove anonymous users? [Y/n] Y
Disallow root login remotely? [Y/n] Y
Remove test database and access to it? [Y/n] Y
Reload privilege tables now? [Y/n] Y
Next, login to the MariaDB server as user root and create the following databases and a database user with full privileges over the databases
create database `ccnet-db` character set = 'utf8';
create database `seafile-db` character set = 'utf8';
create database `seahub-db` character set = 'utf8';

create user 'seafile'@'localhost' identified by 'PASSWORD';

GRANT ALL PRIVILEGES ON `ccnet-db`.* to `seafile`@localhost;
GRANT ALL PRIVILEGES ON `seafile-db`.* to `seafile`@localhost;
GRANT ALL PRIVILEGES ON `seahub-db`.* to `seafile`@localhost;
Don’t forget to replace ‘PASSWORD’ with an actual strong password.
Install dependencies
Before we start the installation of Seafile, we need to install several dependencies. Some of them are not available in the official CentOS 7 repositories, so we will have to install the EPEL repository
yum -y install epel-release
rpm --import http://li.nux.ro/download/nux/RPM-GPG-KEY-nux.ro
Once the repository is enabled, run the following command to install the necessary dependencies
yum -y install python-imaging MySQL-python python-distribute python-memcached python-ldap python-urllib3 ffmpeg ffmpeg-devel python-requests
Download and install Seafile
Go to Seafile’s download page and download the installation script for CentOS 7. At the moment of writing this article the latest available version of the application is 6.2.5
wget https://download.seadrive.org/seafile-server_6.2.5_x86-64.tar.gz
Unpack the downloaded tarball
tar -xzvf seafile-server_6.2.5_x86-64.tar.gz
It contains several installation scripts. We will use the ‘setup-seafile-mysql.sh’ script to install and configure Seafile with the MariaDB database server. The script will check your CentOS 7 server and notify you if there is a missing dependency
cd seafile-server-6.2.5
./setup-seafile-mysql.sh
Press the Enter button to start the installation and you will be prompted to enter several details. You can use the following information
server name: servername
server ip/domain: Your_IP_Address
seafile data dir: /opt/seafile-data
fileserver port: 8082
database: use existing
MySQL user: seafile
password: PASSWORD
ccnet database: ccnet-db
seafile database: seafile-db
seahub database: seahub-db
database user: seafile
If the information is correct, press Enter again to continue. After the installation is completed you will get the following output
-----------------------------------------------------------------
Your seafile server configuration has been finished successfully.
-----------------------------------------------------------------

run seafile server:     ./seafile.sh { start | stop | restart }
run seahub  server:     ./seahub.sh  { start  | stop | restart  }
Finally, start the Seafile Server as suggested in the output above
./seafile.sh start
Output:
../common/session.c(132): using config file /opt/conf/ccnet.conf
Starting seafile server, please wait ...
Seafile server started

Done.
Next, start Seahub using the following command
./seahub.sh start
Since this is the first time you start the Seafile File server, you will have to create an administrative account
What is the email for the admin account?
[ admin email ] [email protected]

What is the password for the admin account?
[ admin password ] STRONG_PASSWORD

Enter the password again:
[ admin password again ] STRONG_PASSWORD

----------------------------------------
Successfully created seafile admin
----------------------------------------
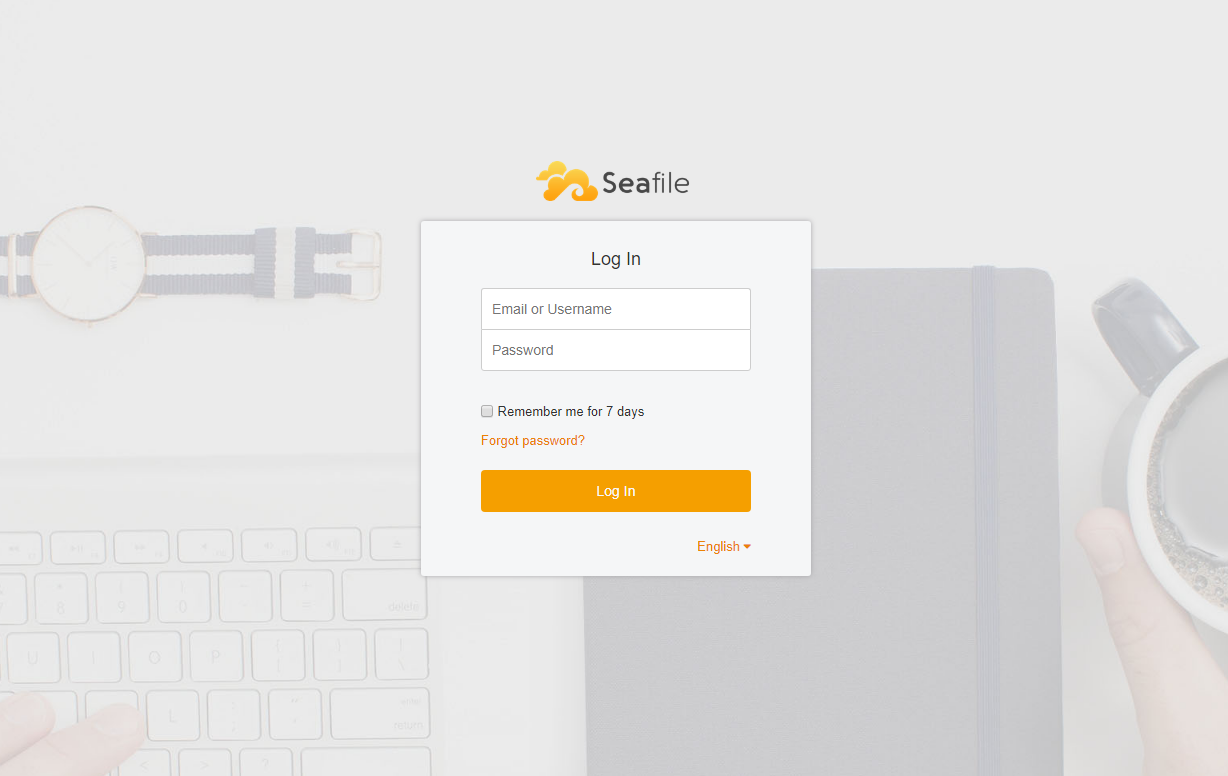
That’s all. At this point you should be able to access Seafile Server at http://Your_IP:8000
For more details on how to configure and use Seafile Server please check their official documentation.
Of course, you don’t have to do any of this if you use one of our Outsourced server support services, in which case you can simply ask our expert Linux admins to install Seafile for you. They are available 24×7 and will take care of your request immediately.
PS. If you liked this post please share it with your friends on the social networks using the buttons on the left or simply leave a reply below. Thanks.


