

Contao is a robust open-source content management system that is user-friendly, instinctive, and adaptable, and it enables you to develop websites in various languages and designs.
Contao can also be incorporated into a standard Symfony application. In this guide, we will demonstrate how to set up Contao on Ubuntu 22.04.
Prerequisites
- An Ubuntu 22.04 VPS
- SSH root access or a regular system user with sudo privileges
Step 1. Log in via SSH
Let’s log in to your Ubuntu 22.04 VPS with SSH as a root user or as a regular user with sudo privileges.
ssh root@IP_Address -p Port_number
If you cannot log in as root, remember to replace “root” with a user that has sudo privileges. Additionally, replace “IP_Address” and “Port_Number” with your server’s respective IP address and SSH port.
You can check whether you have the correct Ubuntu version installed on your server with the following command:
# lsb_release -a
You should get this output:
No LSB modules are available.
Distributor ID: Ubuntu
Description: Ubuntu 22.04.1 LTS
Release: 22.04
Codename: jammy
Step 2. Install and Configure Apache
Contao was initially created for the well-known LAMP stack, but it can operate on any web server that offers an up-to-date edition of PHP and MySQL. In this step, we are going to install Apache as the webserver. Let’s install Apache now.
# apt install apache2
On Ubuntu machines, Apache will automatically start upon installation. To verify this, you can execute the command below.
# systemctl status apache2
You will see the status there, apache is functioning.
Contao requires mod_rewrite, and the rewrite module is not enabled by default, let’s enable it now.
# a2enmod rewrite
After enabling a module, we need to restart apache to activate the new configuration.
# systemctl restart apache2
Now, let’s create two directories for our Contao installation.
# mkdir -p /var/www/html/yourdomain.com/{web,contao-manager}
Then, let’s give them the appropriate permission.
# chown -R www-data. /var/www/html/yourdomain.com/
The next step is to create an apache virtual host.
# nano /etc/apache2/sites-available/yourdomain.com.conf
Then add the following in to the file
<VirtualHost *:80>

ServerAdmin [email protected]
ServerName yourdomain.com
ServerAlias www.yourdomain.com
DocumentRoot /var/www/html/yourdomain.com/web

ErrorLog ${APACHE_LOG_DIR}/yourdomain.com_error.log
CustomLog ${APACHE_LOG_DIR}/domain2.com_access.log combined

<Directory  /var/www/html/yourdomain.com/web>
AllowOverride All
Require all granted
</Directory>

</VirtualHost>
Save the file, then exit. Make sure to replace yourdomain.com with your actual domain name or subdomain name pointing to your server.
Once the virtual host is added, we need to activate it.
# a2ensite yourdomain.com
Then, restart or reload apache
# systemctl restart apache2
Step 3. Install MariaDB Server
Contao supports MySQL server version 8.0+ or equivalent MariaDB server. In this step, we are going to install the MariaDB server from the default Ubuntu repository. To install the MariaDB server, execute this command below:
# apt install mariadb-server
That’s it, the MariaDB server should be up and running now.
Step 4. Create a Database
After installing the MariaDB server on an Ubuntu system, the MariaDB server will run automatically. Therefore, we can now create a new database and database user for our Contao website. Let’s log in to MySQL shell as root users and create a database for our Contao website.
# mysql
Once logged in to MySQL shell, we can run the following commands.
mysql> CREATE DATABASE contao;
mysql> GRANT ALL on contao.* to contao@localhost identified by 'm0d1fyth15';
mysql> FLUSH PRIVILEGES;
mysql> \q
Make sure to create a more complicated database password, and replace m0d1fyth15 in the command above with a more secure one.
The next step is optional but highly recommended. We need to create a password for our MySQL root user. Let’s invoke this command to proceed.
Step 5. Install Composer
Contao utilizes Composer, a tool for managing dependencies, as the officially endorsed approach for installation. Let’s execute the following command below to download the Composer installer using wget command:
# wget -O composer-setup.php https://getcomposer.org/installer
Once downloaded, we need to execute the following command to install and setup composer on our Ubuntu machine:
# php composer-setup.php --install-dir=/usr/local/bin --filename=composer
Verify the installation and check the installed build version of Composer:
# composer -V
The command above will return an output like this.
Composer version 2.5.8 2023-06-09 17:13:21
Step 6. Install PHP
Contao requires at least PHP 7.4, and specifically for Contao 5, PHP Version 8.1.0 or higher is required. On the Ubuntu 22.04 system, PHP 8.1 is the lowest version we can install. Let’s install PHP and its extensions from the Ubuntu repository.
# apt install php-{xml,pear,intl,common,json,curl,mbstring,mysql,gd,imagick,zip,opcache} libapache2-mod-php
Step 7. Install Contao
There are two methods to install Contao on your server, using Contao Manager and using the command line. In this tutorial, we will show you how to install Contao using Contao Manager.
First, let’s enter /var/www/html/domain1.com/web
# cd /var/www/html/domain1.com/web
# sudo -u www-data wget https://download.contao.org/contao-manager/stable/contao-manager.phar -O contao-manager.phar.php
Navigate to http://yourdomain.com/contao-manager.phar.php
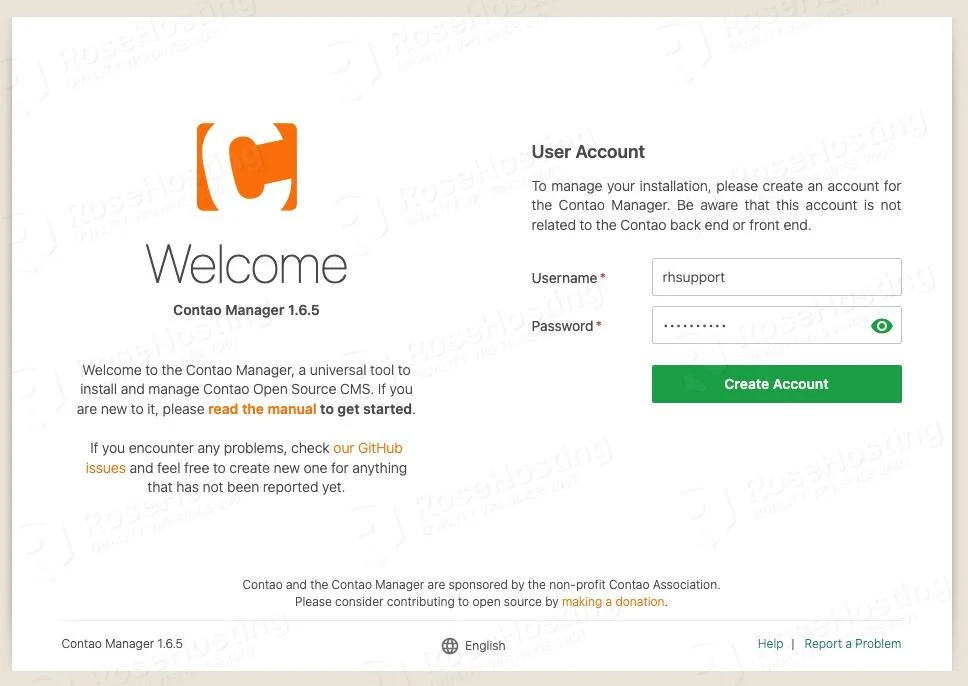
Click on Create Account button
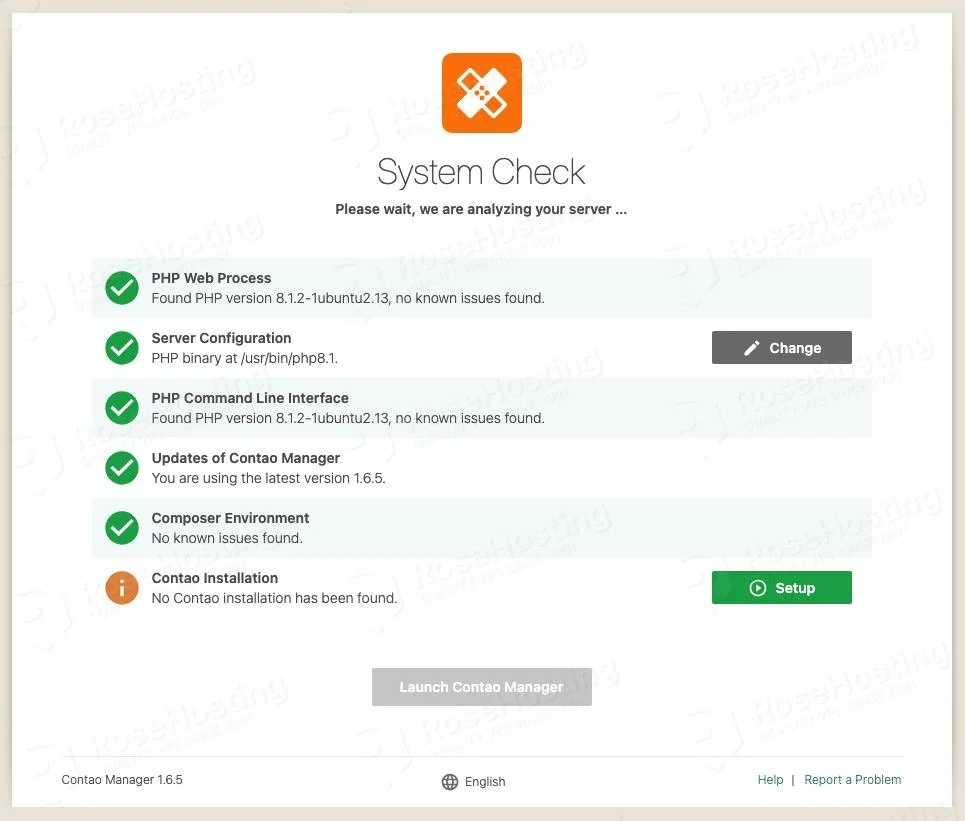
Click on the Setup button to install Contao
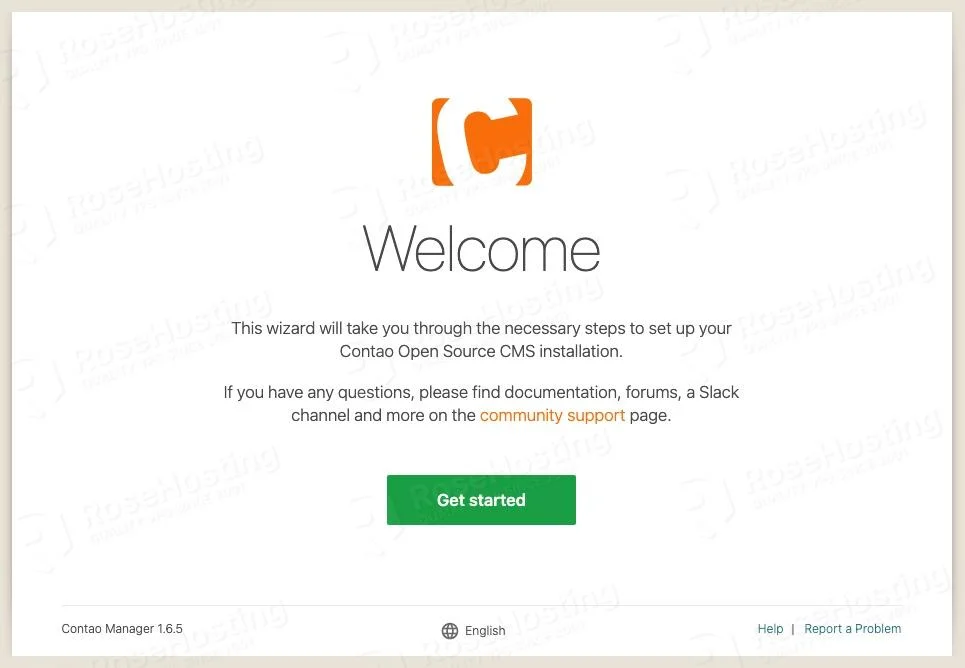
Click on Get Started button
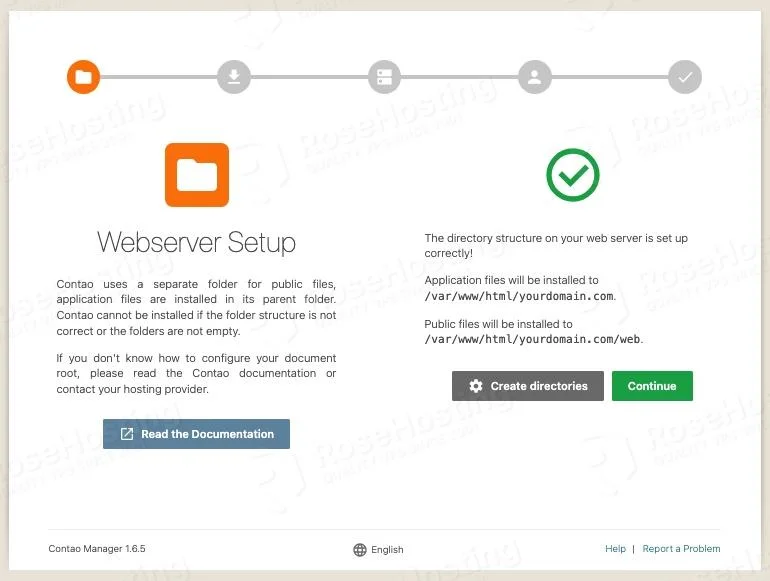
Click Continue
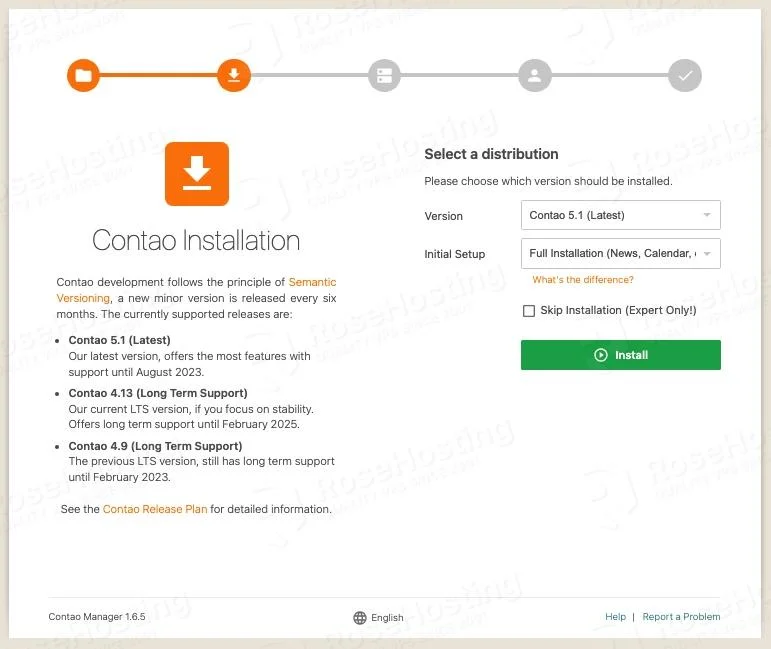
Select distribution, we are going to install version 5.1; click Install
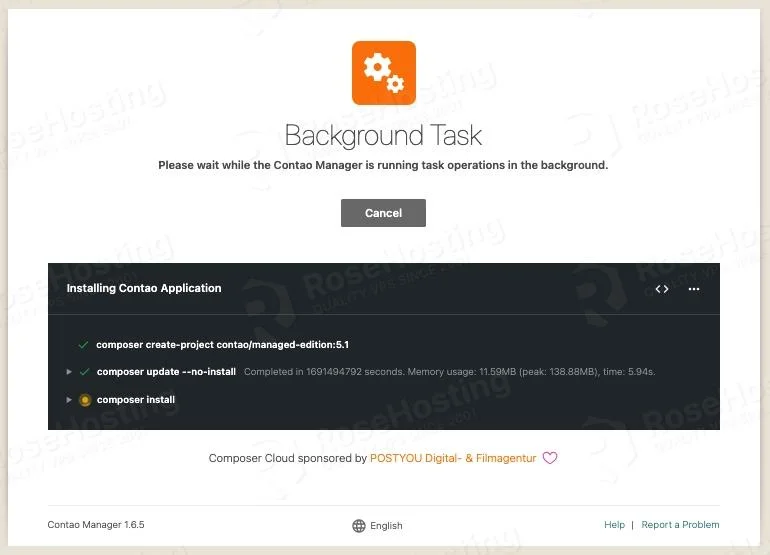
Please wait while the Contao Manager is running task operations in the background.
Once completed, you will be presented with a database configuration page.
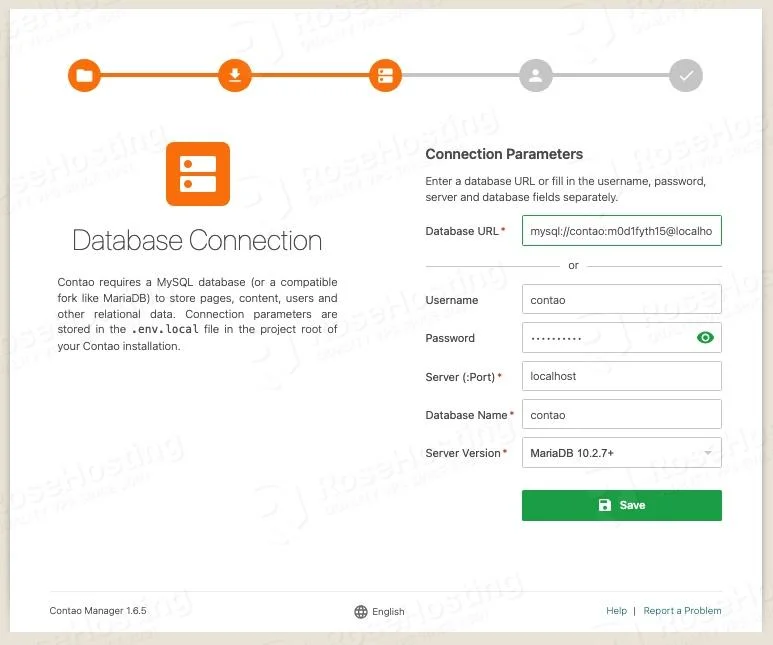
Please fill the forms with the database details we created in the previous step in this tutorial. , make sure to choose MariaDB in the Server Version dropdown menu. Click the Save button to save the config.
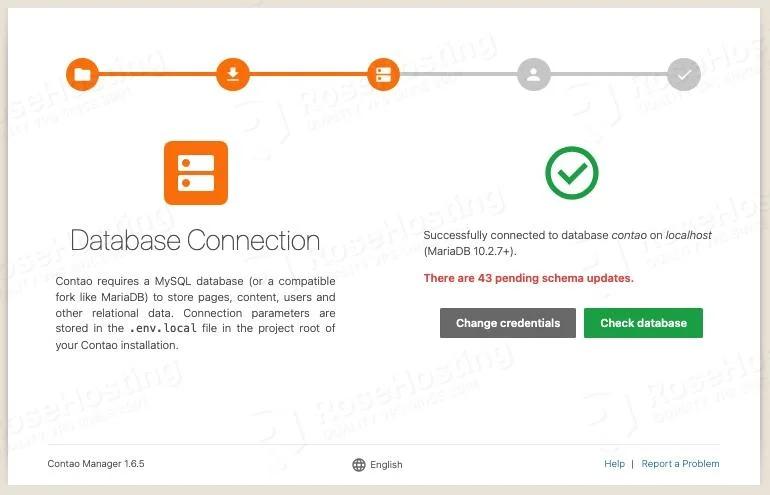
Click on Check database
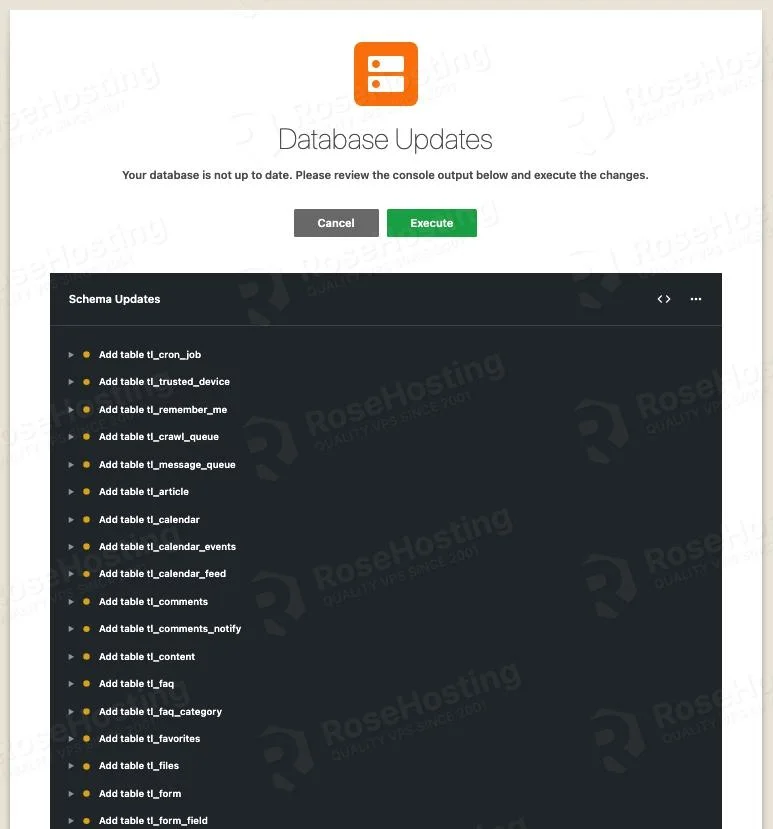
Now, click on the Execute button to create database tables, and once completed, click on the Confirm & Close button.
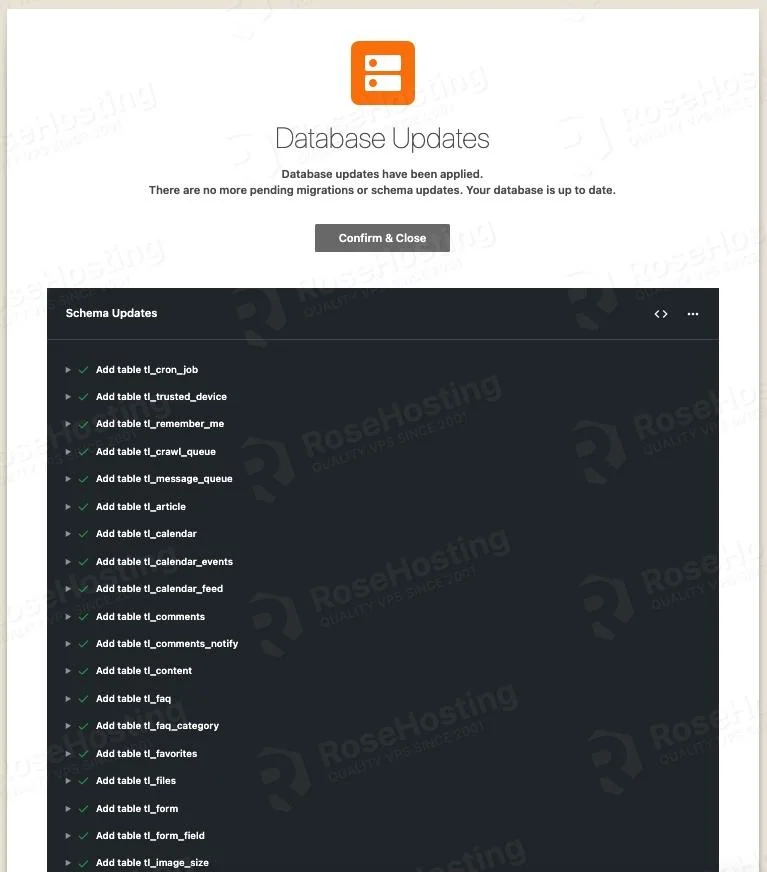
You will be brought to this page
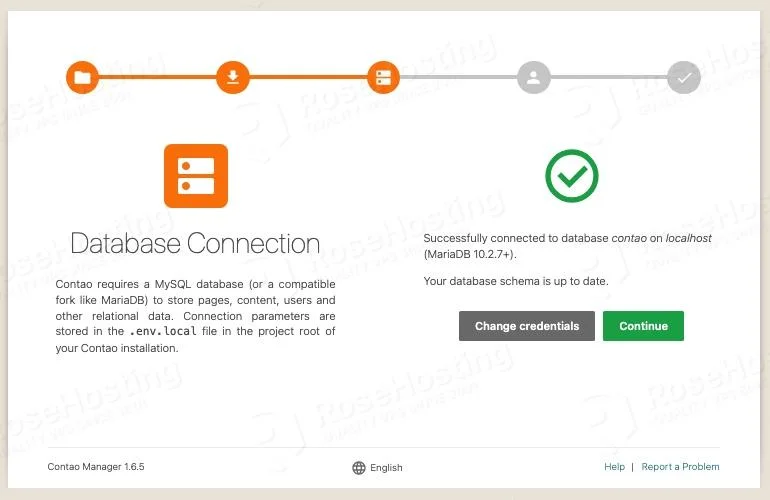
Click on Continue to create a new account
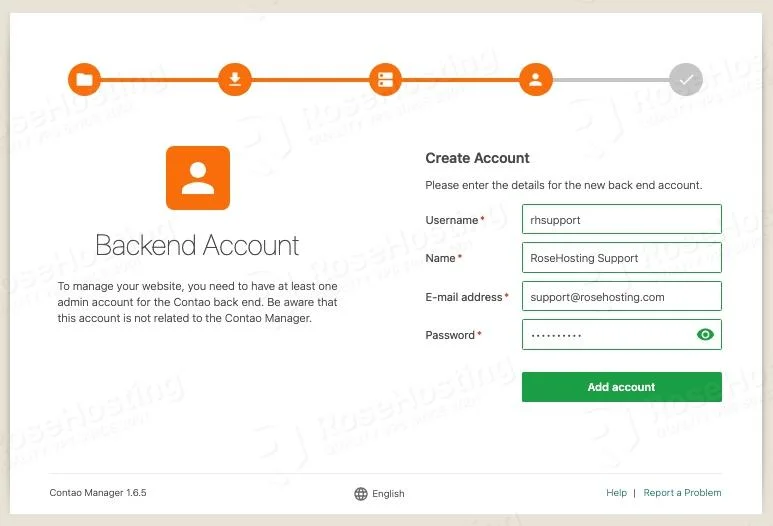
Click on Add Account

That’s it! You have installed Contao on Ubuntu 22.04. You can click on Login to Contao to start using Contao
Login using the account credentials you created a moment ago.
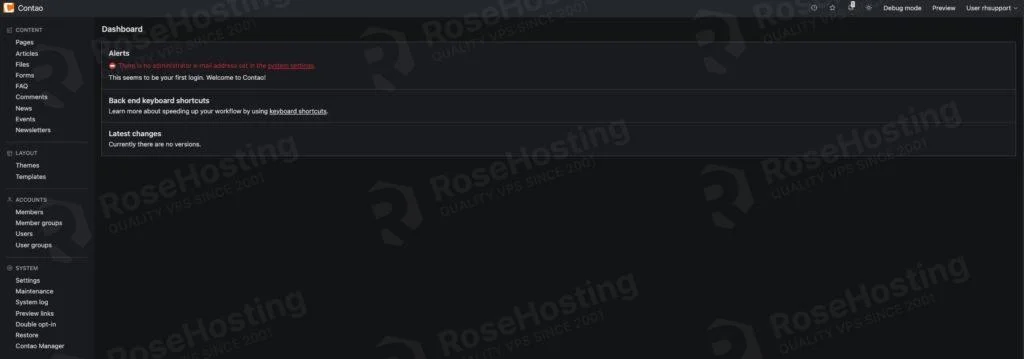
You are logged in now, and you can start customizing your Contao website.
Congratulations! You have successfully installed Contao on Ubuntu 22.04.
Of course, if you are one of our Ubuntu Hosting customers, you don’t have to install Contao on Ubuntu 22.04 yourself – simply ask our admins, sit back, and relax. Our admins will install Contao on Ubuntu 22.04 for you immediately without any additional fee, along with many useful optimizations that we can do for you. Managing a Contao-based website is not just about the installation; we can help you with optimizing your Contao installation if you have an active VPS with us.
If you liked this post about how to install Contao on Ubuntu 22.04, please share it with your friends on social networks or simply leave a comment in the comments section. Thanks.

Thank you very much for the detailed instructions. After running contao-manager.phar.php the following message is displayed: Security warning! The configuration directory is unprotected. The Contao Manager has recognized that its configuration files are publicly accessible…..
What rights must be given to the “yourdomain.com folder”?
You need to check the server configuration for more information about this.