In this article, we will show you how to install Open Source Social Network on an Ubuntu 18.04 server.
At the time of writing this article, the latest stable version of Open Source Social Network is 5.0, and it requires:
- PHP version 5.6, 7.0 or 7.1
- MySQL 5 or higher
- Apache
- mod_rewrite Apache module
- PHP cURL
- PHP Mcrypt s
- PHP GD Extension
- PHP ZIP Extension
- JSON Support
- XML Support
- PHP setting allow_url_fopen should be enabled
If you don’t have a LAMP stack set up, don’t worry – we’ll be showing you how to install that as well.
1. Connect to your server
Before we begin, you need to connect to your server via SSH as the root user. To do this, use the following command:
ssh root@IP_Address -p port_number
of course, you will need to replace IP_Address and port_number with your actual server IP address and SSH port number.
Once logged in, make sure that your server is up-to-date by running the following commands:
sudo apt update
sudo apt upgrade
2. Install LAMP
In order to run Open Source Social Network, it needs a web server, PHP, and a database server. That’s why we chose the LAMP stack. In this step, we will install Apache, PHP, and MariaDB to fulfill the requirements of this application.
Execute the following command to install Apache2:
sudo apt install apache2
Once the Apache2 web service is installed on the server, we can use the commands below to start, stop and enable the service.
sudo systemctl stop apache2.service
sudo systemctl start apache2.service
sudo systemctl enable apache2.service
To confirm that Apache2 is installed properly, we can open a web browser and type the server IP address or domain name (we assume it is pointed to your server) – we should be able to view the Apache2 ‘Default Page’.
Now that our Apache installation is finished, let’s install MariaDB, an open-source equivalent of MySQL. Use the following command to install MariaDB on your server:
sudo apt install mariadb-server mariadb-client
Once MariaDB is installed on your server, you can use the commands below so that you can stop, start and enable the MariaDB service.
sudo systemctl stop mariadb.service
sudo systemctl start mariadb.service
sudo systemctl enable mariadb.service
The next command is optional. You can run the command if you want to secure the MariaDB server by disallowing remote root access, remove the test database and create a root password.
sudo mysql_secure_installation
When prompted, answer the questions below by following the guide.
Enter current password for root (enter for none): Just press the [Enter] key, there is no password set by default
Set root password? [Y/n]: Y
New password: Enter your password
Re-enter new password: Repeat your password
Remove anonymous users? [Y/n]: Y
Disallow root login remotely? [Y/n]: Y
Remove test database and access to it? [Y/n]: Y
Reload privilege tables now? [Y/n]: Y
Restart the MariaDB server, so the changes will take effect.
sudo systemctl restart mariadb.service
Next, we will install PHP version 7.1 from Ondřej Surý’s repository.
Please note that OSSN does not support PHP 7.2 yet. With running these commands below, you will add Ondřej Surý’s PPA.
sudo apt-get install software-properties-common
sudo add-apt-repository ppa:ondrej/php
sudo apt update
In order to install PHP 7.1 together with the modules that are required for running the OSSN, please run this command:
sudo apt install php7.1 php7.1-mysql php7.1-curl php7.1-json php7.1-cgi libapache2-mod-php7.1 php7.1-mcrypt php7.1-xmlrpc php7.1-gd php7.1-mbstring php7.1 php7.1-common php7.1-xmlrpc php7.1-soap php7.1-xml php7.1-intl php7.1-cli php7.1-ldap unzip php7.1-zip wget php7.1-readline php7.1-imap php7.1-tidy php7.1-recode php7.1-sq php7.1-intl -y
Once the installation is complete, check that all installed services work properly. If so, you can proceed to the next step.
3. Create and Configure Database on MariaDB
Now we need to create a database for OSSN. Log in to the MariaDB server with the command:
sudo mysql -u root -p
Then type the password you created in the previous step to sign in. Once you are in the MariaDB shell, you can use the following command and create a database called ossn_db for the OSSN application.
CREATE DATABASE ossn_db;
Then create a database user called ossn_user and replace Str0n9Pas$worD with your own password.
CREATE USER 'ossn_user'@'localhost' IDENTIFIED BY 'Str0n9Pas$worD';
To grant the user ossn_user with full access to the database ossn_db, run the command:
GRANT ALL ON ossn_db.* TO 'ossn_user'@'localhost' IDENTIFIED BY 'Str0n9Pas$worD' WITH GRANT OPTION;
Now we can use flush privileges operation to reload the grant tables and after that, we can exit from the MariaDB shell.
FLUSH PRIVILEGES;
EXIT;
4. Install OSSN
Use the command below to change the directory to /opt and download the Open Source Social Network.
cd /opt && wget https://www.opensource-socialnetwork.org/download_ossn/latest/build.zip
unzip the content and move the files to the Apache2 default root directory:
unzip build.zip
sudo mv ossn /var/www/html/ossn
Create an OSSN data directory by running the commands:
sudo mkdir /var/www/html/ossn_data
Change the permissions and the ownership of the files:
sudo chown -R www-data:www-data /var/www/html/ossn/
sudo chmod 755 /var/www/html/ossn/
chown -R www-data:www-data /var/www/html/ossn_data
5. Configure Virtual Host for OSSN
Since we have Apache installed on your server, we can continue and show you how to create a virtual host for your domain that you want to use. We will use nano as our editor, but if you do not prefer nano, you can use any editor of your choice and create a new configuration file called ossn.conf
sudo nano /etc/apache2/sites-available/ossn.conf
Then paste the configuration from below into the file, and replace domain-name.com with your actual domain name.
<VirtualHost *:80>
     ServerAdmin [email protected]
     DocumentRoot /var/www/html/ossn
     ServerName domain-name.com

          Options FollowSymlinks
          AllowOverride All
          Require all granted

     ErrorLog ${APACHE_LOG_DIR}/error.log
     CustomLog ${APACHE_LOG_DIR}/access.log combined
</VirtualHost>
After you finish editing the file, save and close it.
Once you have configured the virtual host, you can enable it by executing the following commands.
Disable the default virtual host with:
sudo a2dissite 000-default
then, enable the OSSN virtual host:
sudo a2ensite ossn.conf
Also, you need to make sure that the mod_rewrite Apache module is enabled:
sudo a2enmod rewrite
Restart Apache for the changes to take effect.
sudo systemctl restart apache2.service
6. Access Open Source Social Network
Open your web browser and type your domain:
http://domain-name.com/
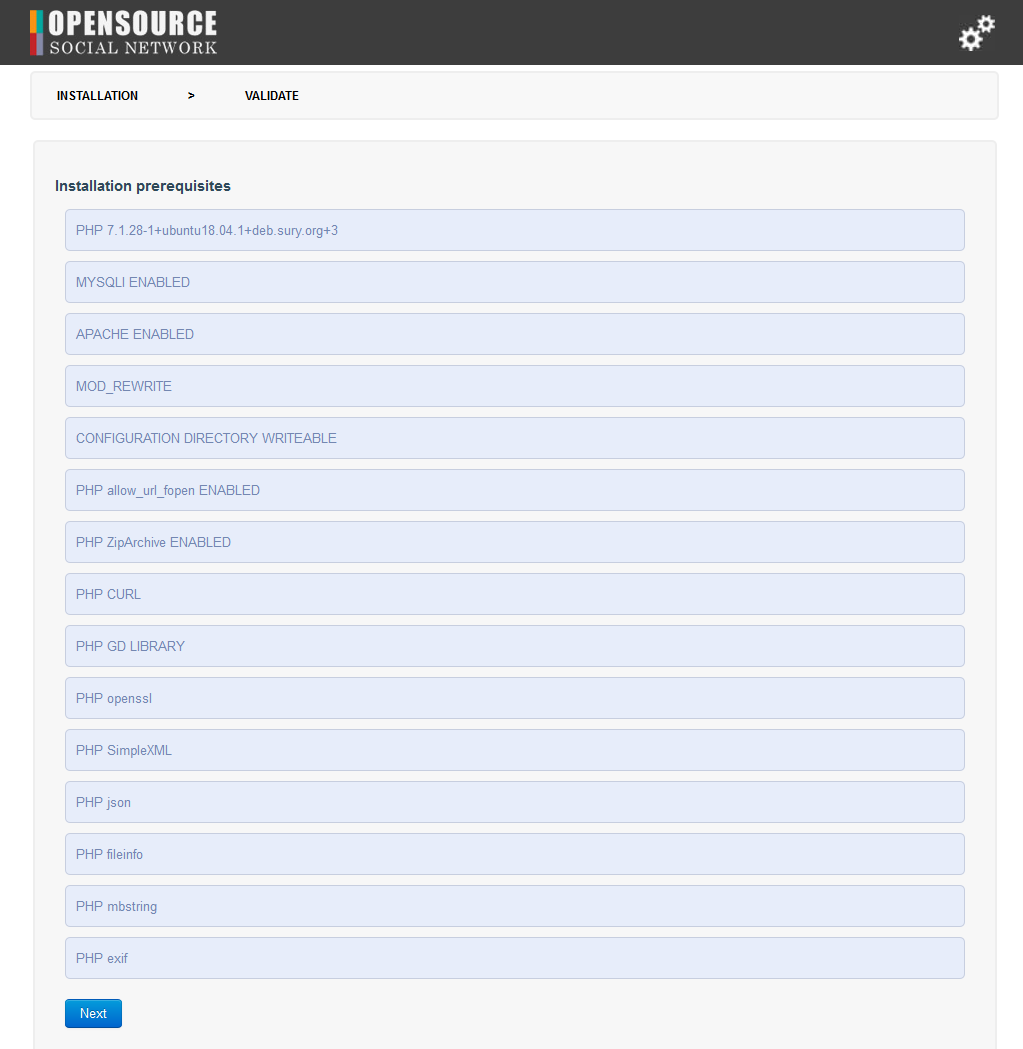
If you closely followed this article, you should be able to see the OSSN Installation wizard, as shown on the image below.
During the installation, you will create an administrator account that you can use it to manage the OSSN application. You can access the back-end by adding /administrator to the end of the URL.
http://domain-name.com/administrator
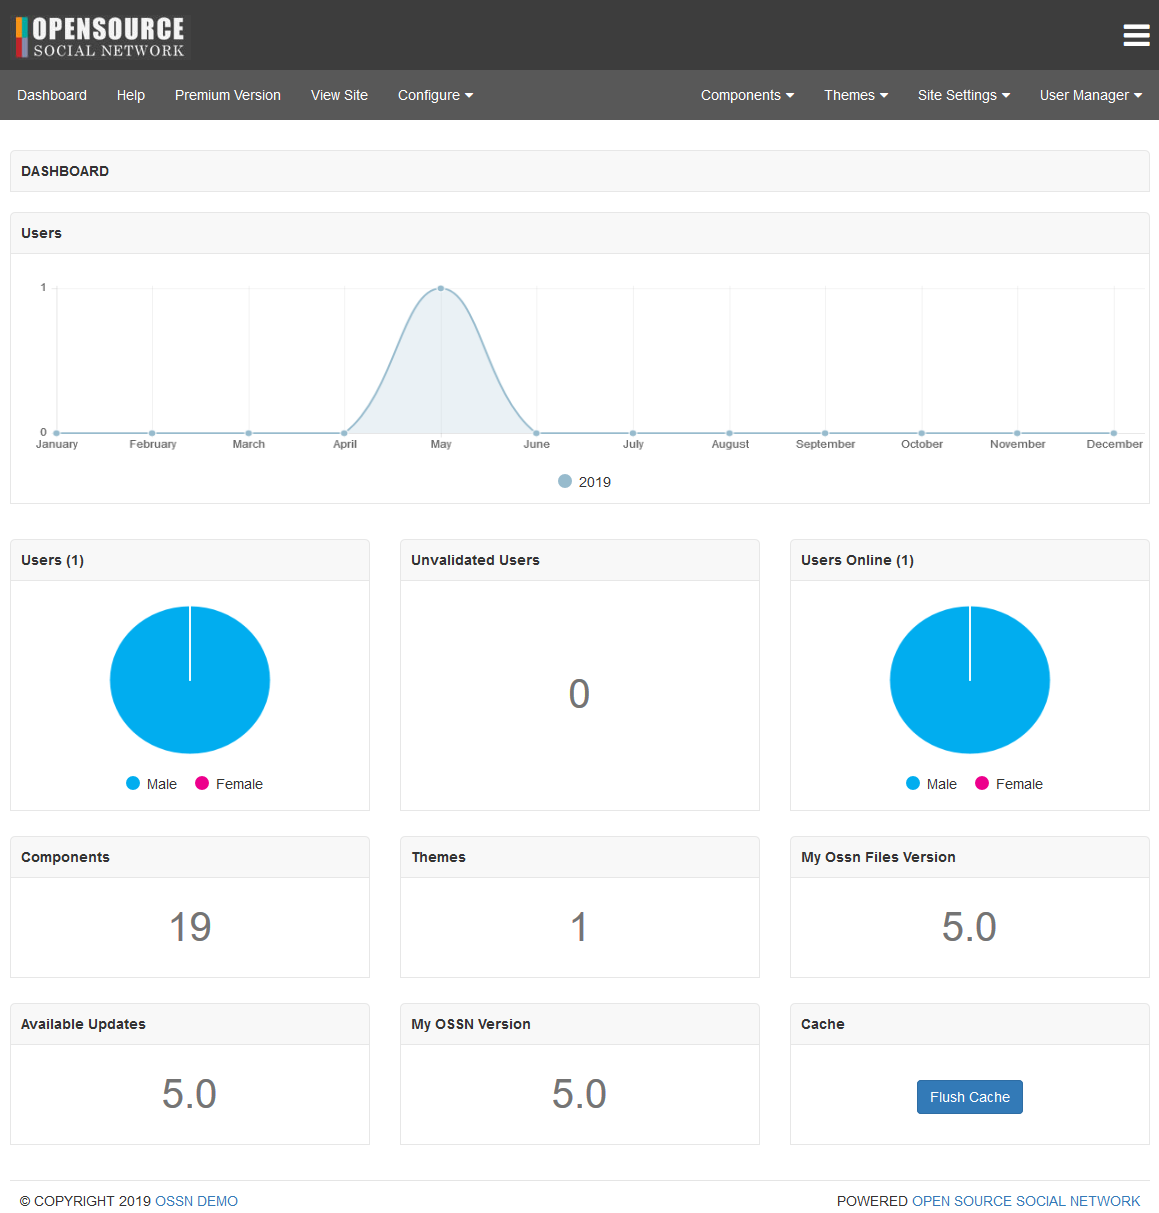
The administrator dashboard will look as shown on the following image.
Finally, you can access your http://domain-name.com and log in so you can create your first post.
Congratulations! You have successfully installed Open Source Social Network on your server.
In this article, we showed you how to install Apache2, PHP 7.1, MariaDB Database Server, created an OSSN database and of course installed Open Source Social Network. Now you can start creating your own private community and connect with your friends with this wonderful social media platform.

PS. If you liked this post about how to install Open Source Social Network on an Ubuntu 18.04 VPS, please share it with your friends on the social networks using the share buttons below, or simply leave a comment in the comments section. Thanks.


