

In this blog post, we will show you how to install Jenkins on Debian 13 OS. Jenkins is a free and open-source automation server for automating tasks in the cycle of software development, especially in the CI/CD (Continuous Integration and Continuous Delivery). Jenkins offers a variety of features and functionalities, such as a huge plugin ecosystem, CI/CD, a user-friendly web interface, and the ability to define the entire CI/CD process as code in only one file called Jenkinsfile. In this post, we will install Jenkins as a stand-alone Java application running as a service.
Installing Jenkins on Debian 13 is a straightforward process that takes a couple of minutes. Let’s get started!
Prerequisites
- A server running Debian 13 OS
- User privileges: root or non-root user with sudo privileges
- A valid domain with a pointed A record to the server IP address
Step 1. Update the System
Before we start with the installation of Java and Jenkins, we assume that you have a freshly installed OS, which is why we will update the system packages to their latest versions. To do that, execute the following command:
sudo apt update -y && sudo apt upgrade -y
Step 2. Install Java
Since Jenkins requires Java to run, we will install Java with the following command:
sudo apt install default-jdk -y
Once installed, check the Java version with the command below:
java -version
You should get output similar to this:
root@host:~# java -version
openjdk version "21.0.8" 2025-07-15
OpenJDK Runtime Environment (build 21.0.8+9-Debian-1)
OpenJDK 64-Bit Server VM (build 21.0.8+9-Debian-1, mixed mode, sharing)
Java is installed, and now we can proceed with Jenkins installation.
Step 3. Install Jenkins
First, we need to download the GPG security key:
curl -fsSL https://pkg.jenkins.io/debian-stable/jenkins.io-2023.key | sudo tee \
  /usr/share/keyrings/jenkins-keyring.asc > /dev/null
Then, add the Jenkins repository, because it does not exist in the default Jenkins repo:
echo deb [signed-by=/usr/share/keyrings/jenkins-keyring.asc] \
  https://pkg.jenkins.io/debian-stable binary/ | sudo tee \
  /etc/apt/sources.list.d/jenkins.list > /dev/null
Once the GPG key and repository are added, we can proceed with installing Jenkins with the following command:
sudo apt install jenkins -y
Once installed, start and enable the Jenkins service:
sudo systemctl start jenkins && sudo systemctl enable jenkins
To check the status of the Jenkins service:
sudo systemctl status jenkins
You should get the following output:
root@host:~# sudo systemctl status jenkins
● jenkins.service - Jenkins Continuous Integration Server
     Loaded: loaded (/usr/lib/systemd/system/jenkins.service; enabled; preset: enabled)
     Active: active (running) since Fri 2025-09-05 00:03:13 CDT; 30min ago
 Invocation: b245bb9a48e7421aa7fd9a5a166b811e
   Main PID: 6815 (java)
      Tasks: 44 (limit: 4640)
     Memory: 625M (peak: 625.3M)
        CPU: 42.756s
     CGroup: /system.slice/jenkins.service
             └─6815 /usr/bin/java -Djava.awt.headless=true -jar /usr/share/java/jenkins.war --webroot=/var/cache/jenkins/war --httpPort=8080

Jenkins is successfully installed. In the next step, we will show you how to finish the installation by accessing it in the browser.
Step 4. Finish the Jenkins installation
Jenkins is running as a service on port 8080 and is accessible in the browser using that port along with the server IP address: http:YourServerIPaddress:8080
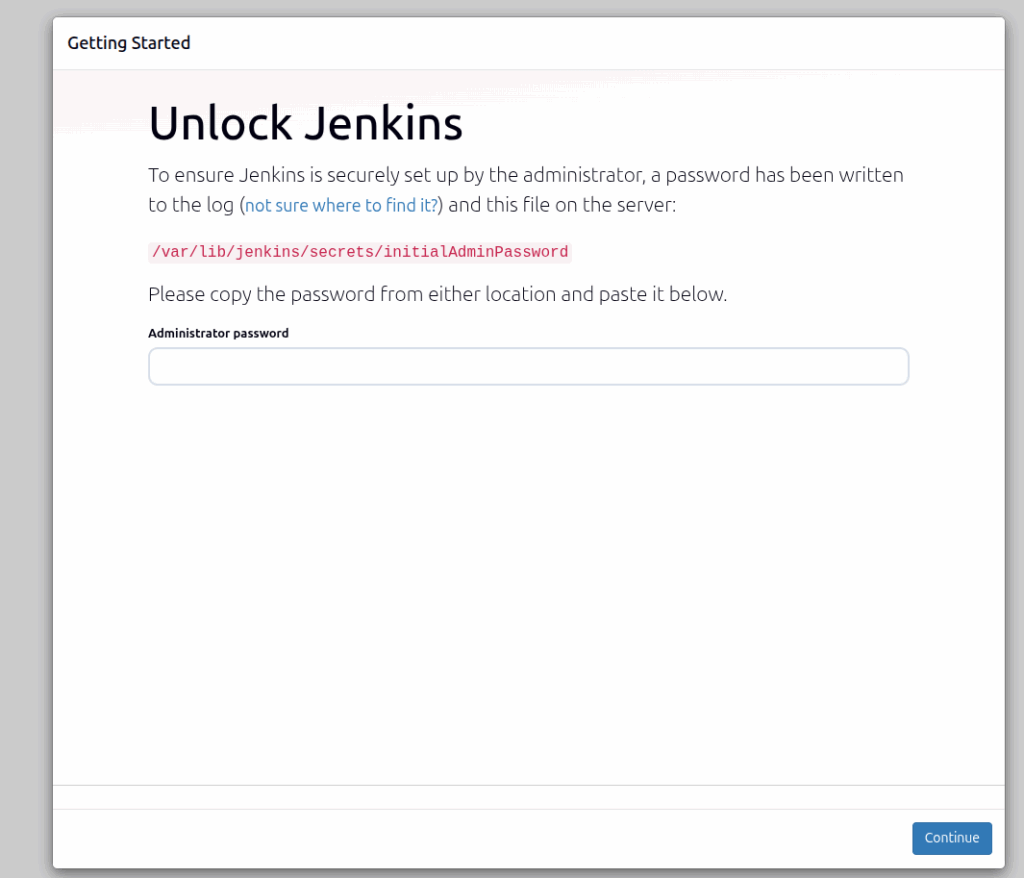
On the first screen, a command is provided on how you get the initial admin password to unlock Jenkins. Execute the following command in your terminal:
cat /var/lib/jenkins/secrets/initialAdminPassword
You should get output similar to this:
root@host:~# cat /var/lib/jenkins/secrets/initialAdminPassword
c3f44afb23f8480587b85e23159510f1
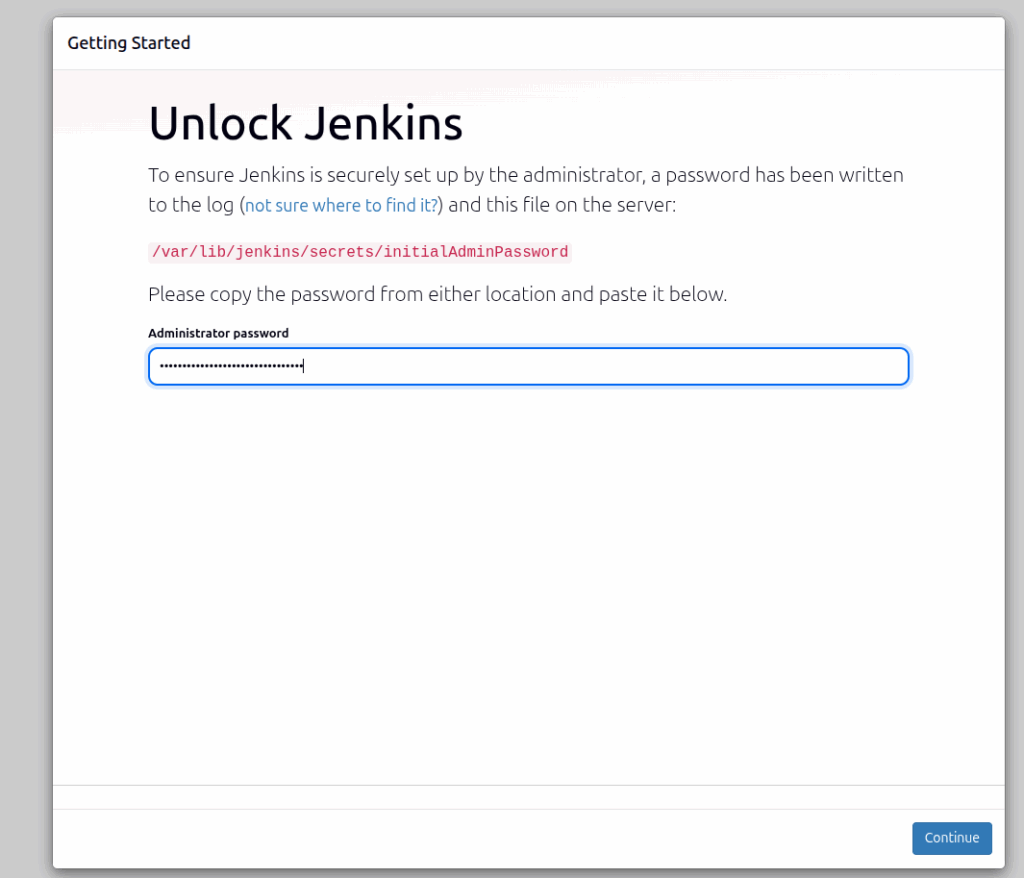
Copy the string, paste it into the administrator password field, and click on the “Continue” button.
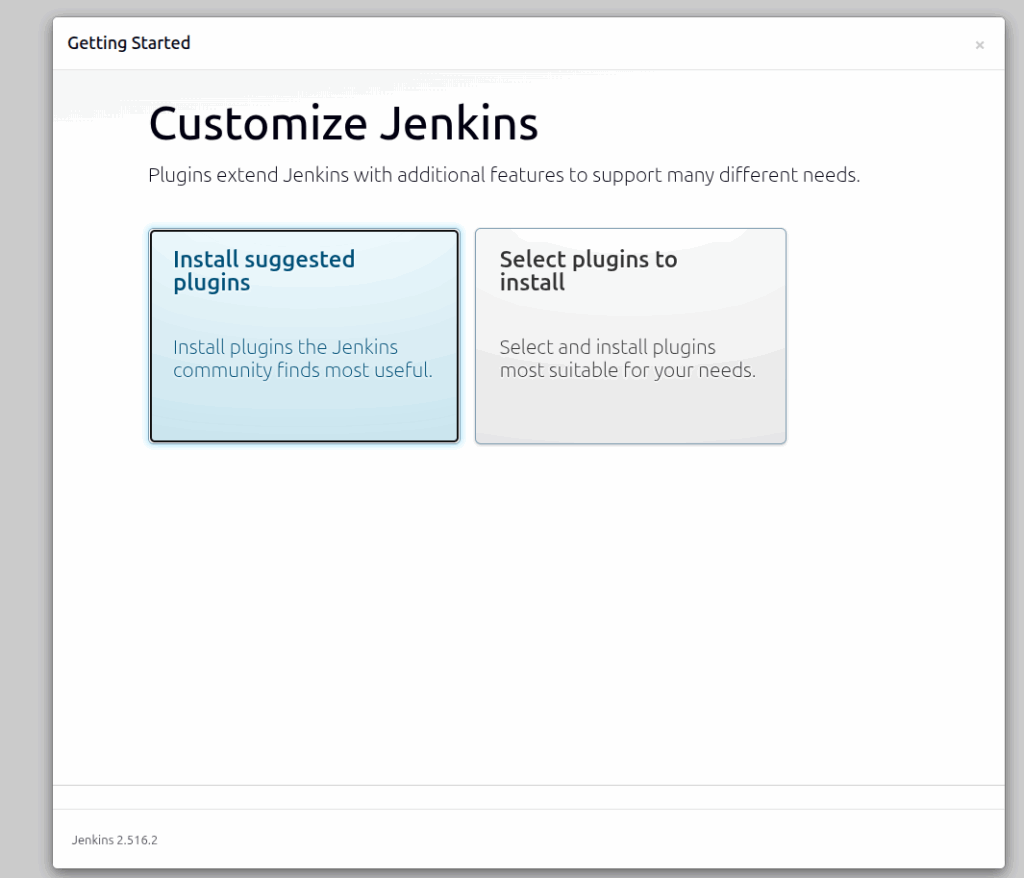
On the next screen, you will need to select to install the suggested plugins or select which plugins you want to install. In this post, we will go with the default suggested plugins.
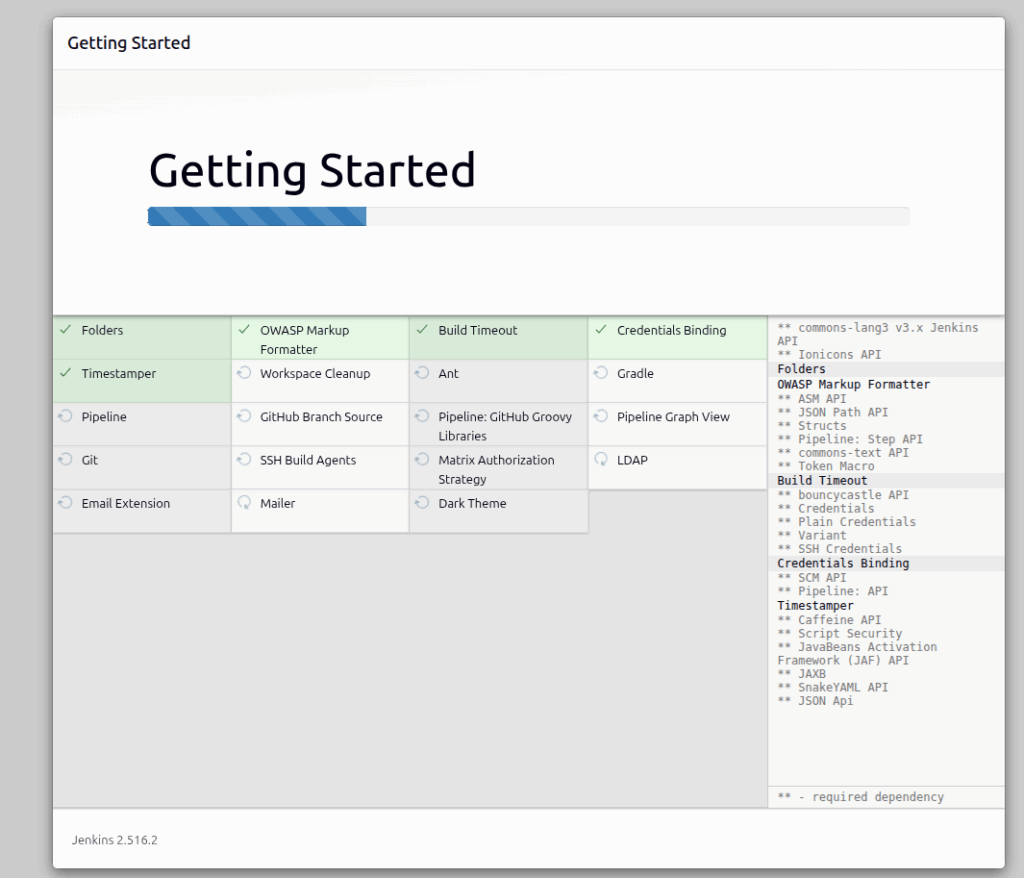
The installation will start, and you should allow some time for its completion.
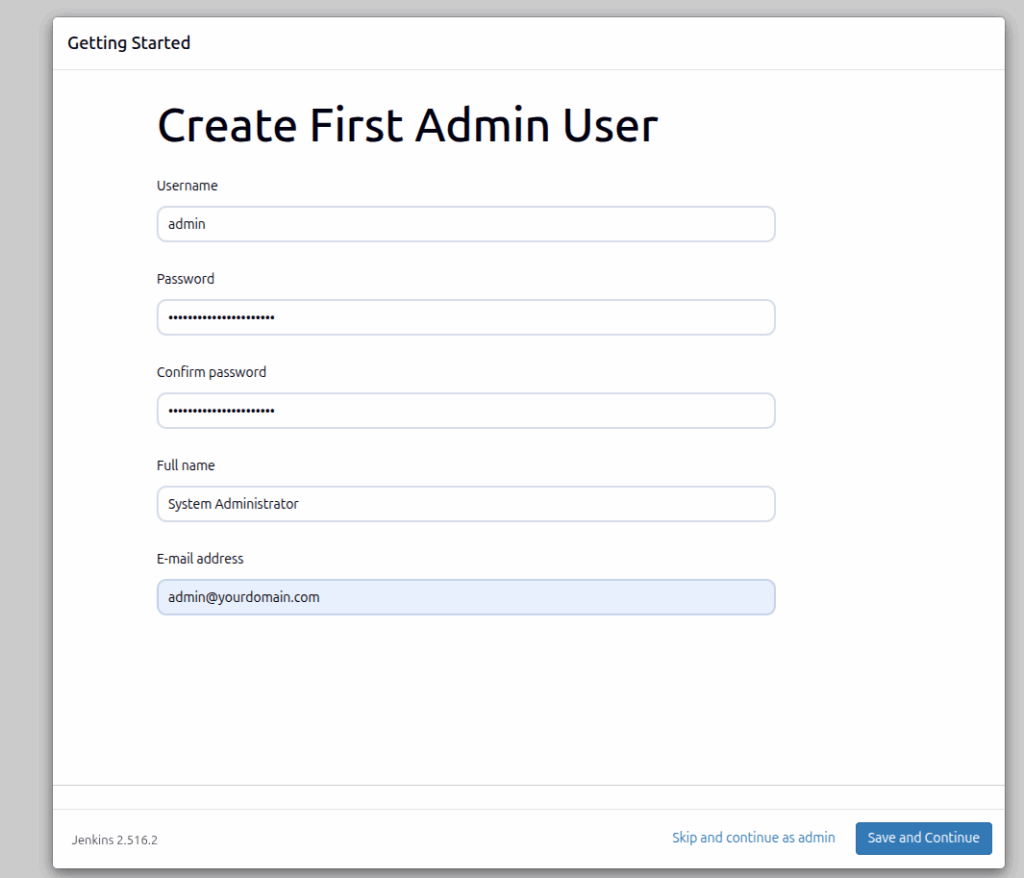
Once it is complete, you will be asked to enter your administrator user credentials:
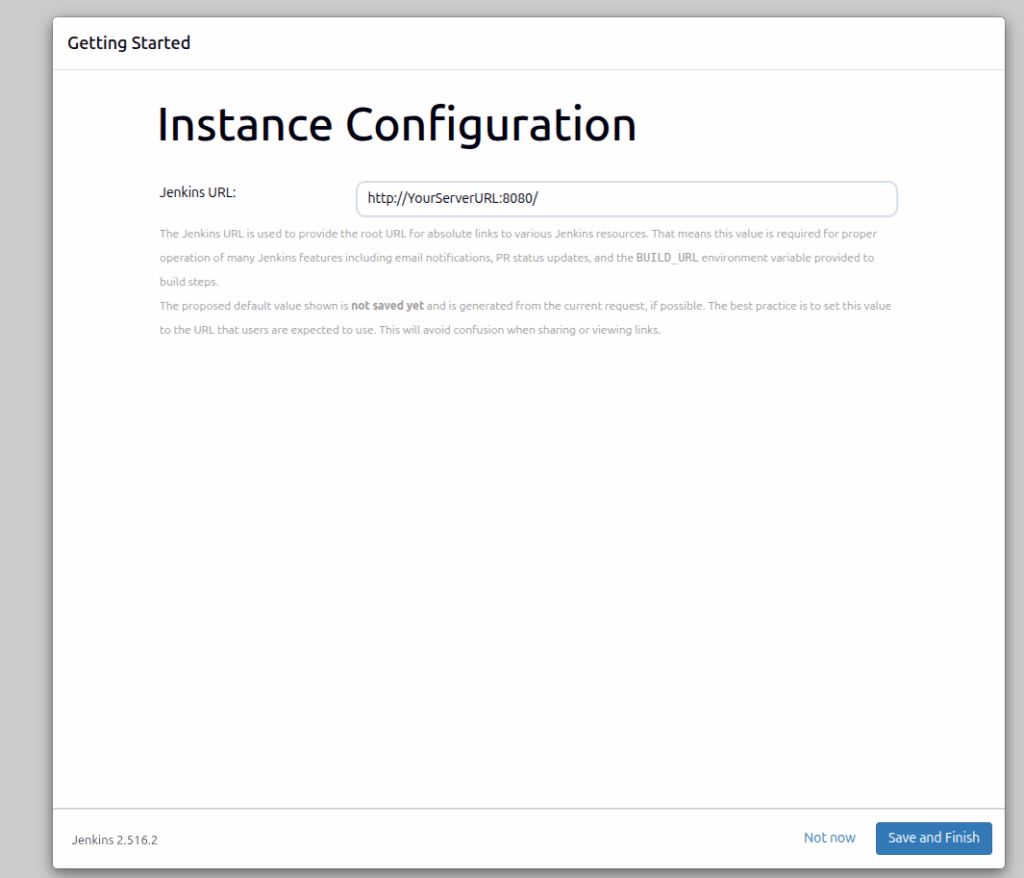
On the next screen is the Jenkins URL.
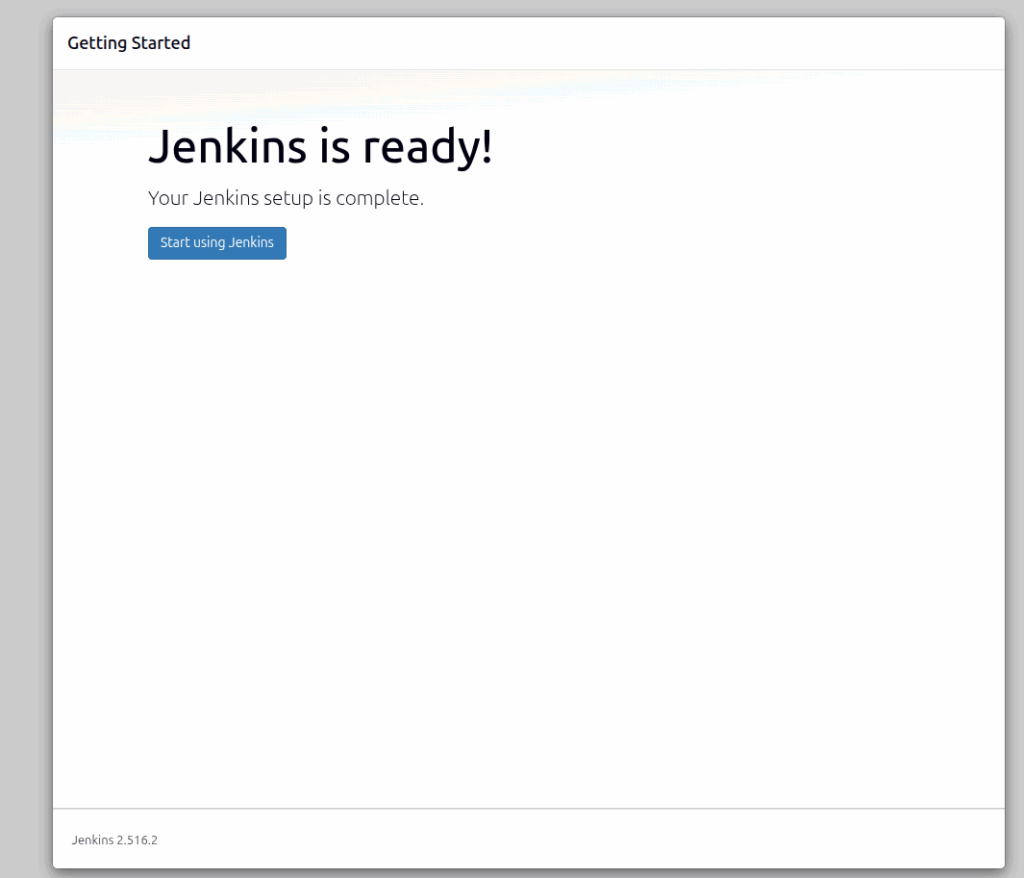
After that, the next is the screen before you are redirected to the Jenkins admin dashboard:
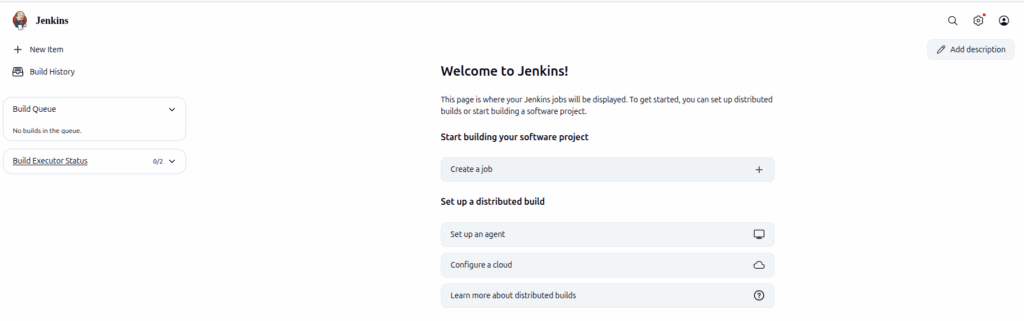
The Jenkins Admin dashboard will look like this:
Step 5. Install Apache Web Server
A Reverse proxy is necessary if you want to access Jenkins via the domain name. The reverse proxy is configured in the web server configuration file. Since we do not have a web server installed yet, let’s install the Apache web server first:
sudo apt install apache2 -y
Once installed start and enable the Apache service:
sudo systemctl start apache2 && sudo systemctl enable apache2
To check the status of the Apache service:
sudo systemctl status apache2
You should get the following output:
root@host:~# sudo systemctl status apache2
● apache2.service - The Apache HTTP Server
     Loaded: loaded (/usr/lib/systemd/system/apache2.service; enabled; preset: enabled)
     Active: active (running) since Fri 2025-09-05 02:59:31 CDT; 44s ago
 Invocation: c719ac8ceb6643f9b40ffd2efd4823d3
       Docs: https://httpd.apache.org/docs/2.4/
   Main PID: 8601 (apache2)
      Tasks: 55 (limit: 4640)
     Memory: 5.2M (peak: 5.9M)
        CPU: 90ms
     CGroup: /system.slice/apache2.service
Step 6. Create Apache Virtual Host Configuration File and Set Up Reverse Proxy
To create an Apache configuration file, execute the following command:
sudo touch /etc/apache2/sites-available/jenkins.conf
Open the file and paste the following lines of code
    <Virtualhost *:80>
    ServerName        yourdomainhere.com
    ProxyRequests     Off
    ProxyPreserveHost On
    AllowEncodedSlashes NoDecode

    <Proxy http://localhost:8080/*>
      Order deny,allow
      Allow from all
    </Proxy>

    ProxyPass         /  http://localhost:8080/ nocanon
    ProxyPassReverse  /  http://localhost:8080/
    ProxyPassReverse  /  http://yourdomain.com/
</Virtualhost>
Save the file and close it. Then you need to enable the Jenkins configuration along with some Apache modules:
sudo a2ensite jenkins
sudo a2enmod headers
sudo a2enmod proxy
sudo a2enmod proxy_http
Check the Apache2 syntax:
apachectl -t
You should receive the following output:
root@host:~# apachectl -t
Syntax OK
If the syntax is OK, restartd the Apache service.
systemctl restart apache2
That’s it. Now you can access and finish the Jenkins installation at http://yourdomain.com
You successfully installed Jenkins on Debian 13.
If you have difficulties with this installation, our Linux admins will help you with any aspect. You need to sign up for one of our monthly server management or per-incident server support plans. Do not hesitate to contact us anytime you want. We are available 24/7.
PS. If you liked this post about how to install Jenkins on Debian 13, please share it with your friends or leave a reply below. Thanks.
