
In this tutorial, we are going to explain how to install Webuzo v3 control panel on Ubuntu 20.04.
Webuzo is a hosting control panel that allows the developers and administrators to easily manage their domains, create databases, deploy a variety of applications create users and etc. With Webuzo can be managed different applications such as MySQL, MongoDB as databases, Nginx, LighTTPD as webservers, PHP, Ruby, Perl as languages and etc.
Installing the Webuzo control panel is done with an installation script and can take up to 15 minutes. Let’s get started!
Prerequisites
- A server with Ubuntu 20.04 as OS
- User privileges: root or non-root user with sudo privileges
Step 1. Update the System
Webuzo control panel requires a fresh installation of Ubuntu 20.04. Since we have a fresh installation we need to update the system before we take any steps about the installation process.
sudo apt update -y && sudo apt upgrade -y
Step 2. Remove Unnecessary installations
Webuzo v3 control panel has its own way of configuring the PHP, MySQL, and Apache or Nginx, so we need to remove them completely before we download and run the installation script.
sudo apt purge php* mysql* apache2* nginx* -y
Step 3. Install Webuzo v3 Control Panel
First, we need to download the installation script. Execute the command below for the installation script to be downloaded in the root directory on your server:
wget http://files.webuzo.com/install.sh
Once, the script is downloaded, make it executable:
chmod +x install.sh
Before you execute the script it is good to be mentioned, that the Webuzo v3 control panel can be installed with the LAMP(Linux, Apache, MySQL, PHP) or LEMP(Linux, Nginx, MySQL, PHP) stack. In this tutorial, we are going to install the Webuzo with the LAMP stack.
Run the installation script with the arguments as explained below:
./install.sh --v3 --lamp
This should be the first output after execution of the script:
 Welcome to Webuzo Installer
--------------------------------------------------------
 Installation Logs : tail -f /root/webuzo-install.log
--------------------------------------------------------

1) Installing Libraries and Dependencies
After successful installation the following message will be displayed:
----------------------------------------------------------------
 /$      /$ /$ /$  /$   /$ /$  /$
| $  /$ | $| $_____/| $__  $| $  | $|_____ $  /$__  $
| $ /$| $| $      | $  \ $| $  | $     /$/ | $  \ $
| $/$ $ $| $   | $ | $  | $    /$/  | $  | $
| $_  $| $__/   | $__  $| $  | $   /$/   | $  | $
| $/ \  $| $      | $  \ $| $  | $  /$/    | $  | $
| $/   \  $| $| $/|  $/ /$|  $/
|__/     \__/|________/|_______/  \______/ |________/ \______/
----------------------------------------------------------------
Congratulations, Webuzo has been successfully installed

You can now configure Softaculous Webuzo at the following URL :
https://162.246.248.185:2005/

----------------------------------------------------------------
Thank you for choosing Webuzo !
----------------------------------------------------------------
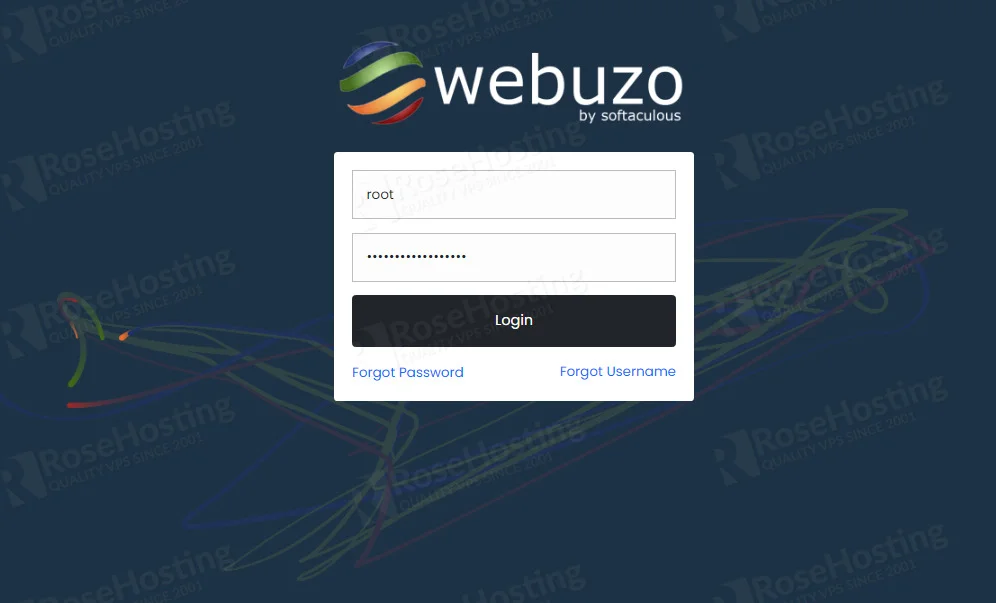
Step 4. Access the Webuzo GUI
To access the Webuzo control panel, access your server IP address on port 2004
http://YOUR_SERVER_IP:2004
As username, you can use the root user, and the root password of your server.
After successful login you should see the screen as described in the picture below:
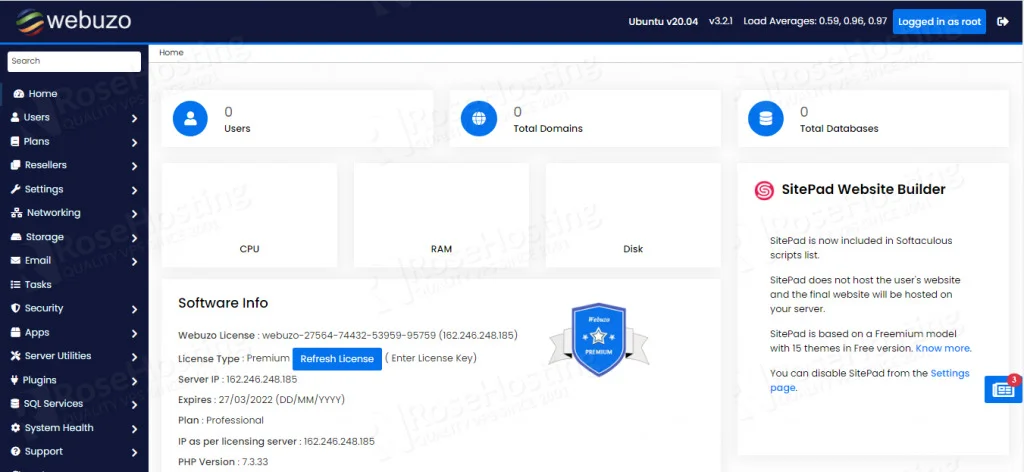
Step 5. The Webuzo Panel Menu
In the next paragraphs we are going to explain the most important options that the Webuzo control panel offers, to make the work easier for developers and system administrators.
USERS:The first section on the left menu is the users section. In this section, we can list the users, add new users, see the domains, suspend the existing users, and email them as well. Also, in this section, the admins can grant shell access to the users.
PLANS:The second option in this menu is the section for the plans. We can add a new plan, list plans, add and disable some features and etc. By adding a new plan we can name it, add some features like disk quota, max FTP accounts, max addon domains, define the home directory, max email accounts, and so on. Adding a new plan has a variety of options and to understand them in more detail you will have to spend some time in this section.
RESELLERS: Next section is the reseller section where we can list the resellers, add some privileges to the resellers, and email them at once. One user can become a reseller, simply by checking one checkbox while we add a new user.
SETTINGS: This is one of the most important sections, where the administrator can change the root password of the server, configure the backup strategy, set the server’s timezone, update the Webuzo control panel, set the nameservers, manage the PHP settings and etc.
NETWORKING: In this section, we can add new IP, set the IP range, change the resolver configuration and change the server’s hostname.
The rest of the sections in the panel menu are for storage, emails, security, plugins, SQL services, support and Softaculous. Now when you successfully installed the Webuzo control panel, and manage to login in you can easily access these sections.
That’s it! In this tutorial, we explained the process of installing the Webuzo v3 control panel and its features. Of course, you do not have to install it by yourself if you do not have experience with Linux servers and control panels. All you need to do is to sign up for one of our SSD VPS plans and submit a support ticket. Our professional admins are 24/7 available for you.
If you liked this post on how to install Webuzo v3 on Ubuntu 20.04, please share it with your friends on the social networks using the buttons on the left or simply leave a reply below. Thanks.

ERROR :
There was an error while installing Webuzo
Please check /root/webuzo-install.log for errors
Exiting Installer
Aa Raha Hai
You need to provide more details on the issue so we can further check.
Hi,
I have followed everything to the T, but for some reason I’m unable to login to webuzo. I have updated the root account of my fresh ubuntu installation to ensure I can login with it. I have updated / changed the password, but I’m still unable to login to webuzo.
Was there something specific that you had to do that’s not listed here? Perhaps something I missed during my ubuntu installation?
I need help please