

In this blog post, we are going to install Ntopng on Debian 11 OS and explain in step-by-step detail the installation process.
Ntopng is a web-based application for tracking the network traffic on your server. It is free and open-source and supports different operating systems like Linux, Windows MacOS and etc. Ntopng is a very useful monitoring tool that shows, multiple graphs in the GUI such as network usage, analytical data, bandwidth utilization, apps and etc. Also, Ntopng analyzes the traffic and sorts it by source/destination.
Installing Ntopng on Debian 11, is a very easy and straightforward process in just a few steps. Let’s get to work!
Prerequisites
- A server with Debian 11 as OS
- User privileges: root or non-root user with sudo privileges
Step 1. Update the System
We need to update the packages to their latest versions available before we start with the installation. Execute the following commands to update the system.
sudo apt update -y && sudo apt upgrade -y
Step 2. Add Ntopng Repository
By default Debian 11, does not contain the repository for Ntopng, so we need to add it manually. To add the repository execute the commands below:
cd /opt

wget http://apt.ntop.org/buster/all/apt-ntop.deb

dpkg -i apt-ntop.deb
Step 3. Install Ntopng
Once, the package is added update the system again.
sudo apt update -y
After updating the system, we are ready to execute the command for installing Ntopng.
sudo apt install ntopng
Once, the Ntopng monitoring tool is installed, start and enable the service for automatic boot on system reboot.
sudo systemctl start ntopng && sudo systemctl enable ntopng
Check the status of the Ntopng service with the following command:
sudo systemctl status ntopng
You should receive the following output:
root@vps:/opt# sudo systemctl status ntopng
● ntopng.service - ntopng high-speed web-based traffic monitoring and analysis tool
     Loaded: loaded (/etc/systemd/system/ntopng.service; enabled; vendor preset: enabled)
     Active: active (running) since Mon 2022-02-14 17:27:07 EST; 6min ago
   Main PID: 27734 (2/flow_checks)
      Tasks: 35 (limit: 4678)
     Memory: 205.4M
        CPU: 55.493s
     CGroup: /system.slice/ntopng.service
             └─27734 /usr/bin/ntopng /run/ntopng.conf

Feb 14 17:27:23 ntopng.vps ntopng[27734]: 14/Feb/2022 17:27:23 [startup.lua:120] [lists_utils.lua:421] Updating list 'Abuse.ch URLhaus' [https://urlhaus.abuse.ch>
Feb 14 17:27:23 ntopng.vps ntopng[27734]: 14/Feb/2022 17:27:23 [startup.lua:120] [lists_utils.lua:421] Updating list 'Emerging Threats' [https://rules.emergingth>
Feb 14 17:27:23 ntopng.vps ntopng[27734]: 14/Feb/2022 17:27:23 [startup.lua:120] [lists_utils.lua:421] Updating list 'Feodo Tracker Botnet C2 IP Blocklist' [http>
Feb 14 17:27:23 ntopng.vps ntopng[27734]: 14/Feb/2022 17:27:23 [startup.lua:120] [lists_utils.lua:421] Updating list 'NoCoin Filter List' [https://raw.githubuser>
Feb 14 17:27:23 ntopng.vps ntopng[27734]: 14/Feb/2022 17:27:23 [startup.lua:120] [lists_utils.lua:421] Updating list 'SSLBL Botnet C2 IP Blacklist' [https://sslb>
Feb 14 17:27:24 ntopng.vps ntopng[27734]: 14/Feb/2022 17:27:24 [startup.lua:120] [lists_utils.lua:718] Category Lists (1711 hosts, 2117 IPs, 0 JA3) loaded in 1 s>
Feb 14 17:27:25 ntopng.vps ntopng[27734]: 14/Feb/2022 17:27:25 [startup.lua:202] Completed startup.lua
Feb 14 17:27:25 ntopng.vps ntopng[27734]: 14/Feb/2022 17:27:25 [PeriodicActivities.cpp:167] Found 10 activities
Feb 14 17:27:25 ntopng.vps ntopng[27734]: 14/Feb/2022 17:27:25 [NetworkInterface.cpp:3195] Started packet polling on interface lo [id: 1]...
Feb 14 17:27:25 ntopng.vps ntopng[27734]: 14/Feb/2022 17:27:25 [NetworkInterface.cpp:3195] Started packet polling on interface eth0 [id: 2]...
Step 4. Configure Ntopng
Before we access Ntopng we need to configure it. Open the Ntopng configuration file /etc/ntopng/ntopng.conf
sudo nano /etc/ntopng/ntopng.conf
Paste the following lines of code:
##Define the network interface for network monitoring.
##Define the HTTP port for the web server.
-w=5000
Save the file, and close it. Create new ntopng.start file to define the network.
sudo nano /etc/ntopng/ntopng.start
Paste the following lines of code:
--local-networks "YourLocalIPaddressHere/24"  ## give your local IP Ranges here.
--interface 1
Save the newly created file and restart the Ntopng service.
sudo systemctl restart ntopng
You can check the service if is running on port with the following command:
netstat -tunlp | grep 5000
You should receive the following output:
root@vps:~# netstat -tunlp | grep 5000
tcp        0      0 0.0.0.0:5000            0.0.0.0:*               LISTEN      37148/ntopng
Step 5. Access the Ntopng
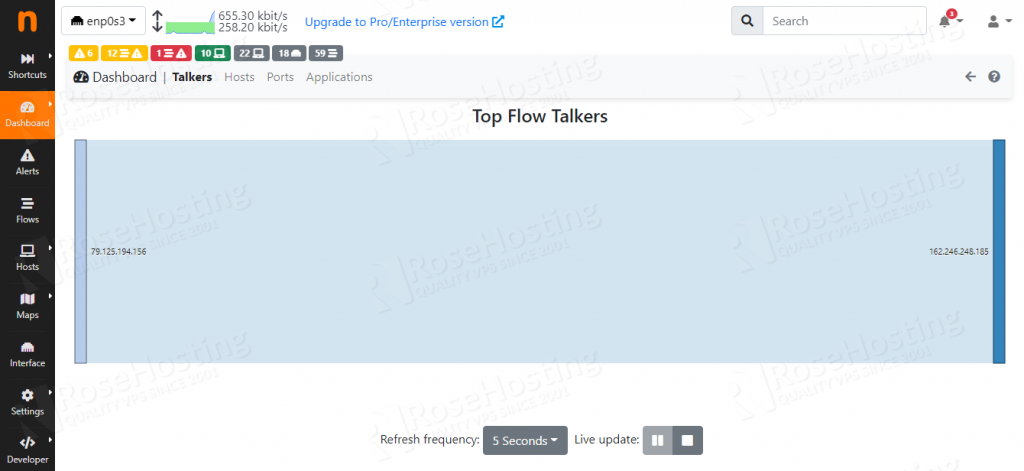
To access the Ntopng GUI visit the URL http://YourIpAddress:5000. You will see the screen as described below:
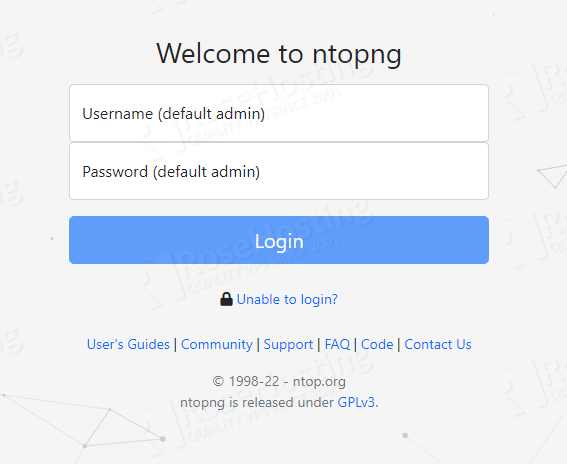
On a fresh installation the default username and password is admin. Once, you enter admin as username and password hit on the “Login” button.
On the next screen you will have to change the default password with a strong one for better security.
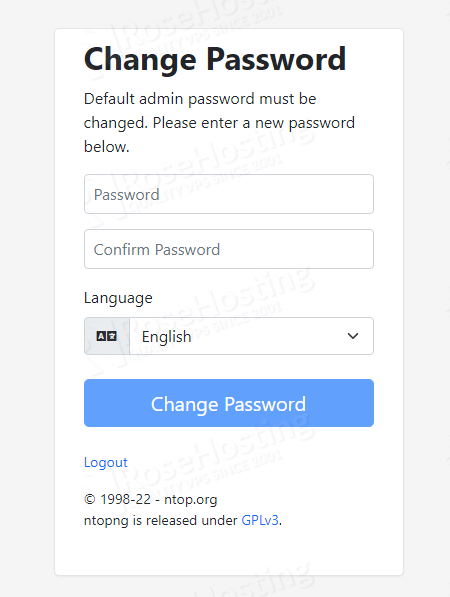
Enter the strong password twice and click on the “Change Password” button.
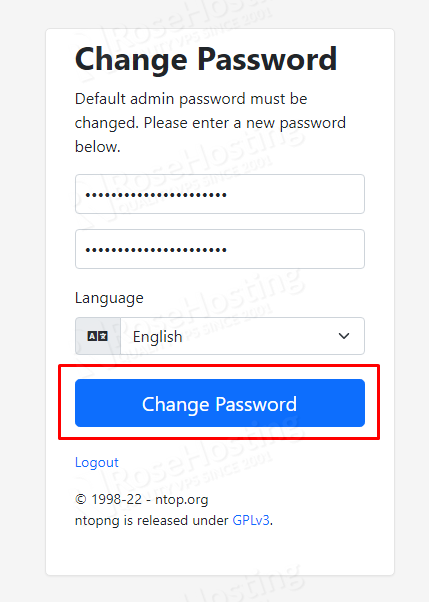
After this, you will be automatically logged in to the Ntopng GUI with the changed password.
Congratulations! You successfully installed and configured Ntopng on Debian 11.
Of course, you don’t have to install Ntopng on Debian 11, if you use one of our SSD VPS Hosting plans, in which case you can simply ask our expert Linux admins to install Ntopng on Debian 11 for you. They are available 24×7 and will take care of your request immediately.
If you liked this post on how to install Ntopng on Debian 11, please share it with your friends on the social networks using the buttons on the left or simply leave a reply below. Thanks.

Thank you, thank you, thank you.
Pulled my hair out for days as a newbie struggling with installation of ntopng and zeek on a Raspberry Pi 4 /4Gb.
This was the smoothest install I have ever made – period!
You guys rock and I’ll brag about you all week long 😎